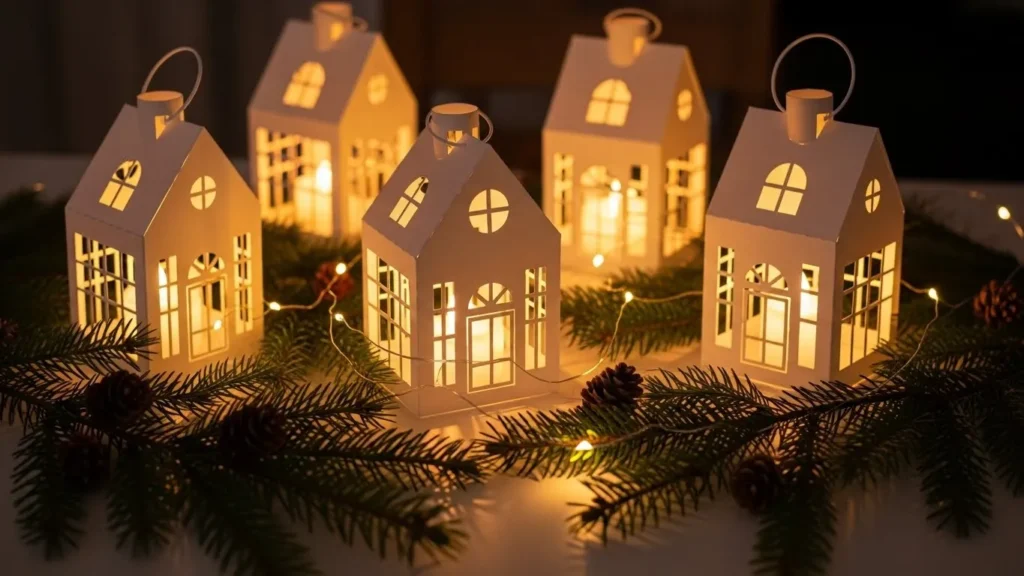
There’s something instantly magical about tiny glowing houses during the holidays. They feel cozy, nostalgic, and perfect for winter evenings. The best part? You don’t need fancy tools or expensive supplies to make them. With a bit of cardstock, patience, and creativity, you can build charming DIY Christmas house lanterns that look beautiful on mantels, shelves, or window sills.
This project is beginner-friendly, budget-conscious, and incredibly satisfying. Let’s walk through it step by step so you can create your own glowing holiday village.
Why Cardstock Christmas House Lanterns Are So Popular
Cardstock house lanterns have become a holiday favorite for a reason. They balance simplicity with charm and fit almost any décor style.
Here’s why people love them:
- They’re lightweight and safe to use with LED candles.
- Cardstock is easy to cut and fold, even for beginners.
- You can customize size, color, and window designs.
- They look high-end without costing much.
Whether your style is modern, farmhouse, or classic Christmas, these little houses adapt beautifully.
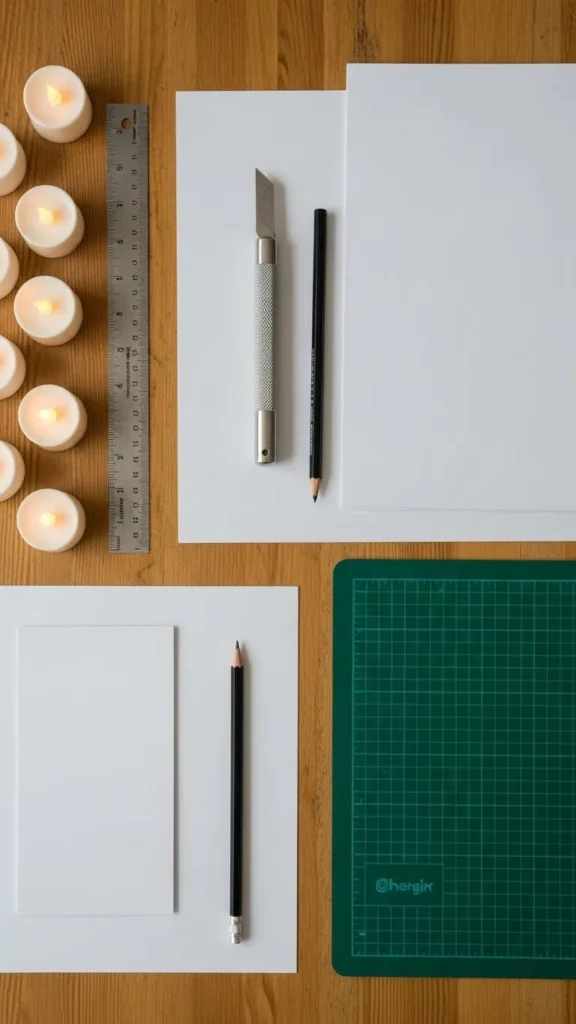
Supplies You’ll Need Before You Start
Before cutting anything, gather all your materials. Having everything ready makes the process smoother and more enjoyable.
You’ll need:
- Heavy white or colored cardstock (200–250 gsm works best)
- Craft knife or precision scissors
- Metal ruler
- Pencil
- Cutting mat or thick cardboard
- Liquid glue or double-sided tape
- LED tealights or small LED candles
Tip:
White cardstock gives a classic glowing look, but soft beige, gray, or pastel tones can look just as festive.
Step 1: Create or Choose a House Template
A good template is the foundation of your lantern. You can draw one yourself or print a simple house template.
Basic elements to include:
- Front and back walls
- Two side walls
- A roof with folding tabs
- Small cut-out windows and a door
Keep the design simple if it’s your first time. Clean lines create a more polished final look.
Lightly trace the template onto your cardstock using a pencil so mistakes are easy to erase.
Step 2: Cut Windows and Doors First
Always cut the windows and doors before assembling the house. It’s much easier while the cardstock is still flat.
Use a craft knife and ruler for:
- Straight window frames
- Clean roof edges
- Neat door outlines

Try these window ideas:
- Square or rectangle windows for a modern look
- Small arched windows for a classic village feel
- Tiny star cutouts for extra holiday charm
Work slowly. Clean cuts make a big difference in how professional your lantern looks.
Step 3: Fold and Assemble the House Shape
Once everything is cut, it’s time to bring the house to life.
Steps to assemble:
- Gently score fold lines using the back of the craft knife
- Fold along all edges to create crisp corners
- Glue the side walls to the front and back panels
- Attach the roof last, leaving one side open if needed for candle placement

Hold each glued edge for a few seconds so it bonds properly. Rushing here can cause crooked walls.
Step 4: Add the Light Inside Safely
Once the glue is fully dry, place an LED candle inside the house. Never use real flames with cardstock.
Good lighting tips:
- Warm white LED candles create the coziest glow
- Battery-operated fairy lights also work for larger houses
- Make sure light sits centered for even illumination
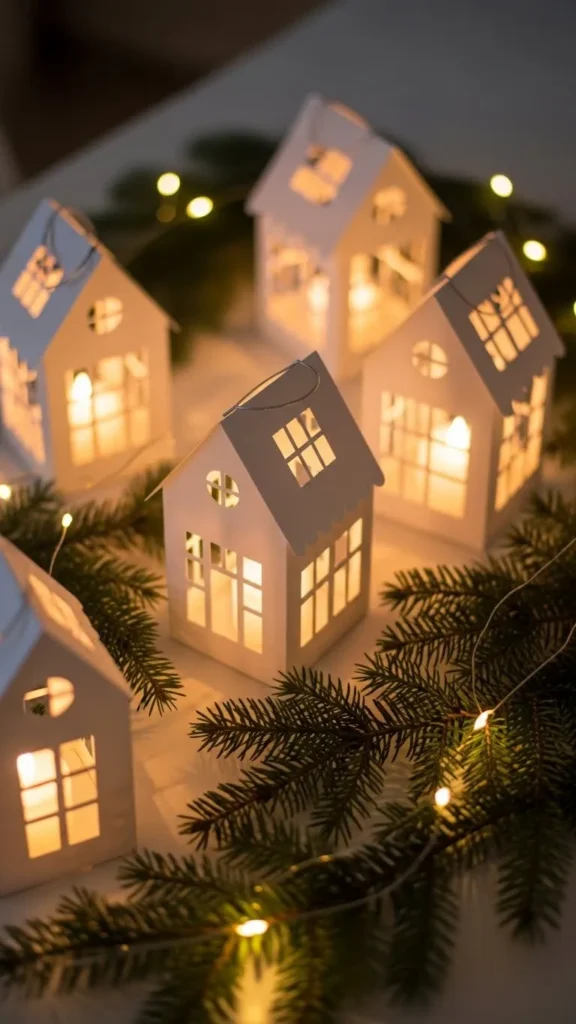
The cut-out windows will softly glow, instantly giving that cozy Christmas village effect.
Step 5: Personalize Your Lanterns
This is where the fun really begins. Small details turn simple houses into stunning décor pieces.
Easy personalization ideas:
- Add faux snow along the roof edges
- Lightly ink window edges for depth
- Use vellum paper behind windows for a softer glow
- Create houses in different heights for visual interest
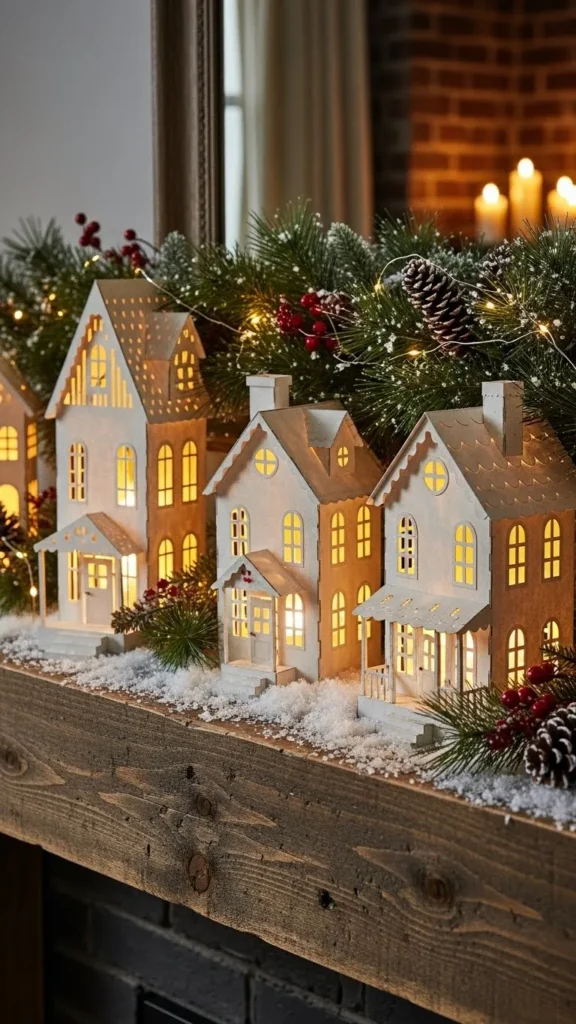
Grouping several houses together creates a mini winter village that feels intentional and festive.
Where to Display Your Christmas House Lanterns
These lanterns are versatile and look great almost anywhere.
Try placing them:
- On a mantel or fireplace ledge
- Along a windowsill at night
- On a sideboard with greenery
- As a centerpiece for a holiday table
They also make thoughtful handmade gifts when paired with a small LED candle.
Final Thoughts
DIY Christmas house lanterns from cardstock prove that simple materials can create something truly special. With a bit of patience and creativity, you can build décor that feels warm, personal, and perfectly festive.
Once you make one, you’ll probably want to create a whole village. Different sizes, window styles, and roof shapes keep the display interesting year after year.
Save this project for later and start building your own glowing holiday houses today!