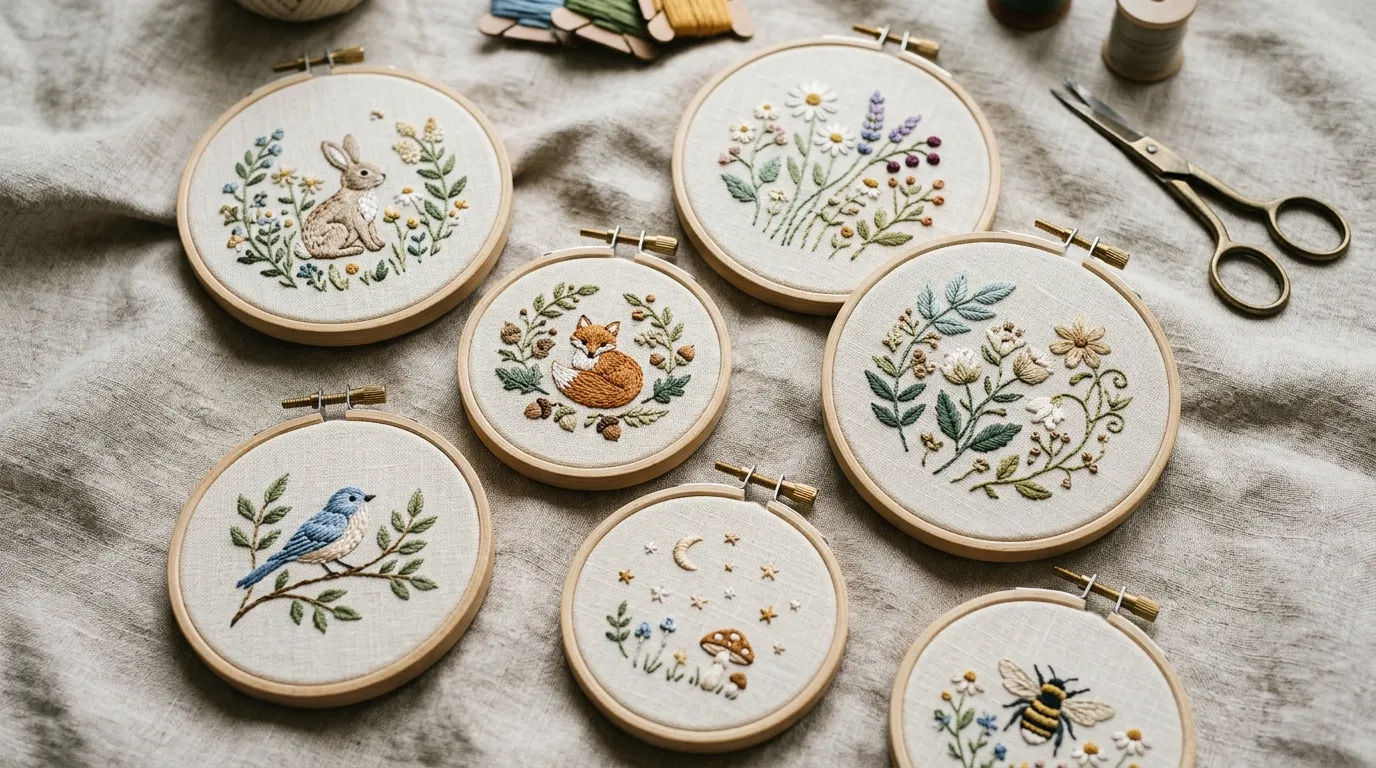

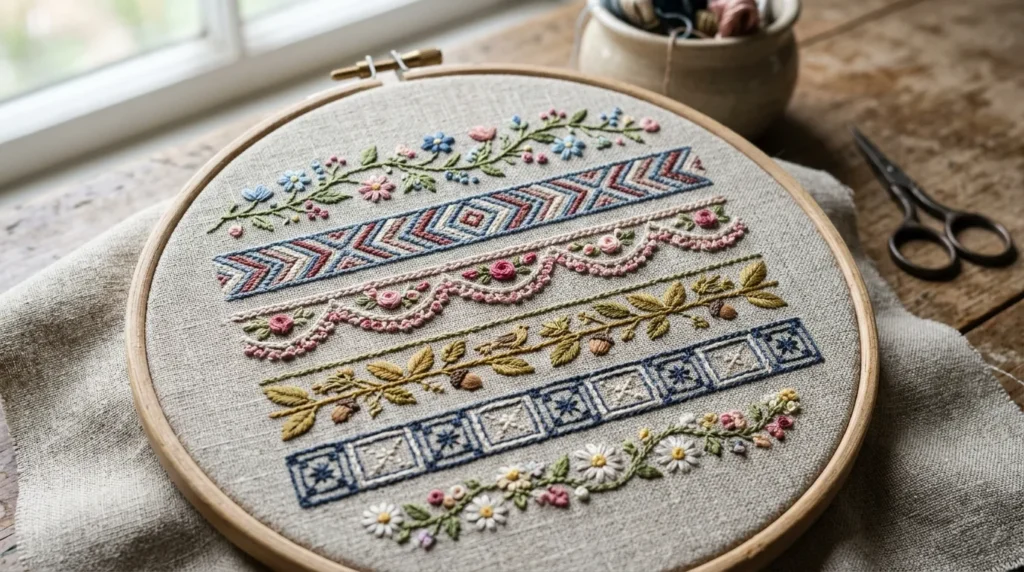
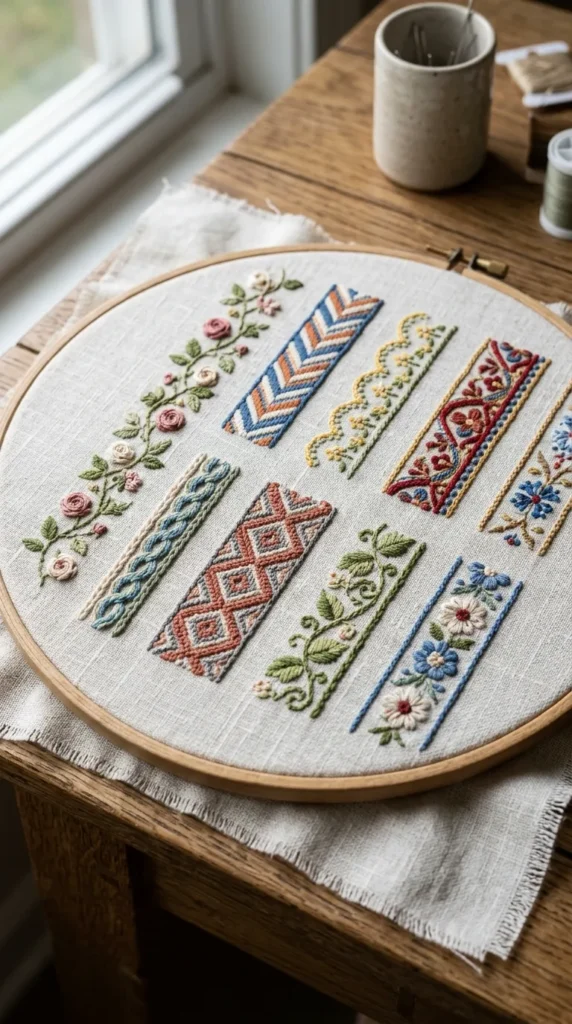
Hand embroidery border designs bring quiet charm to everyday fabric. They turn plain cloth into something personal, warm, and detailed. From simple running stitches to floral edge patterns, border embroidery works on clothing, table linen, pillow covers, and wall hangings. You do not need expensive tools or advanced skills to start. A few basic needles, colored threads, and spare fabric are enough. This guide shares 24 creative border ideas that are easy to try at home and budget-friendly. Each idea focuses on simple techniques, clear patterns, and practical use so you can start stitching without confusion.
1. Simple Running Stitch Border
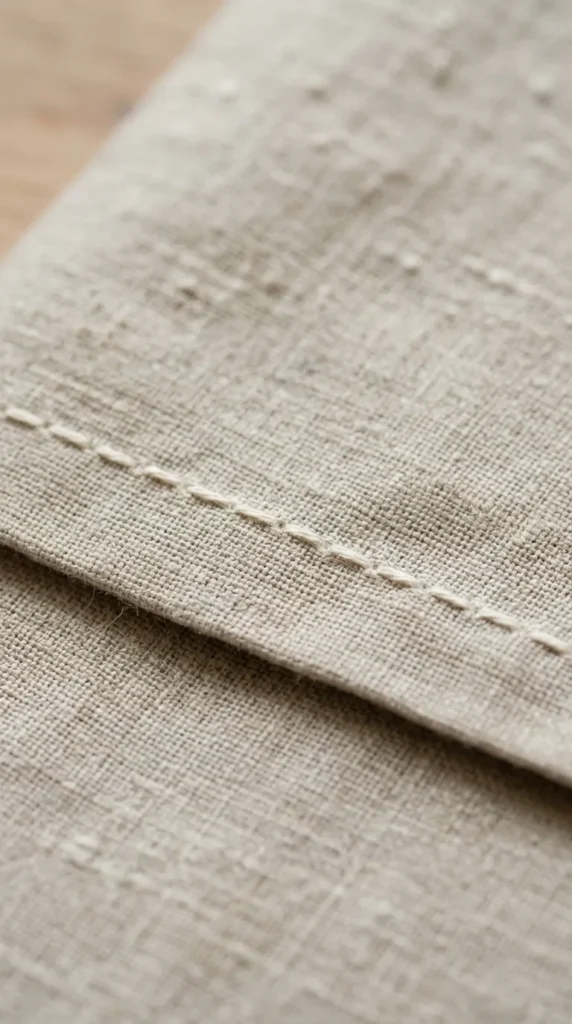
The running stitch border is one of the easiest ways to start hand embroidery. It uses short, even stitches that move in a straight line along fabric edges. You only need a needle and basic thread. This design works well on napkins, pillow covers, and sleeve hems. It is perfect for beginners who want clean edges without complexity.
Start by marking a straight line with light chalk. Keep stitch spacing even, but do not stress over perfection. Small irregularities add handmade character. You can use one color or mix two soft shades for variation.
This border costs almost nothing since leftover threads work fine. It also builds confidence for more detailed patterns later. Try using it on old cotton shirts or table runners for a fresh handmade look without buying new fabric.
2. Tiny Floral Vine Border
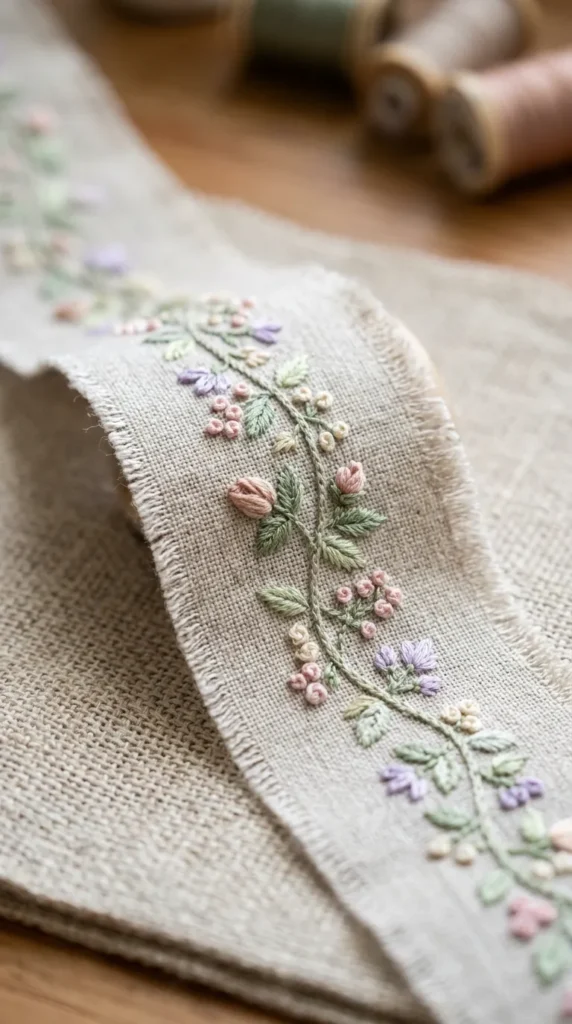
The floral vine border adds a gentle nature-inspired line along fabric edges. It uses small leaves and tiny bud shapes connected in a flowing curve. This design works well on scarves, dupattas, and cushion covers.
Begin with a light pencil sketch of a curved vine. Use green thread for stems and soft pink or yellow for flowers. Keep each flower small to avoid crowding. Simple backstitch forms the vine, while satin stitch fills petals.
You do not need expensive threads. Even basic cotton embroidery floss works well. Try using scrap fabric to practice spacing before stitching on final pieces.
This border looks soft and handmade, making plain fabric feel more personal without heavy decoration.
3. Dotted Chain Stitch Edge
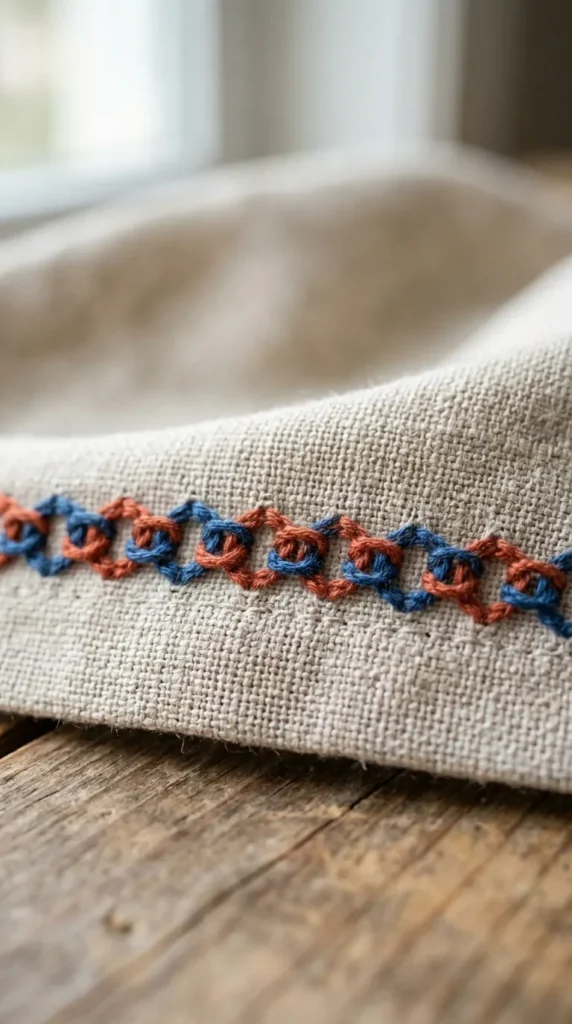
The dotted chain stitch border creates a looped pattern that looks like tiny linked dots along the edge. It is simple but visually pleasing.
Use chain stitch to form small loops at equal gaps. You can alternate thread colors like white and blue for a light contrast. This works nicely on handkerchiefs and sleeve cuffs.
Keep spacing consistent by marking points with a ruler. Even beginners can complete this with patience.
This design is budget-friendly because it uses very little thread. It also works well on recycled fabric pieces, giving them a fresh decorative edge.
4. Wave Pattern Border
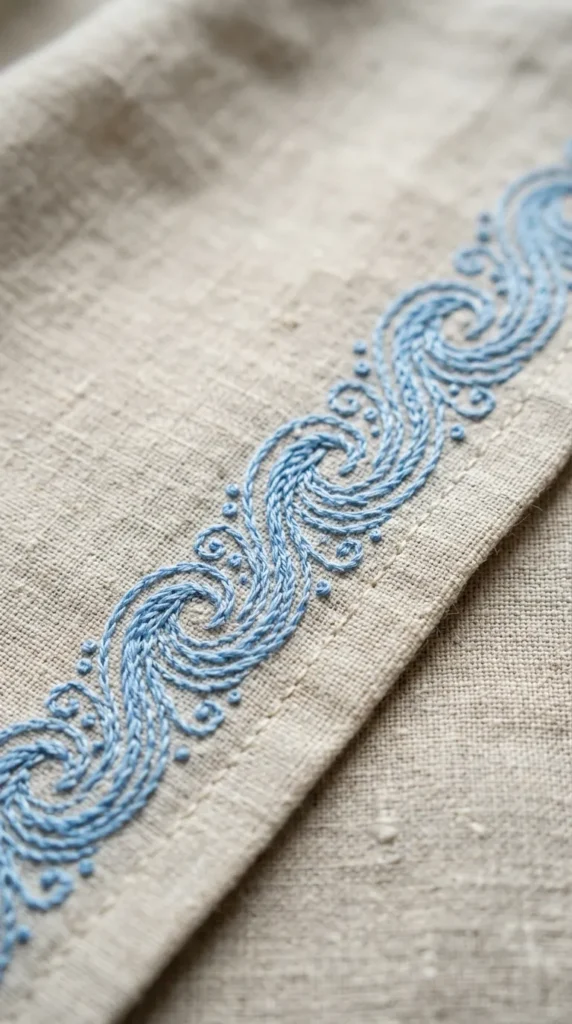
The wave pattern border brings a soft flowing motion to fabric edges. It uses curved stitches that repeat in a gentle rhythm.
Start by drawing a wave line along the border. Stitch along the curve using stem stitch or backstitch. Light blue or green thread gives a calm effect.
This design suits bed linens and curtains. It is easy to repeat across long edges without losing pattern balance.
You can practice on old cotton cloth before applying it to final items. It adds movement without complexity.
5. Leafy Ladder Border
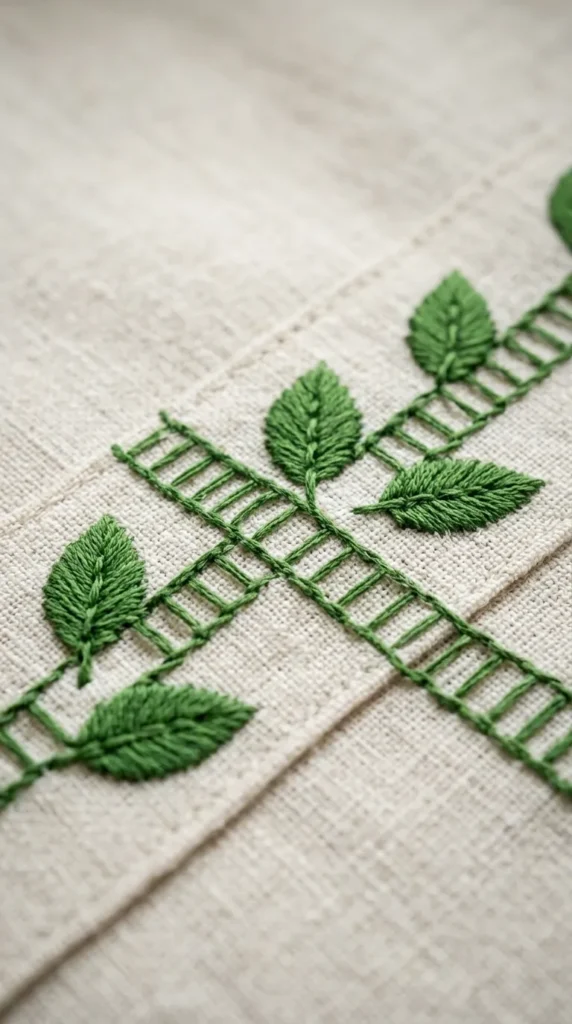
The leafy ladder border combines vertical stitch lines with small leaf shapes placed at intervals. It looks structured yet natural.
Create two parallel lines using straight stitches. Then add small leaves between them using satin stitch.
This design works well on kurta sleeves and dupatta edges. It uses minimal thread but creates a clear pattern.
Even beginners can try it with simple marking tools. It is a good practice design for symmetry.
6. Geometric Triangle Edge
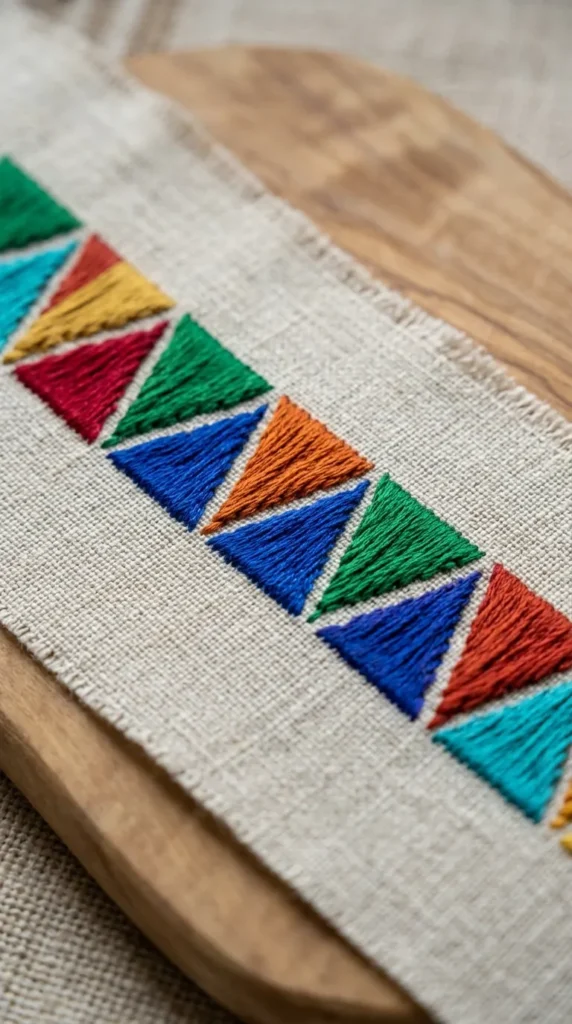
The geometric triangle border uses repeating triangle shapes stitched along fabric edges. It gives a sharp, modern handmade look.
Draw small triangles using a fabric pencil. Fill them with straight or satin stitches. Alternate colors for visual rhythm.
This design is suitable for bags and home décor items. It uses simple shapes, making it beginner-friendly.
Try leftover threads for colorful combinations without extra cost.
7. Daisy Chain Border
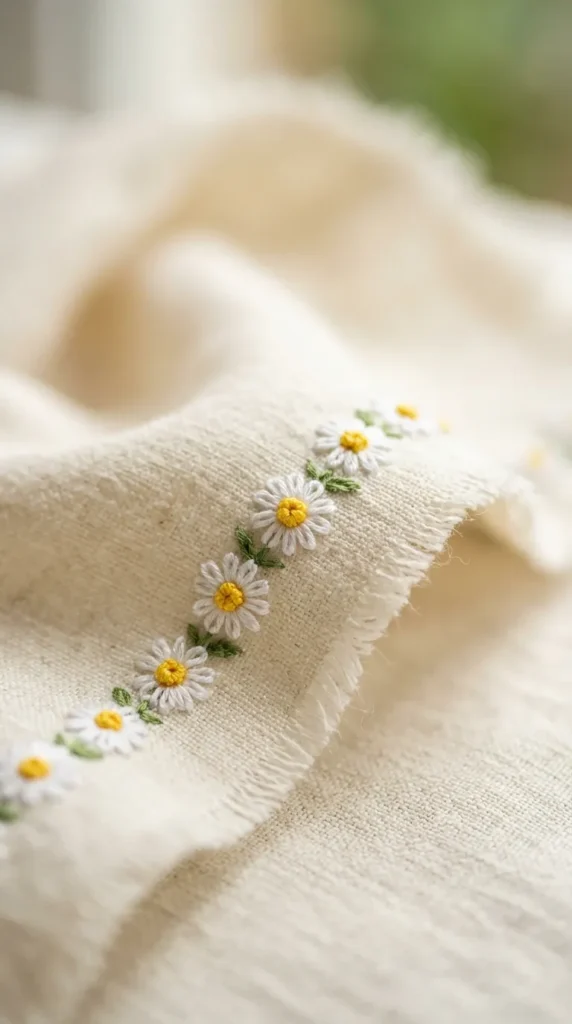
The daisy chain border uses small flower shapes linked in a line. Each daisy has white petals and a yellow center.
Stitch petals using straight stitches and fill the center with French knots. Keep spacing even for a balanced look.
This border works well on baby clothes and light cotton fabrics. It brings a soft, cheerful touch.
You can reuse scrap threads for petals and centers, keeping costs low.
8. Zigzag Stitch Border
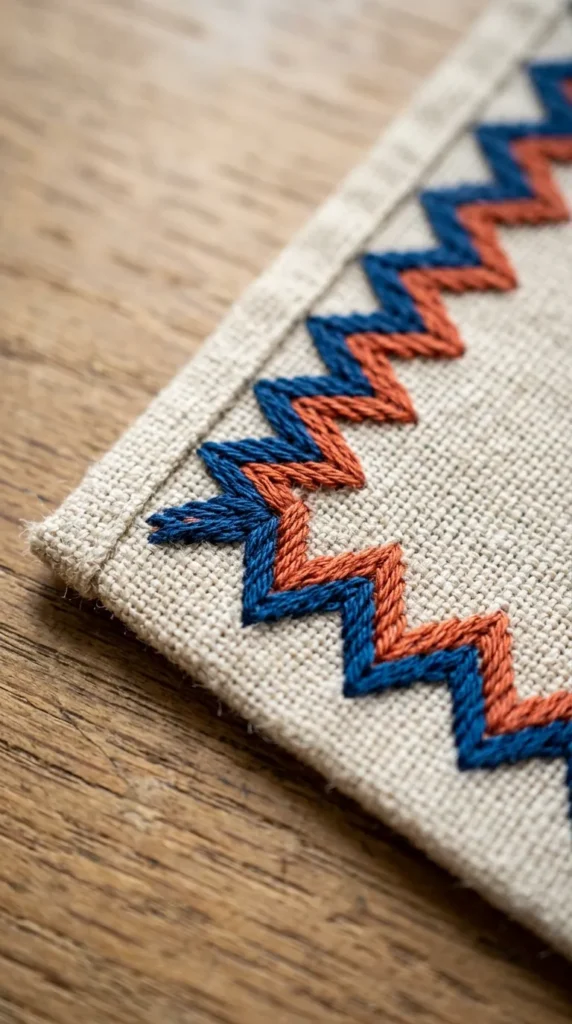
The zigzag stitch border is simple and bold. It uses angled stitches that move up and down in a repeating pattern.
Mark a zigzag line before stitching. Use contrasting thread colors for stronger definition.
This design suits towels and casual fabric items. It is quick to complete and uses minimal thread.
Even uneven zigzags look artistic, so beginners can try freely.
9. Beaded Edge Border
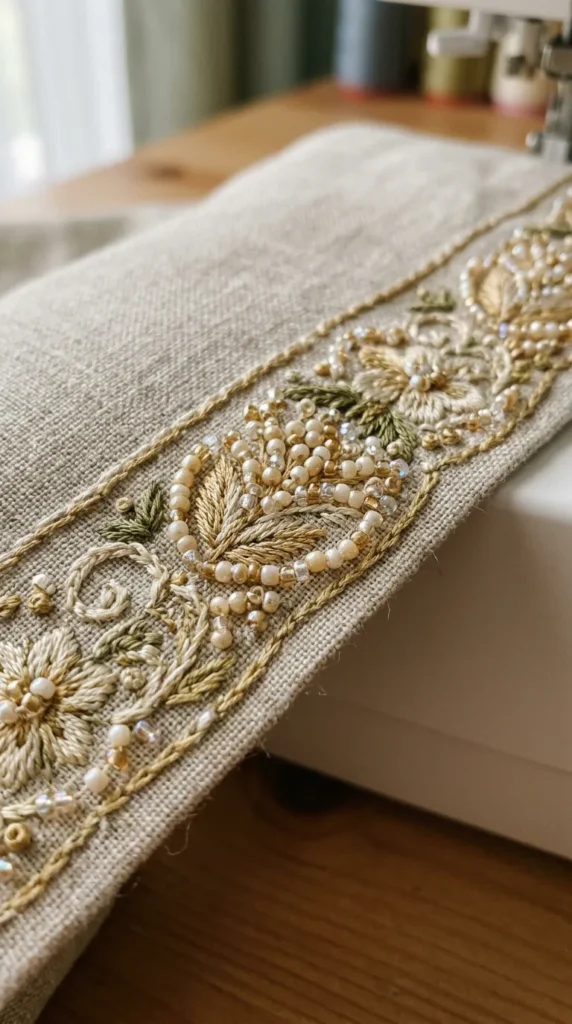
The beaded edge border adds small beads between stitches. It creates a soft sparkle effect without heavy decoration.
Sew beads one by one along a straight stitch base. Keep spacing consistent.
This design is ideal for festive clothing or decorative pillows. Use leftover beads from old crafts to save money.
Handle fabric gently to avoid loosening stitches.
10. Scallop Shell Border
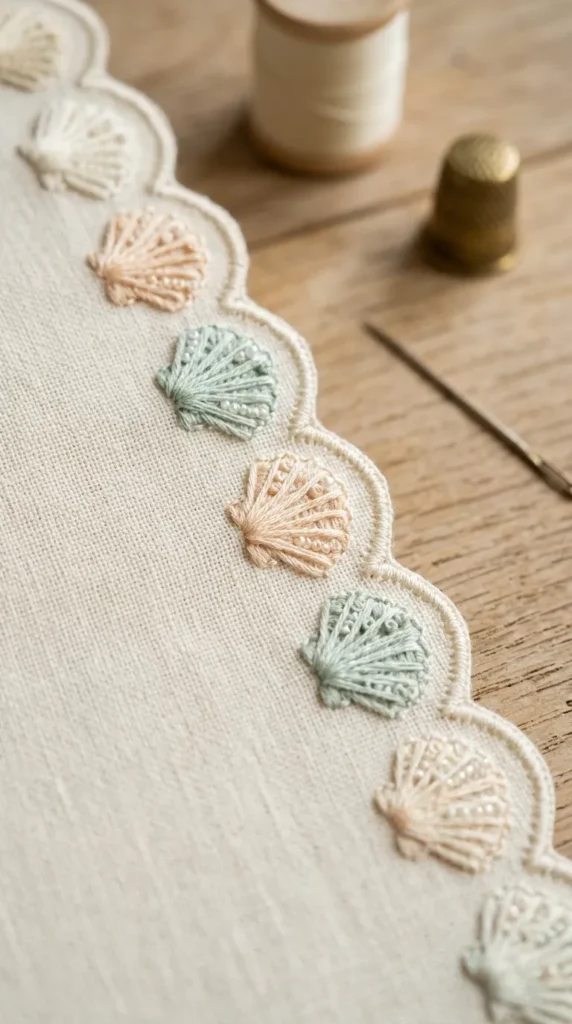
The scallop shell border forms curved half-circle shapes along fabric edges. It gives a smooth decorative finish.
Draw repeating arcs and fill them with satin stitch. Keep curves even for a neat look.
This design works well on tablecloths and traditional garments. It looks elegant without needing complex steps.
Practice curves on scrap cloth first.
11. Cross Stitch Edge Line
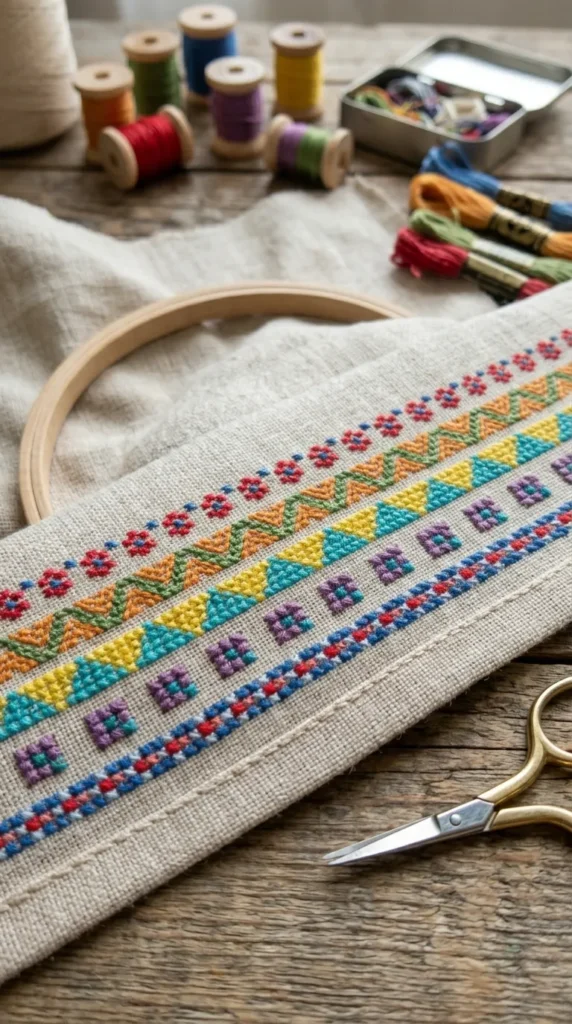
The cross stitch border uses small X-shaped stitches in a straight line. It is simple and highly customizable.
Use grid marking for alignment. Choose one or multiple colors.
This design works well on pillowcases and towels. It is very beginner-friendly and uses minimal tools.
Old fabric scraps are perfect for practice.
12. Sunburst Border Design
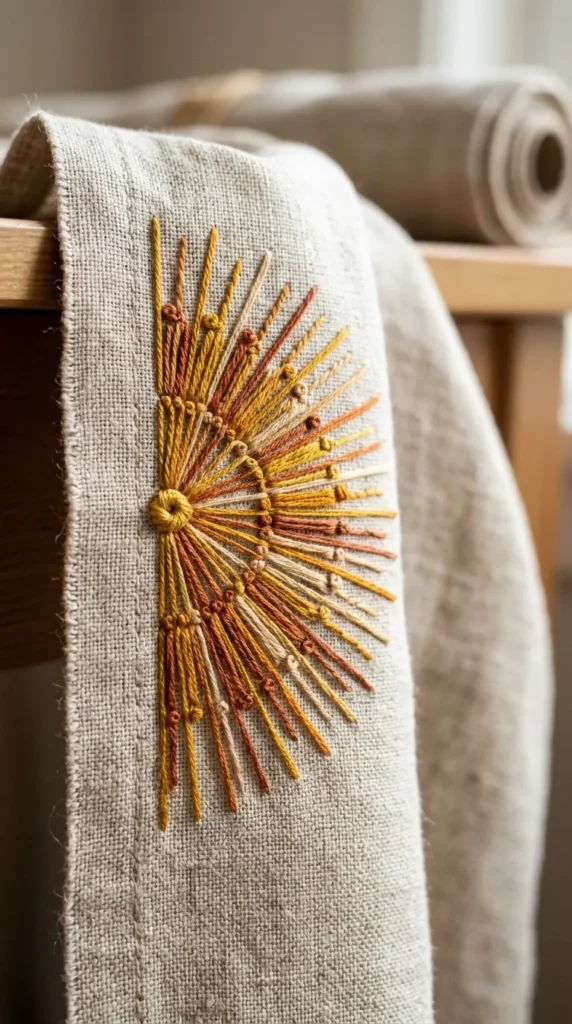
The sunburst border uses radiating stitch lines that look like small suns along the edge.
Start with a central dot and extend short stitches outward. Repeat at intervals.
This design adds warmth to plain fabric. It works well for wall hangings and summer clothing.
Use bright thread shades for stronger visual effect.
13. Rope Twist Border
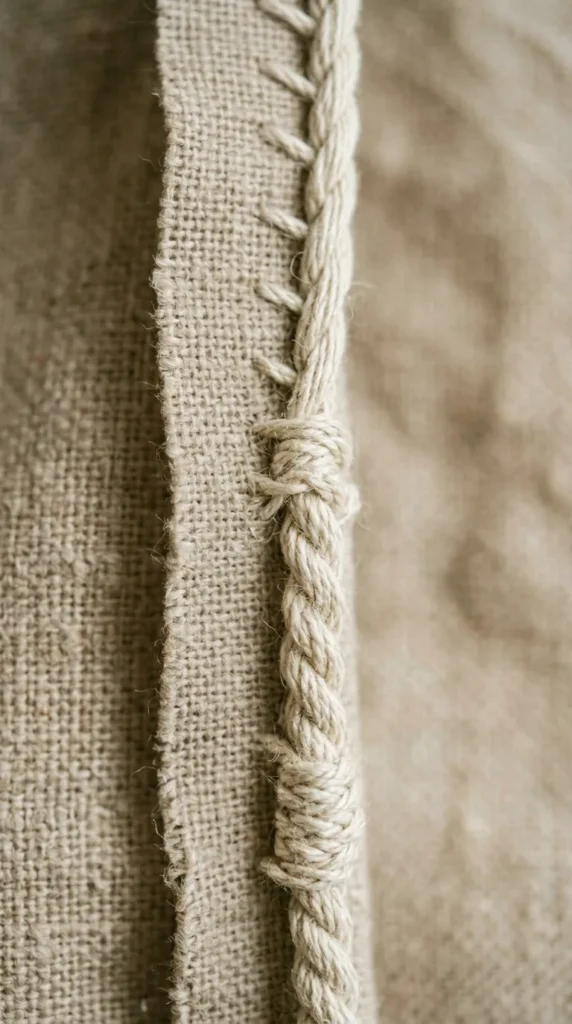
The rope twist border looks like a twisted cord running along the edge. It is created using stem stitch technique.
Keep stitches tight and evenly spaced. Use thicker thread for a stronger effect.
This border suits jeans hems and sturdy fabrics. It is durable and long-lasting.
14. Heart Motif Border
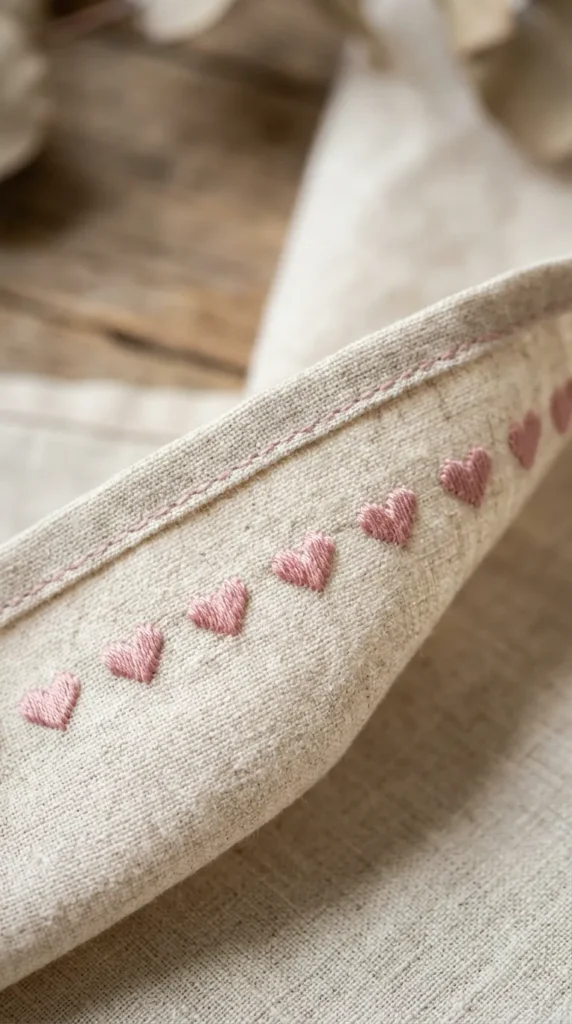
The heart motif border uses small heart shapes repeated along fabric edges.
Outline hearts with backstitch and fill with satin stitch. Keep size uniform.
This design works well for gift items and soft fabrics. It uses minimal materials and adds a personal touch.
15. Spiral Vine Border
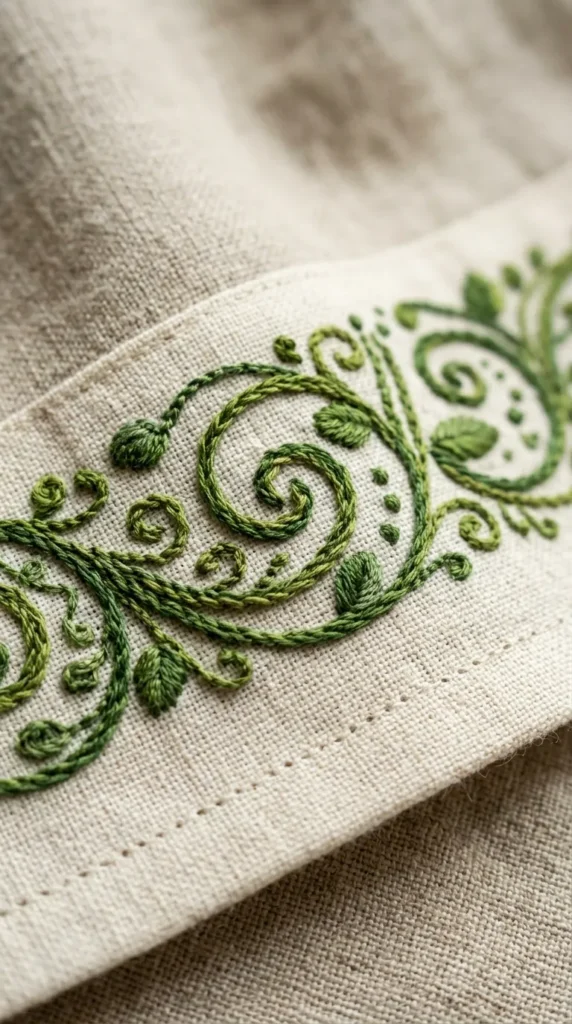
The spiral vine border uses curling shapes connected along a line. It creates soft movement.
Stitch spirals using chain stitch. Add small leaves for detail.
This design works well on scarves and decorative cloth.
16. Dot Fill Border
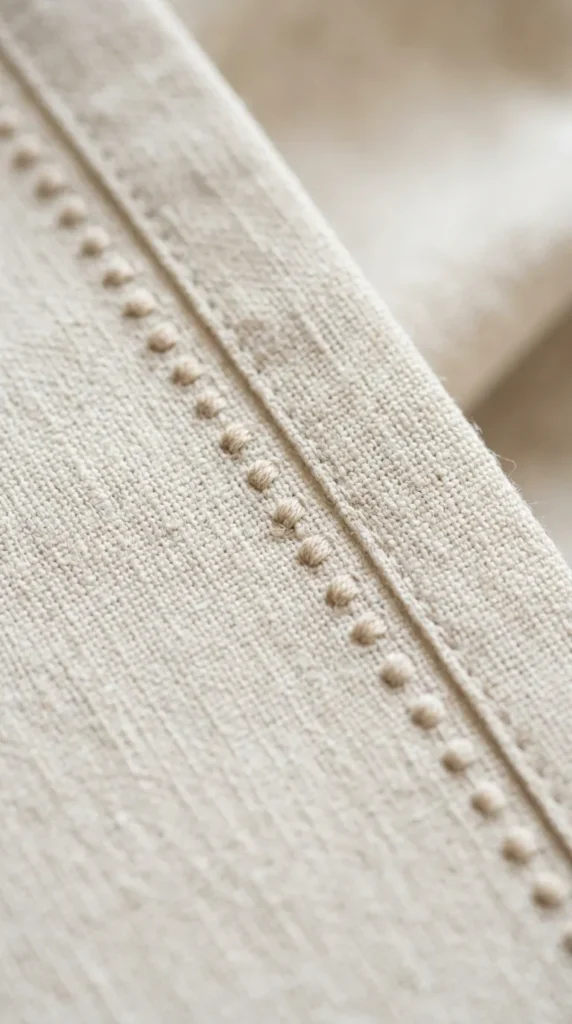
The dot fill border uses small stitched dots in a straight row. It is very simple.
Use French knots or straight stitch dots. Keep spacing even.
This design works well for minimal fabric decoration.
17. Feather Stitch Edge
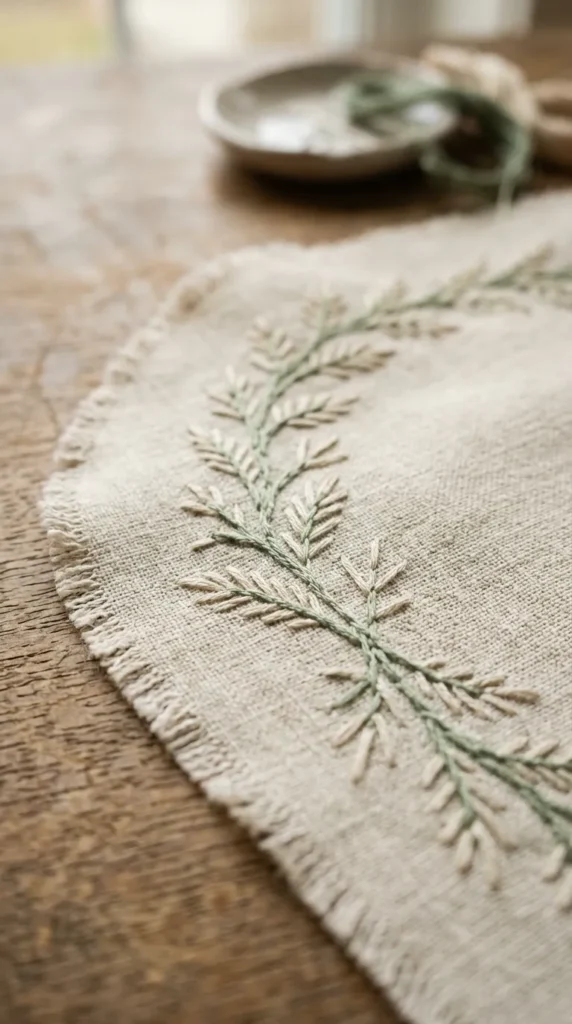
The feather stitch border creates branching lines that look soft and airy.
Stitch alternating diagonal loops along a central line.
This design works well on linens and lightweight fabric.
18. Ladder Lace Border
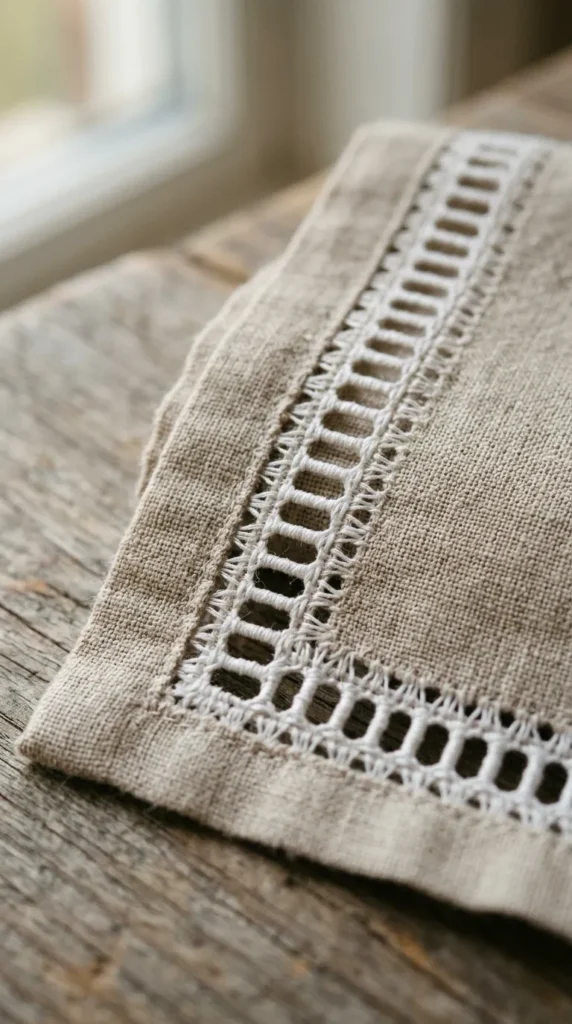
The ladder lace border creates small open gaps connected with stitches.
It gives a lace-like effect without actual lace.
This design works well for tablecloth edges.
19. Buttonhole Edge Border
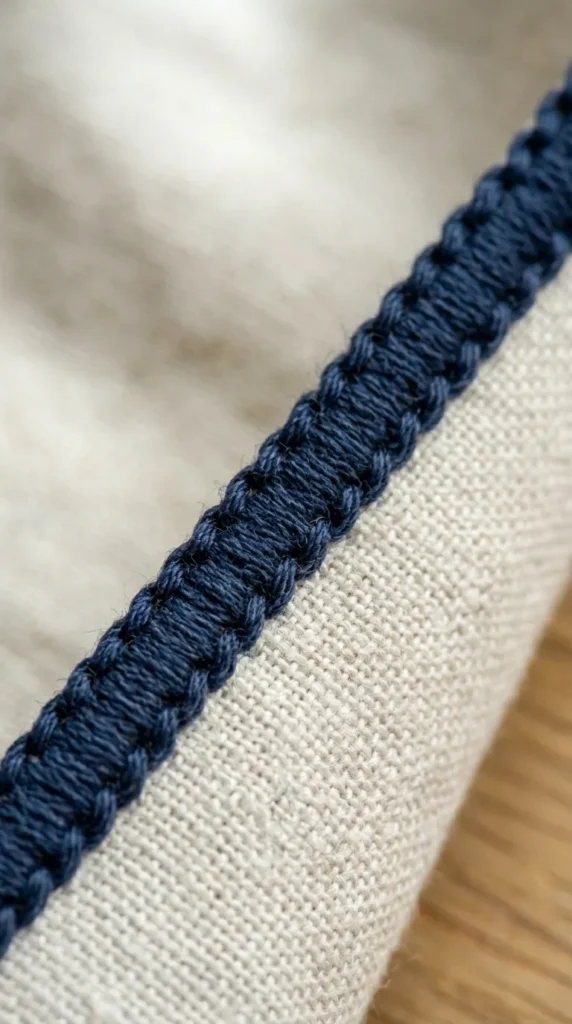
The buttonhole edge border uses tight stitches along fabric edges.
It protects fabric while adding decoration.
This design is useful for heavy-use items like bags.
20. Wave Dot Combination Border
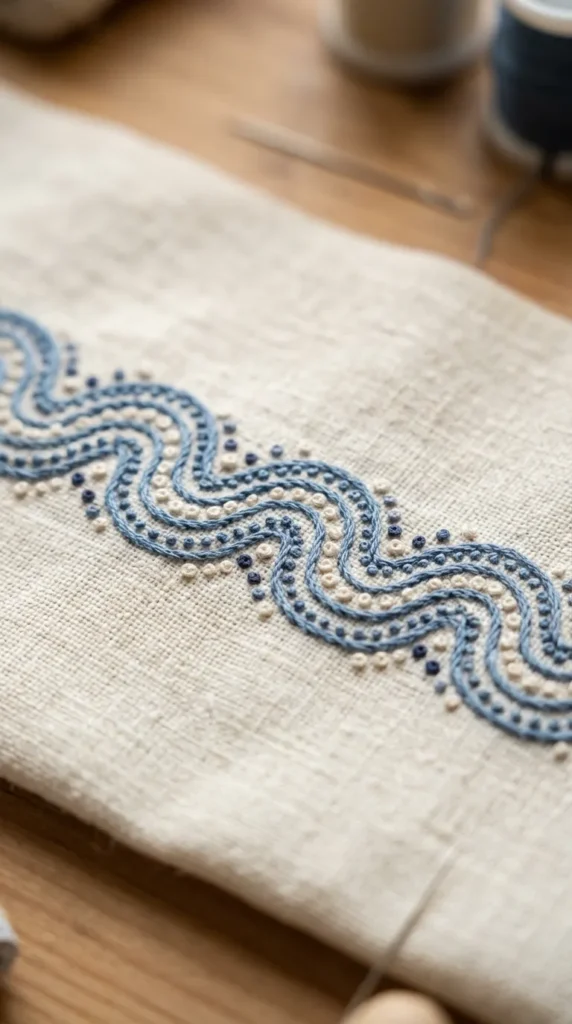
The wave dot combination mixes flowing lines with small dots.
It creates rhythm along fabric edges.
This design works well for casual home décor.
21. Floral Corner Border
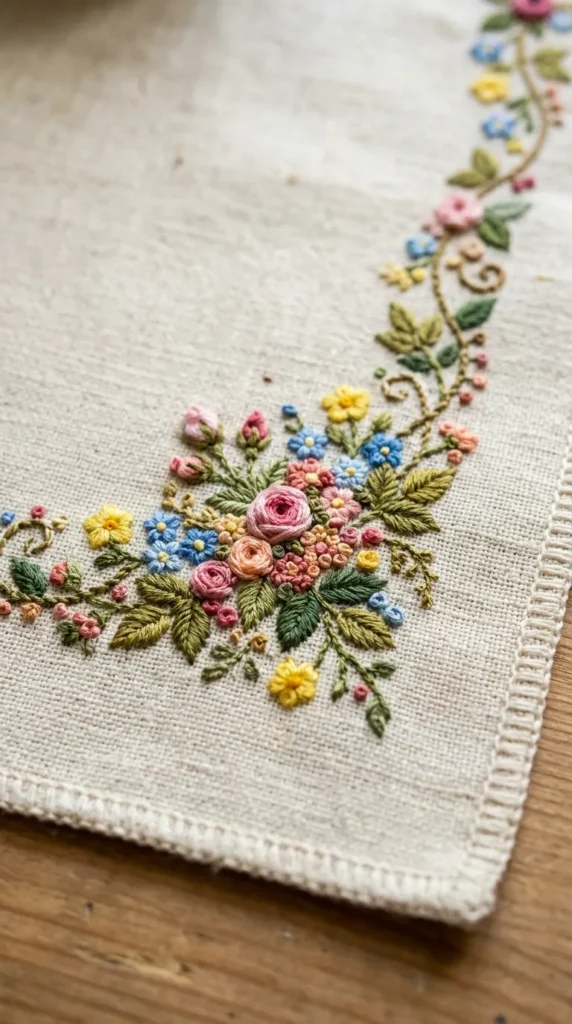
The floral corner border focuses decoration at fabric corners.
Use small flowers grouped tightly together.
This design suits napkins and scarves.
22. Spiral Dot Border
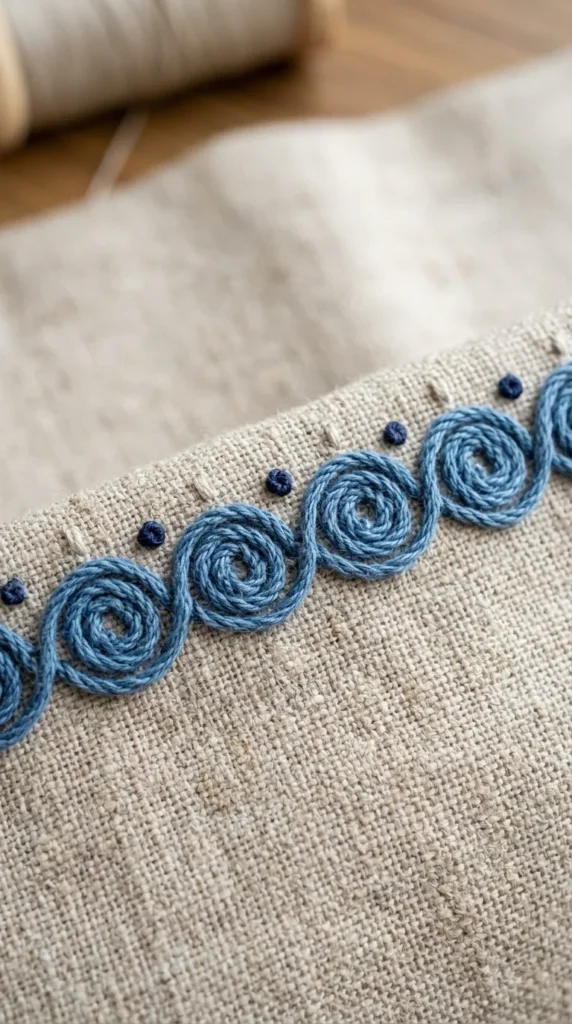
The spiral dot border mixes small spirals with dot accents.
It creates a playful edge design.
This is easy and uses minimal thread.
23. Leaf Chain Border
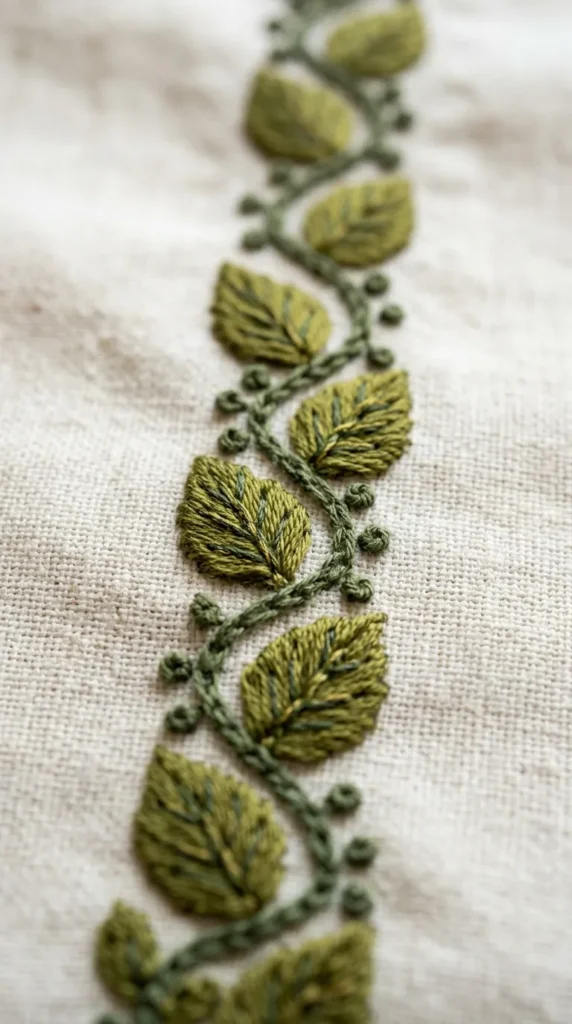
The leaf chain border uses connected leaf motifs.
Stitch each leaf with simple satin fill.
This design is ideal for nature-themed fabric projects.
24. Mixed Stitch Border
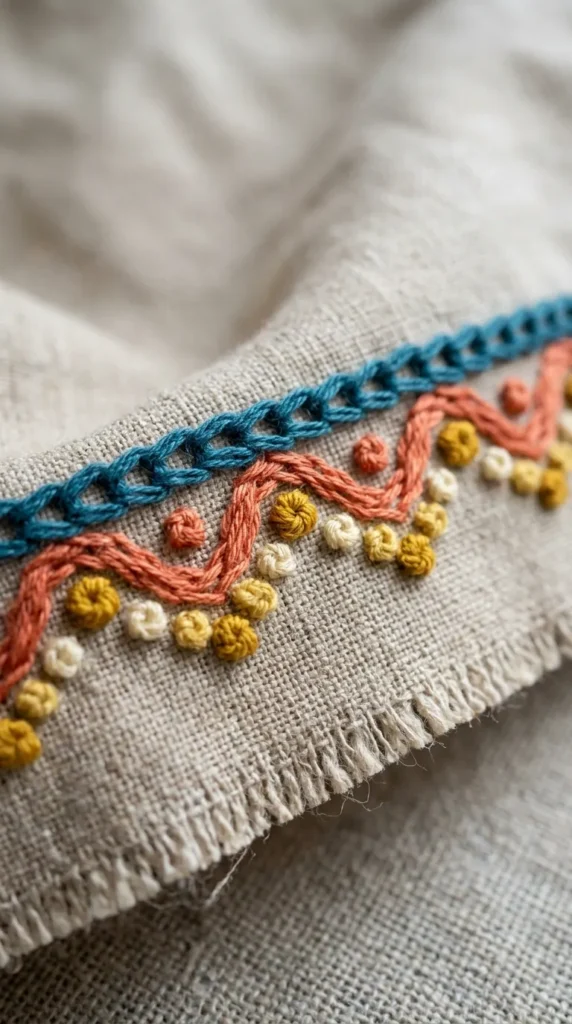
The mixed stitch border combines different stitches in one edge design.
Use chain stitch, dots, and waves together.
This design allows creativity using leftover threads.
Conclusion
Hand embroidery border designs bring simple fabric pieces to life with small, careful stitches. Each idea in this list offers a different style, from soft floral vines to bold geometric shapes. You do not need costly materials or complex tools. Basic threads, a needle, and practice fabric are enough to begin. Start with easy patterns and slowly try more detailed ones. Over time, your stitching becomes more steady and personal. These borders help turn plain fabric into handmade items that carry personal meaning and quiet beauty.