Clover nail art is a go-to choice when you want something playful, stylish, and easy to wear. These designs work for casual days, themed events, or small personal touches that feel thoughtful without feeling overdone. From simple dots to detailed accents, clover nails can be recreated at home with basic tools and a little patience. This list focuses on cute, practical ideas that feel approachable, budget-aware, and realistic for everyday wear.
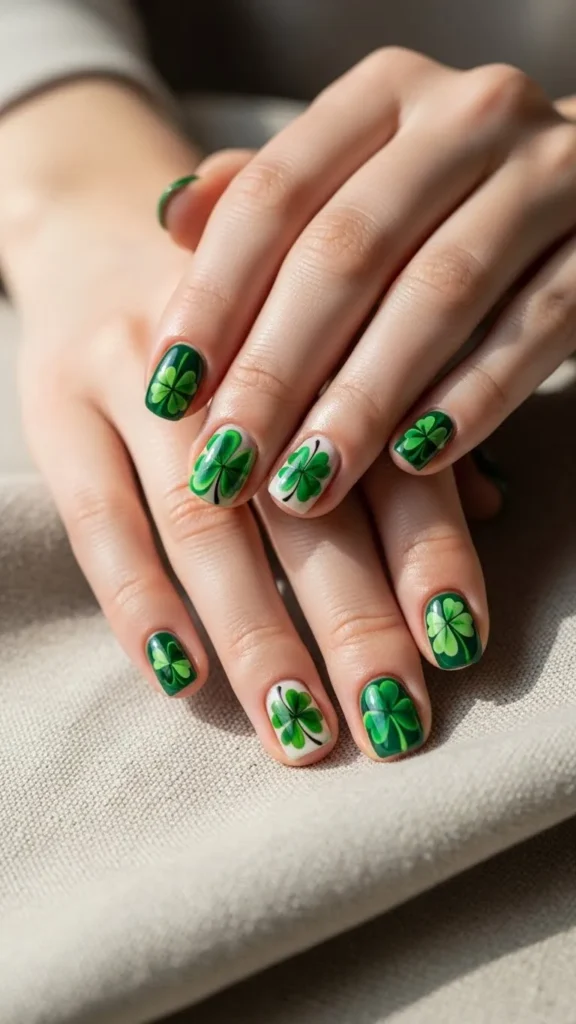
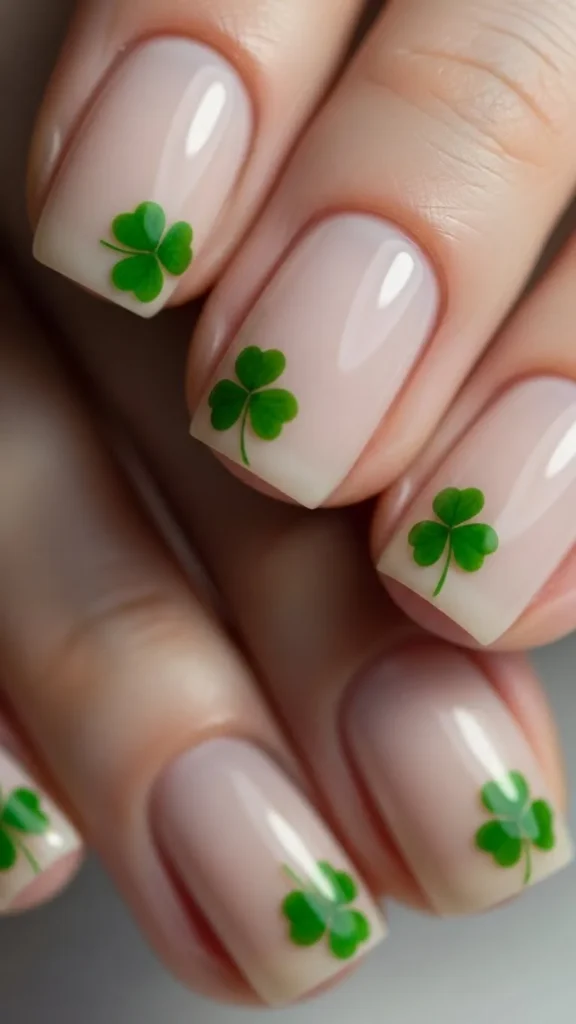
1. Mini Green Clover Accents
Mini clover accents work well when you want a soft detail instead of a full design. Paint most nails in a neutral shade. Add a tiny clover on one or two nails using a dotting tool or toothpick. Four dots form the leaves. A thin line makes the stem. This style suits short nails and grows out nicely.
Use two shades of green for depth. Drugstore polish works fine. Keep layers thin so dots stay round. If freehand feels tricky, try nail stickers and seal with clear polish. This look pairs well with everyday outfits and doesn’t feel loud. It’s simple, quick, and easy to redo if needed.
2. White Nails With Clover Tips
Clover tips feel playful while staying tidy. Start with a white base. Once dry, paint tiny clovers along the nail tips instead of a full French line. Space them evenly for balance. This works best on medium-length nails.
Use a fine brush or dotting tool. If spacing feels hard, mark light dots first. Keep the rest of the nail plain so the tips stand out. This design looks neat even with slight imperfections. A glossy top coat ties everything together and adds shine without extra effort.
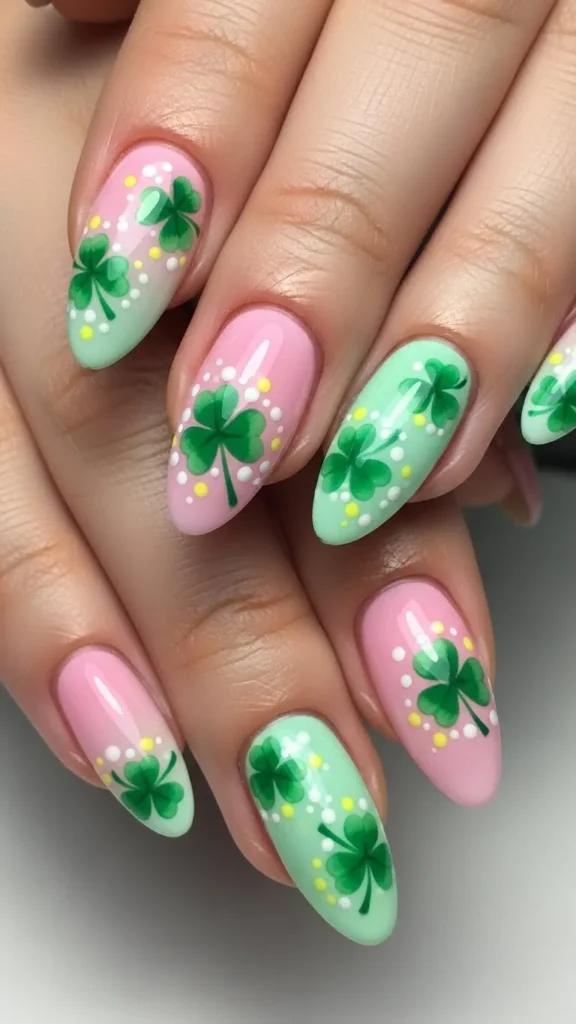
3. Pastel Clover Mix
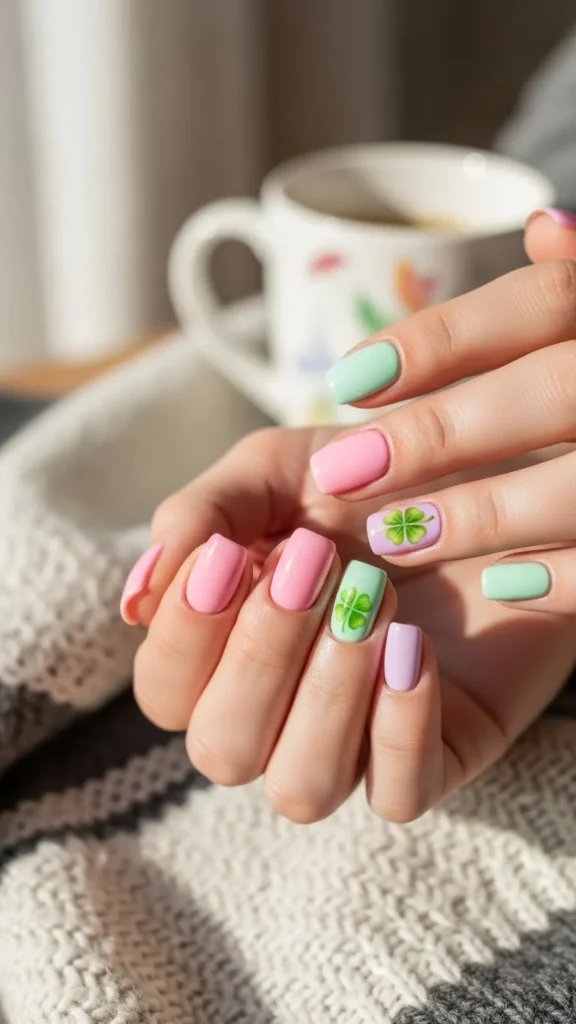
Pastel clover nails feel light and friendly. Paint each nail a different soft color. Add a tiny clover on one or two fingers. White or darker green works well for contrast.
This style is forgiving for beginners. Minor mistakes blend into the soft palette. Use colors you already own. Pastels work well on both short and long nails. Finish with a shiny top coat to keep everything smooth and unified.
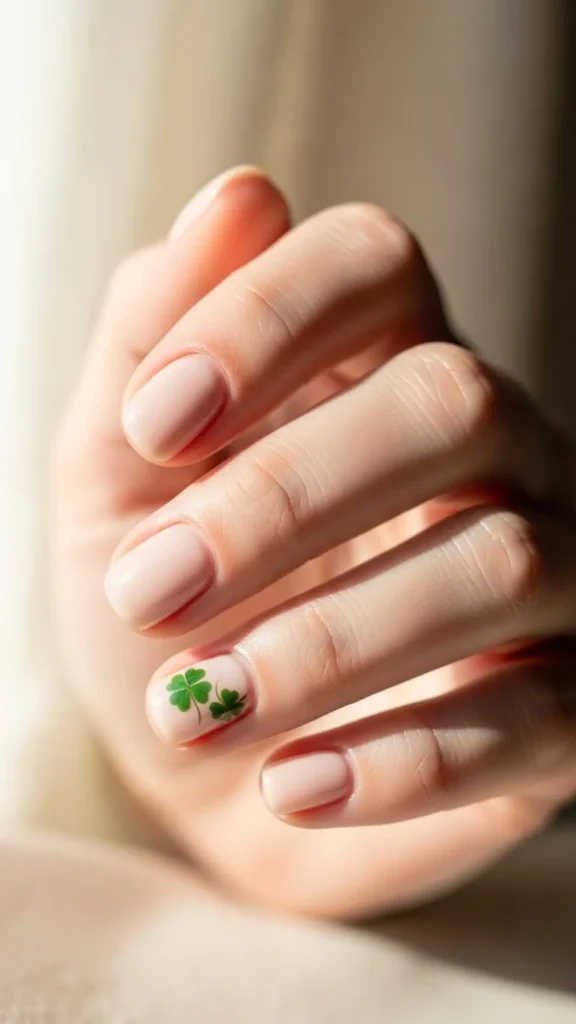
4. Clear Base Clover Nails
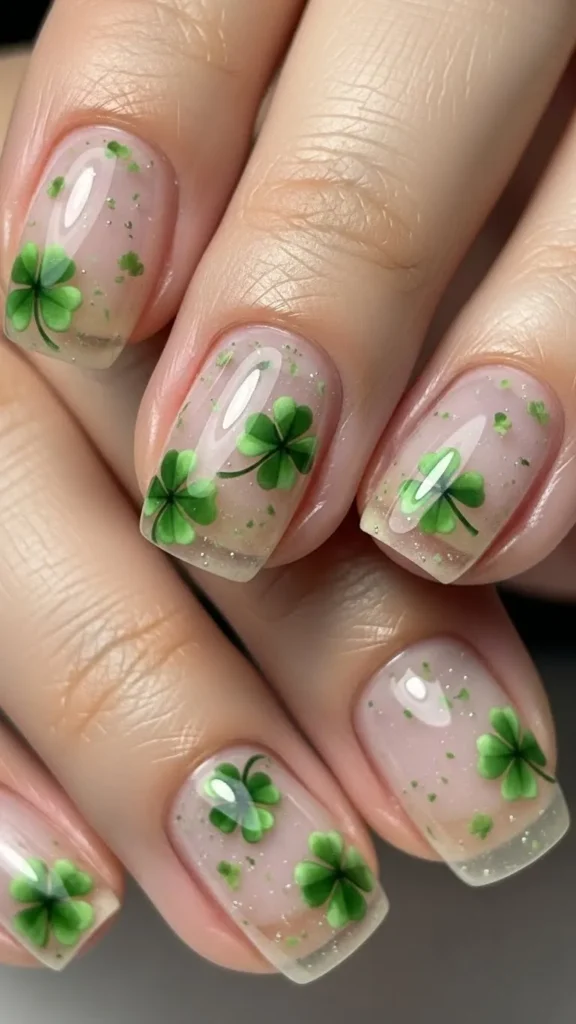
Clear base designs feel modern and clean. Apply a clear or sheer base. Paint clovers directly on top. Space them out so each one stands alone. This gives a light, airy look.
Clear nails grow out smoothly. That makes them low effort to maintain. Use nail art pens or a thin brush for control. Seal well so designs don’t chip. This option works well for daily wear and looks polished without heavy color.
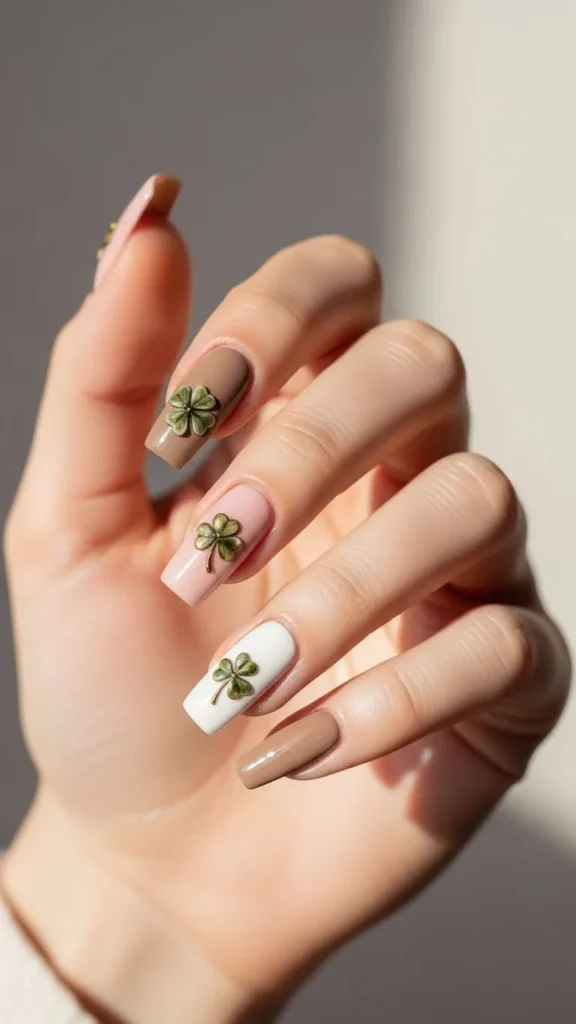
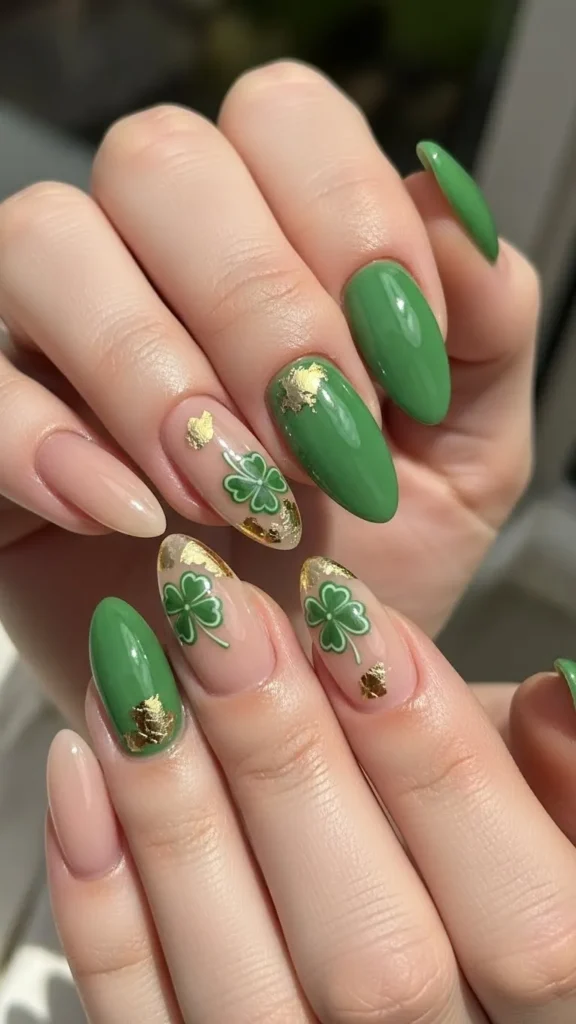
5. Clover and Gold Dot Combo
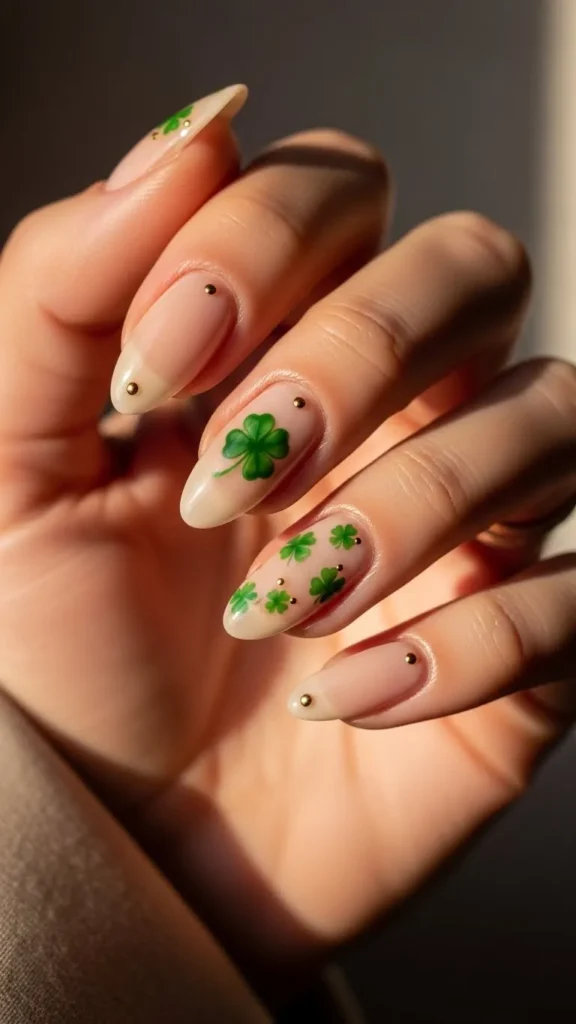
Adding gold dots makes clover nails feel more styled. Start with a nude or beige base. Paint small green clovers. Add one or two gold dots near each design.
Gold polish pens help keep dots clean. This combo works for events or simple outfits. Keep placement minimal so nails don’t feel busy. A glossy finish keeps everything balanced and smooth.
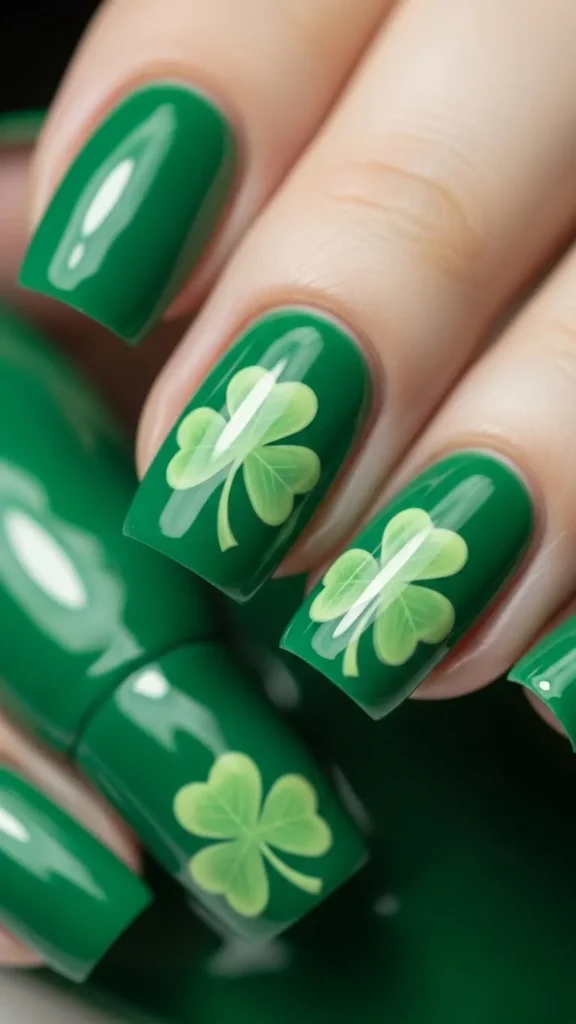
6. Matte Green Clover Nails
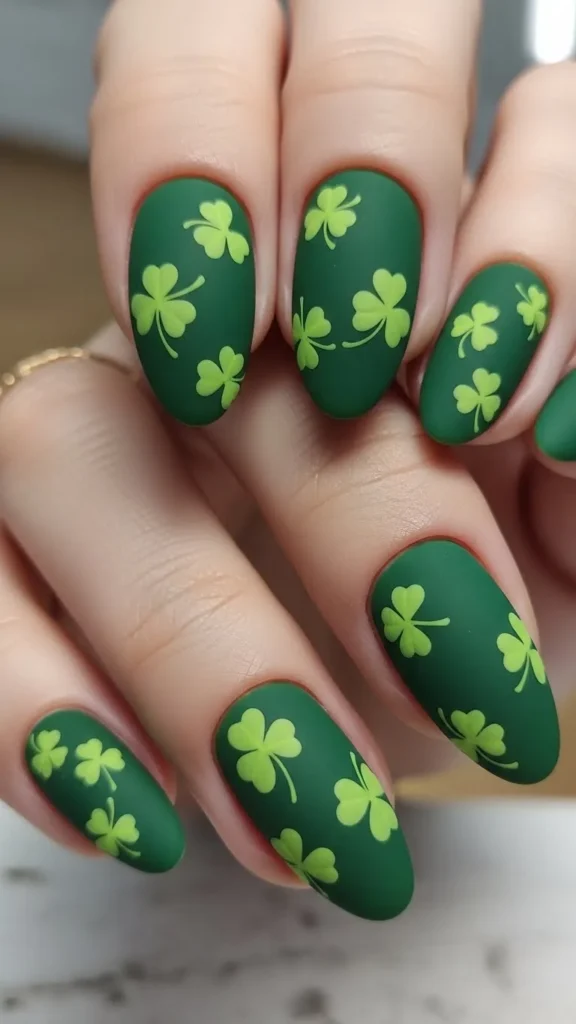
Matte finishes change the whole feel of nail art. Paint nails green. Add clovers in a lighter shade. Once dry, use a matte top coat.
Matte hides small flaws and fingerprints. That helps if you’re new to nail art. Use thin layers so details stay sharp. This design feels bold but still wearable for everyday looks.
7. Single Statement Clover Nail
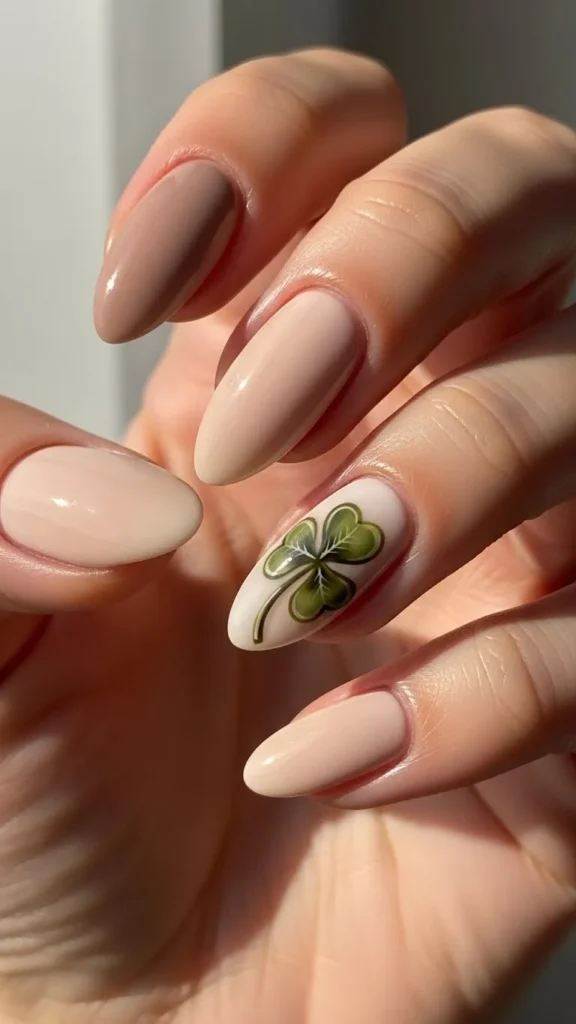
If you like simple styles, try one statement nail. Paint all nails a solid color. Add a detailed clover on one finger only.
This saves time and polish. It’s also easy to fix if something chips. Focus your effort on that single design. Use a reference image if needed. This style works well for busy schedules.
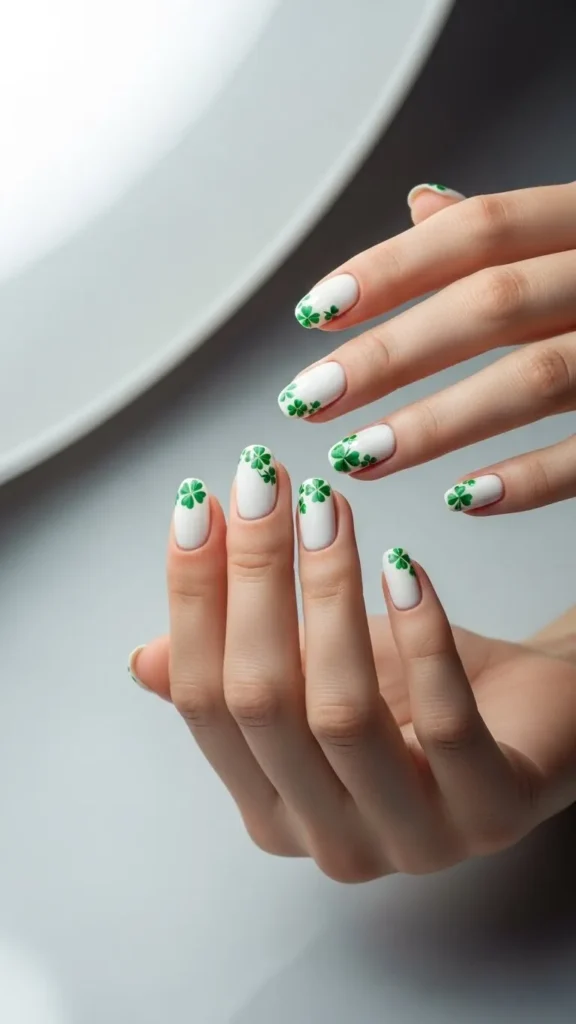
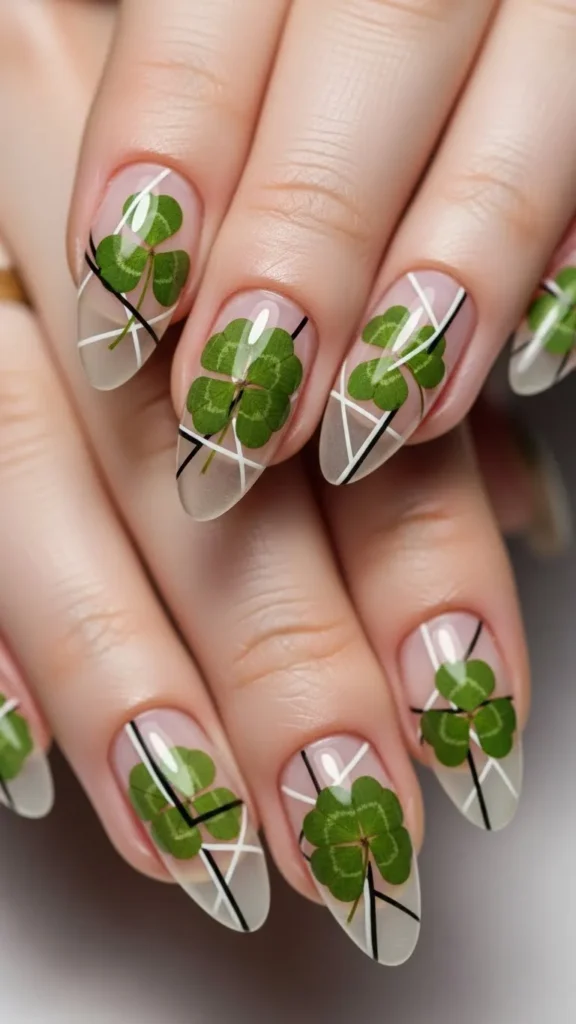
8. Clover French Outline
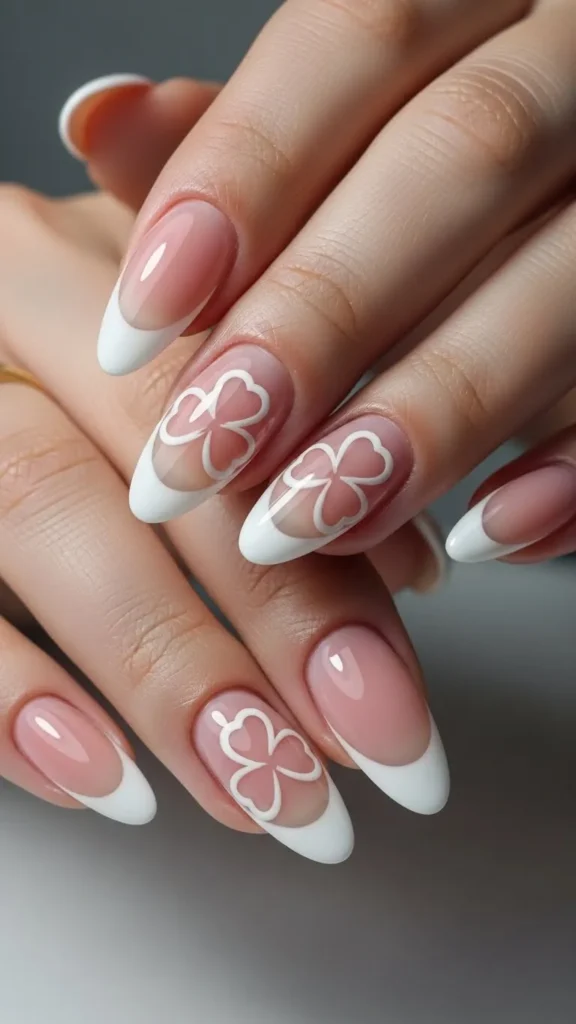
Instead of a curved tip, outline tiny clovers along the edge of the nail. Use a thin brush and steady strokes. Keep the rest of the nail clear or nude.
This takes patience but looks unique. Practice on paper first. Use tape guides if helpful. The result feels creative while still tidy.
9. Green Gradient With Clover Detail
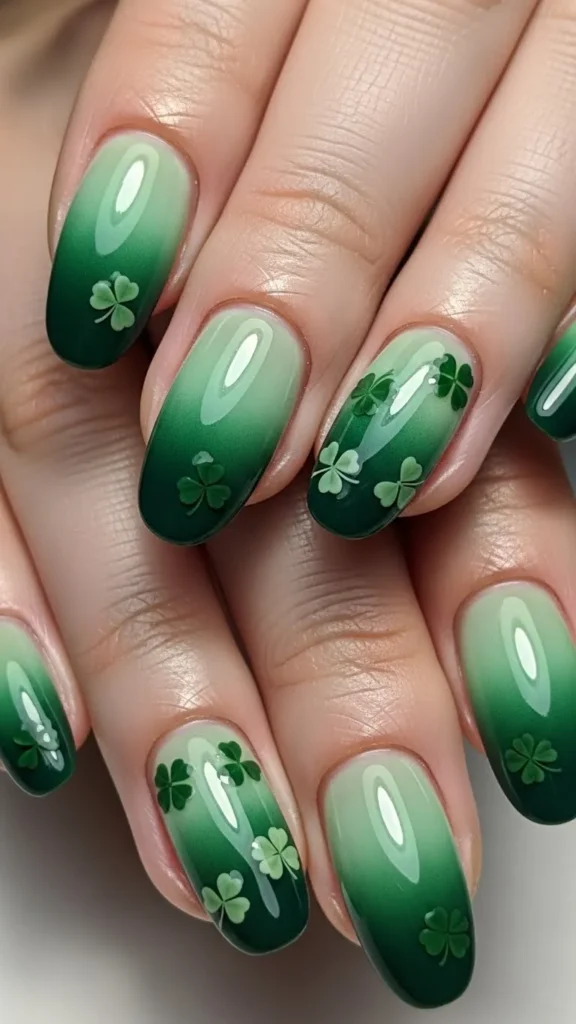
A green gradient adds depth. Blend two green shades using a sponge. Add a clover once dry.
Gradients don’t need to be perfect. Soft blending works best. Use colors close in tone. Seal well so texture stays smooth. This design feels playful without extra steps.
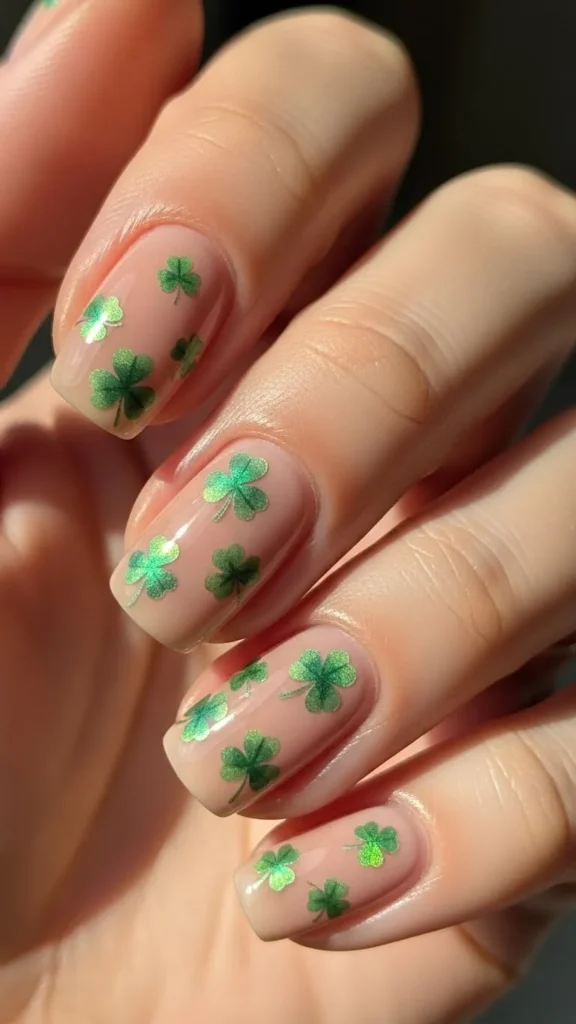
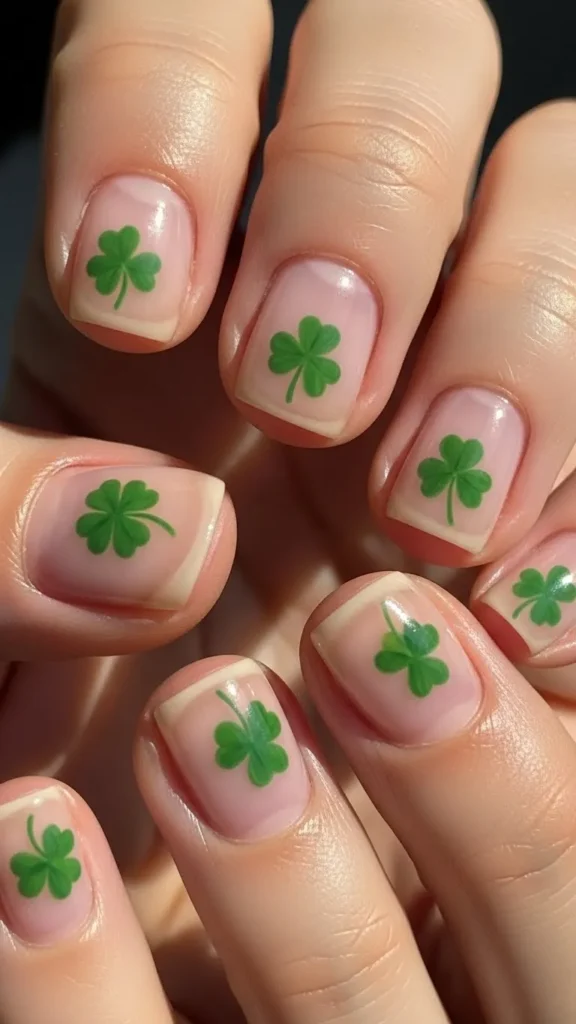
10. Micro Clover Nail Art
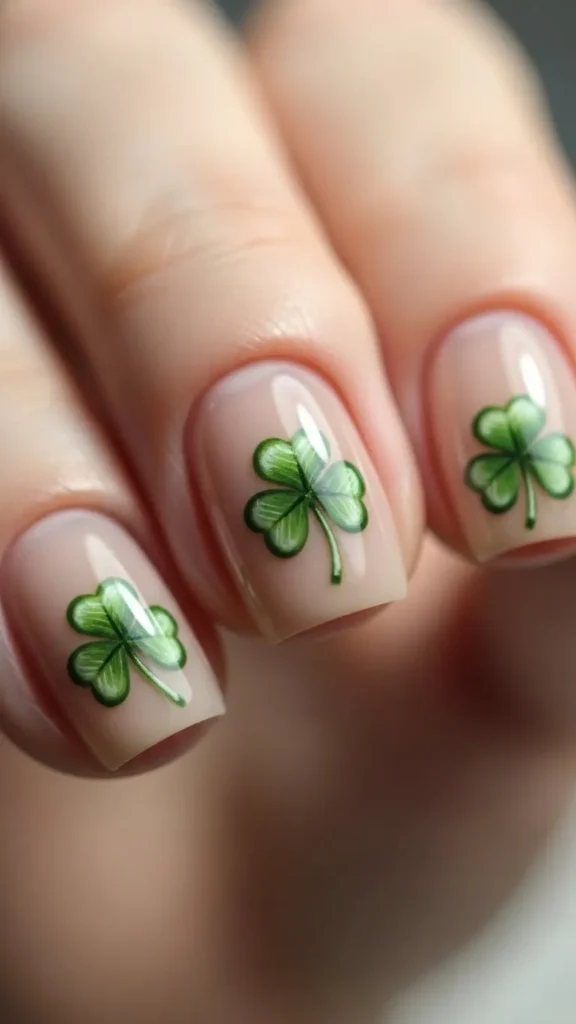
Micro clovers are tiny and cute. They work well on short nails. Use a toothpick or pin for dots.
Keep designs small so they don’t blur. This style suits minimal looks. It’s quick and easy to redo. A clear top coat protects the tiny details.
11. Clover and Heart Combo
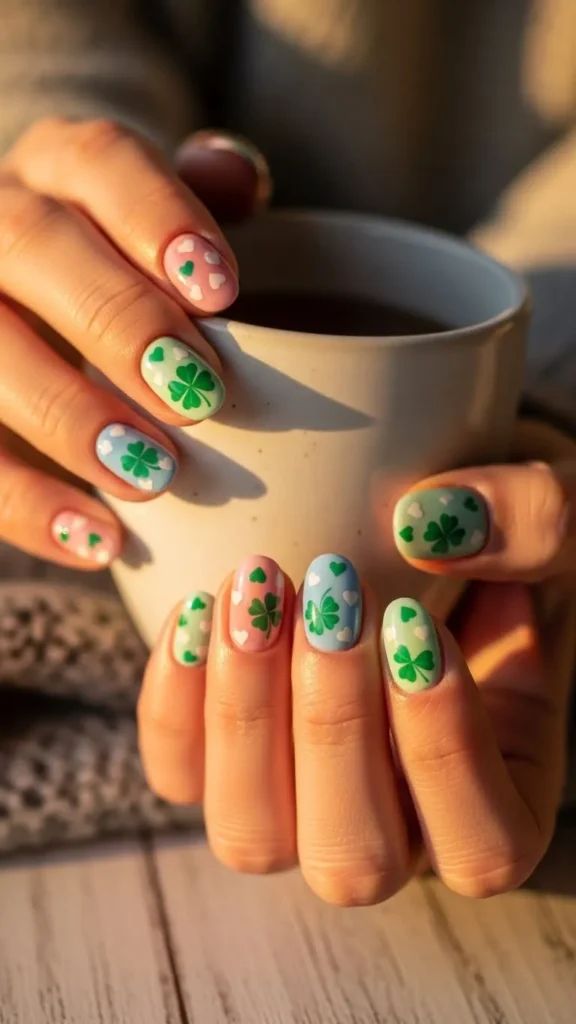
Mix clovers with hearts for a sweet feel. Use one symbol per nail or mix on accent nails.
Stick to two colors to keep things calm. This design works well for casual days. Use stickers if drawing feels tricky. Seal carefully so edges stay smooth.
12. Dark Green Clover Nails
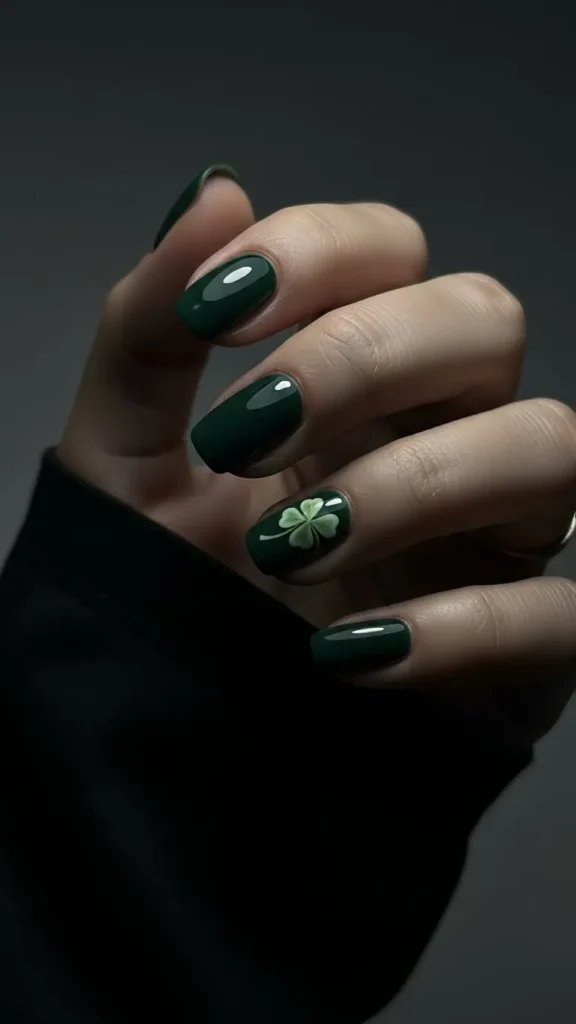
Dark green feels rich and stylish. Add clovers in white or pale green for contrast.
This style suits longer nails but works on short ones too. Use thin layers to avoid streaks. A glossy top coat adds shine and keeps color even.
13. Clover Nail Stickers Look
Stickers save time and effort. Place them on dry polish. Press edges flat. Seal with clear polish.
This method suits beginners. Stickers come in many sizes. Choose simple shapes for a clean result. They last longer with two top coat layers.
14. Clover Outline Art
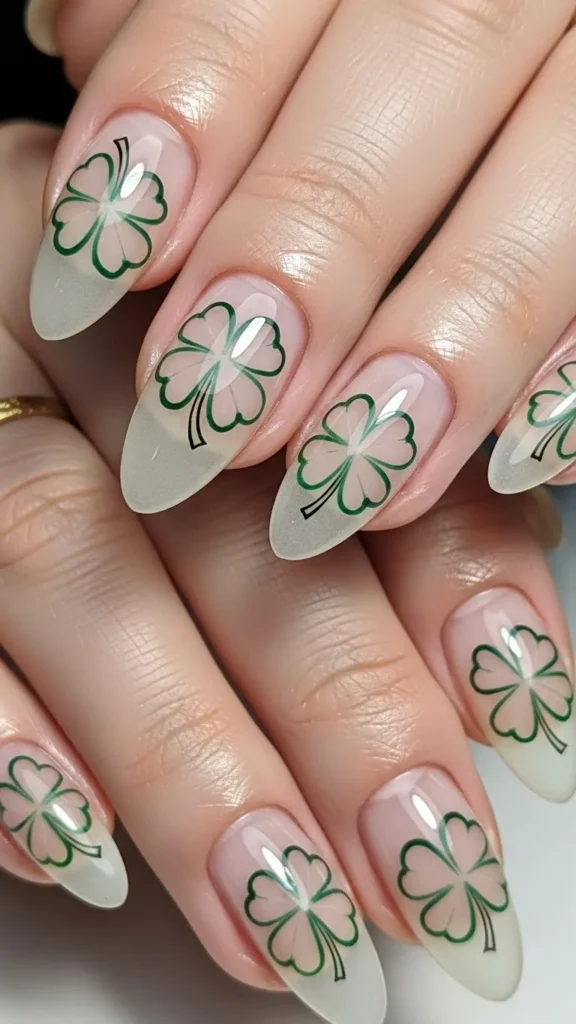
Outlined clovers feel light and modern. Use a thin brush and steady hand. Keep lines fine.
This style pairs well with sheer bases. It grows out nicely. Practice line control slowly. Finish with a smooth top coat.
15. Mixed Nail Shapes With Clovers
Mix shapes like dots, lines, and clovers across nails. Keep colors consistent.
This adds interest without crowding. Plan placement before painting. Use simple tools. This style feels creative but manageable.
16. Clover Corner Detail
Corner clovers feel subtle. Place them near the cuticle or side edge.
This keeps the design clean. It works well for work-friendly looks. Use a dotting tool for control. Seal edges well to avoid lifting.
17. Green and Nude Alternating Nails
Alternate solid green nails with nude ones. Add clovers only on nude nails.
This keeps contrast clear. It’s easy to maintain. Use colors you already own. This style works year-round.
18. Clover Nail Art With Dots
Add dots around clovers for texture. Use the same tool for both.
Keep spacing even. This design feels fun and friendly. It’s forgiving for beginners. A glossy finish smooths everything out.
19. Short Nail Clover Design
Short nails suit simple clovers best. Keep designs centered and small.
Avoid heavy layers. Thin polish works better. This style feels neat and easy to maintain. It’s perfect for daily wear.
20. Clover Nail Art With Lines
Add straight lines near clovers for structure. Use striping tape if needed.
This adds balance. Keep colors limited. This style feels clean and intentional without extra effort.
21. Glossy Green Clover Nails
High shine makes colors pop. Paint nails green. Add clovers in a lighter shade.
Use a thick top coat for shine. This look feels polished and bold while staying simple.
22. DIY Clover Nail Practice Set
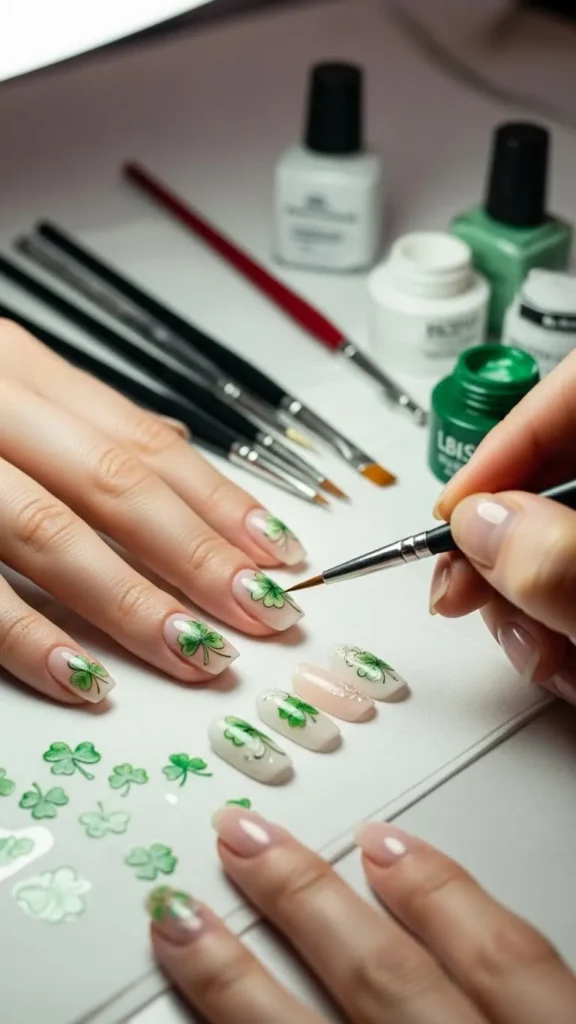
Practice on one hand first. Try different clover sizes. Clean up edges with a brush.
This helps build comfort. Use what you already own. Nail art improves with repetition. Keep designs simple and enjoy the process.
Conclusion
Clover nail art gives you many ways to add charm without extra cost or complicated steps. These ideas focus on simple tools, easy shapes, and styles that fit daily life. Pick one design or mix a few across the week. Save your favorites, try them at your own pace, and enjoy creating something personal right at home.