Personalized chocolates turn simple candy into something thoughtful and memorable. Custom molds make it easy to shape chocolate into designs that match a theme, celebrate a moment, or reflect personal style. You do not need professional tools or a big budget. Many of these ideas work with silicone molds, simple DIY inserts, or items already at home. Below are creative, realistic ways to shape chocolate that feel special while staying approachable.
1. Initial Letter Chocolates
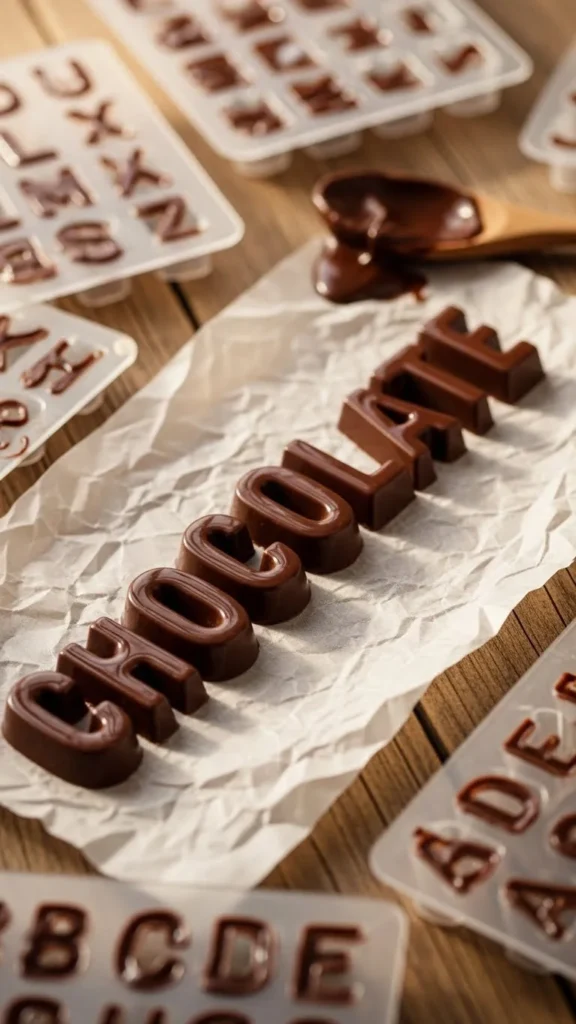
Letter molds are an easy way to add meaning to homemade candy. Use first initials for birthdays, favors, or gift boxes. Silicone alphabet trays are widely available and reusable. For a low-cost option, press clean plastic letter beads into soft silicone putty to form a mold.
Pour melted chocolate carefully to keep edges neat. Tap the mold lightly to release air bubbles. Wrap each letter in parchment for a handmade feel. Single-letter chocolates work well for small batches and keep ingredient costs low.
2. Name Plate Bars
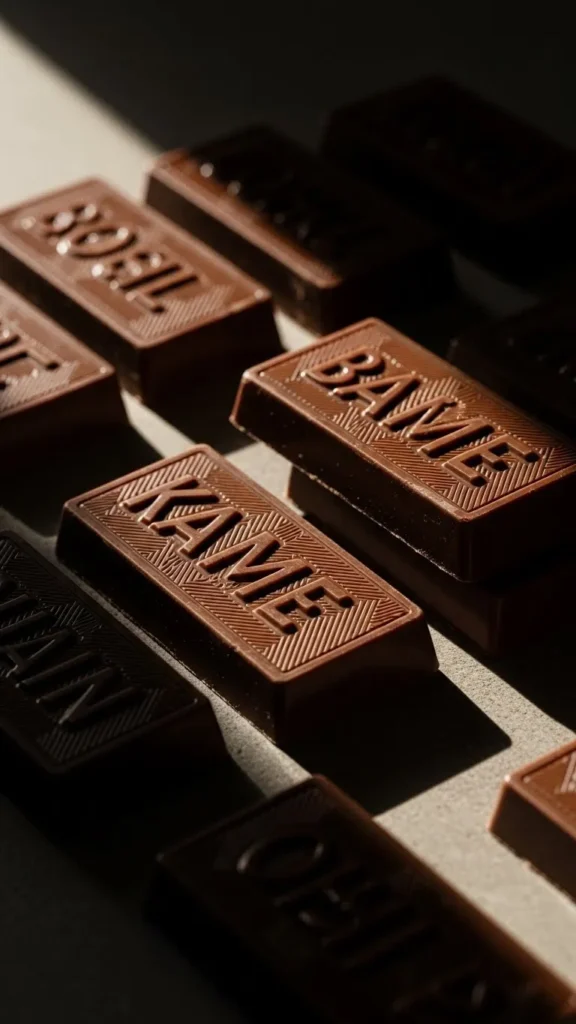
Flat bar molds can be customized with raised name inserts. Use food-safe silicone to create a thin strip with carved letters. Place it at the bottom of the mold before pouring chocolate.
This method lets you reuse the same bar tray for different names. Keep designs simple to avoid breakage. These bars suit party favors or thank-you gifts. Personalized bar molds make packaging feel thoughtful without extra decoration.
3. Heart With Date Stamp
Heart molds with a stamped date mark anniversaries and milestones. Use number stamps pressed gently into silicone before pouring. Another option is piping melted chocolate numbers onto the mold base.
Dates add meaning without cluttering the design. Pair with plain wrapping and a handwritten tag. Stamped chocolate hearts work well for small celebrations and can be made in batches over a weekend.
4. Baby Footprint Shapes
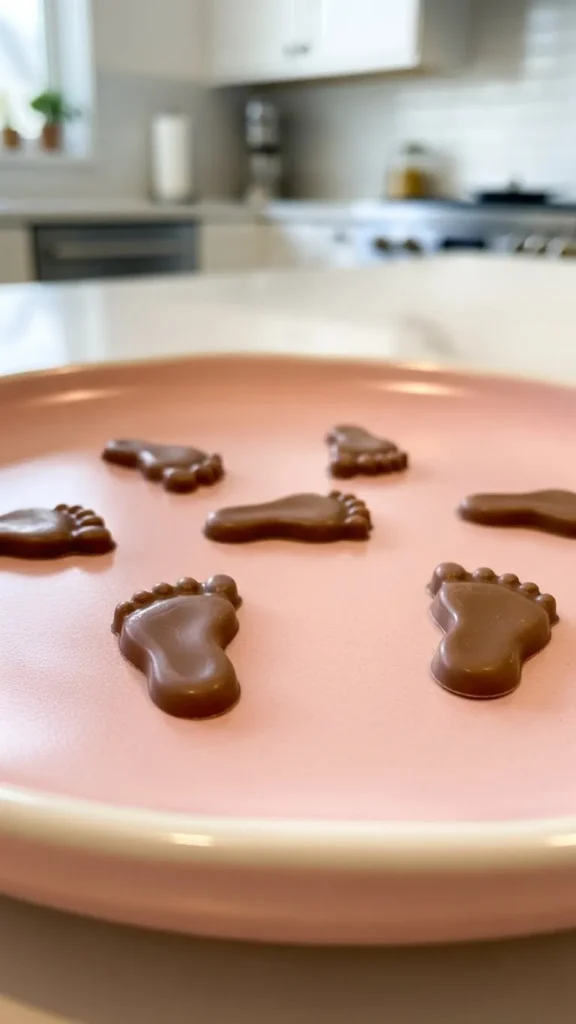
Baby-themed molds suit showers and welcome gifts. Footprint silicone trays are affordable and easy to clean. Keep chocolate smooth and avoid heavy toppings that hide the shape.
Use white or milk chocolate for softer visuals. Wrap in clear bags with ribbon. Footprint chocolates feel thoughtful while staying simple to produce at home.
5. Pet Paw Chocolates
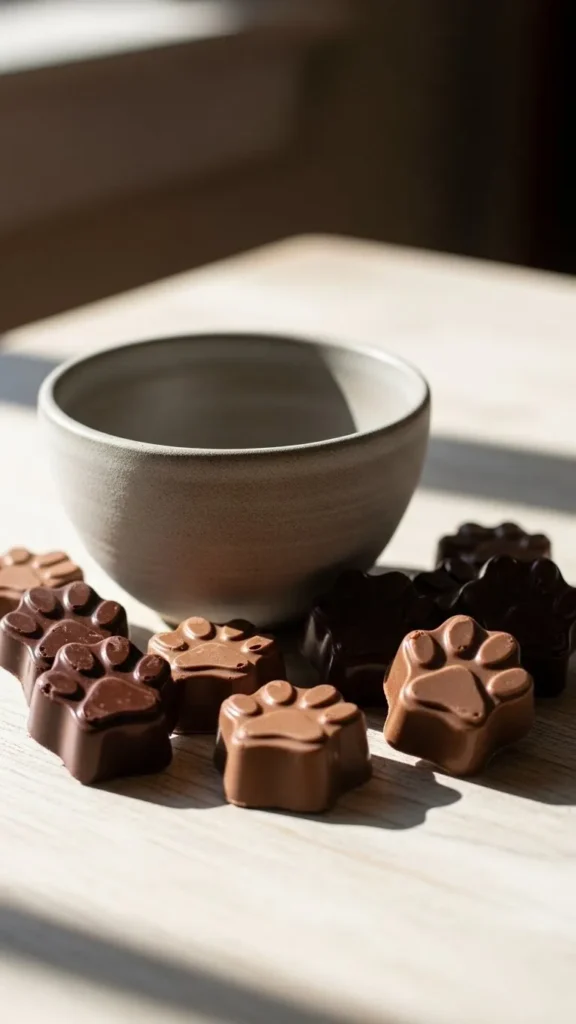
Paw molds appeal to pet lovers and charity events. Silicone paw trays are widely sold and last through many uses. For DIY versions, use clean paw-shaped cookie cutters set into silicone.
Stick with solid colors to keep details clear. These chocolates package well in small boxes. Paw print candy shapes are fun without adding complexity.
6. Custom Logo Discs
Small businesses can create logo discs using silicone inserts. Keep logos simple with bold lines. Avoid thin details that break easily.
Pour chocolate evenly and chill slowly. Use discs as gift add-ons rather than main items to save time. Logo chocolate molds help create branded treats without special equipment.
7. Star Sign Chocolates

Zodiac symbols work well in shallow molds. Use embossing tools to press symbols into silicone. Keep designs minimal so symbols remain readable.
These make thoughtful birthday gifts. Pair one or two pieces per sign. Star sign chocolate shapes offer personality without extra decoration.
8. Wedding Favor Monograms

Monogram molds suit weddings and engagements. Use shared initials in a single mold to reduce prep time. Silicone letter sheets help speed production.
Stick to classic shapes like rounds or squares. Package in pairs. Monogram chocolate favors stay cost-friendly while feeling planned.
9. Holiday Ornament Shapes
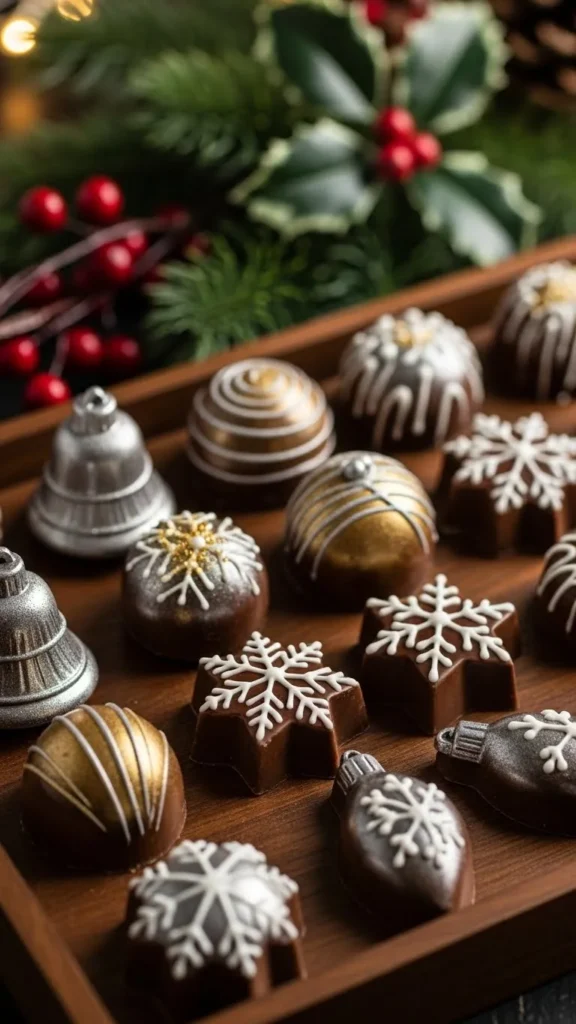
Seasonal ornament molds add charm to gift tins. Keep shapes shallow to avoid cracking. Use simple decorations like drizzles or nuts.
These molds store flat and reuse yearly. Ornament chocolate molds work well for batch gifting.
10. Photo Silhouette Chocolates
Turn a simple profile into a silhouette mold. Trace the outline onto silicone using a toothpick. This works best for clear side profiles.
Limit size to avoid fragile edges. Silhouette chocolate shapes feel personal with minimal tools.
11. Handwritten Message Pieces
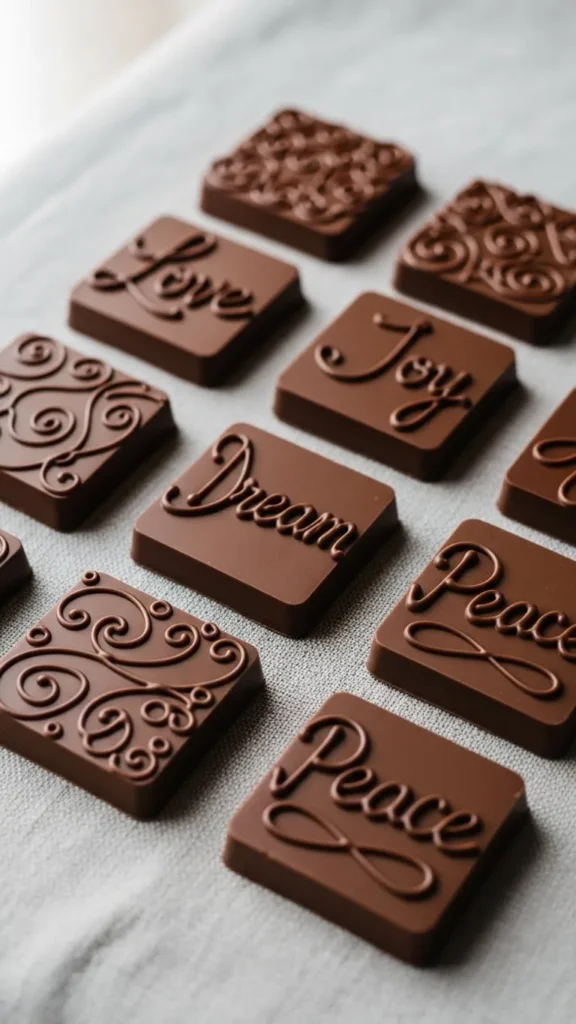
Write short messages in piping chocolate, let set, then pour over in a mold. This keeps letters bold and readable.
Use short words or initials. Handwritten chocolate designs add warmth without printed labels.
12. School Mascot Treats
Mascot molds suit team events. Simplify designs to outlines. Silicone carving tools help shape basic forms.
Produce in small runs for events. Mascot chocolate molds keep costs manageable.
13. House Key Shapes

Key molds work for housewarming gifts. Silicone key trays are easy to find. Keep chocolate thick enough to hold shape.
Wrap with simple tags. Key-shaped chocolates feel thoughtful without extra effort.
14. Custom Coin Chocolates
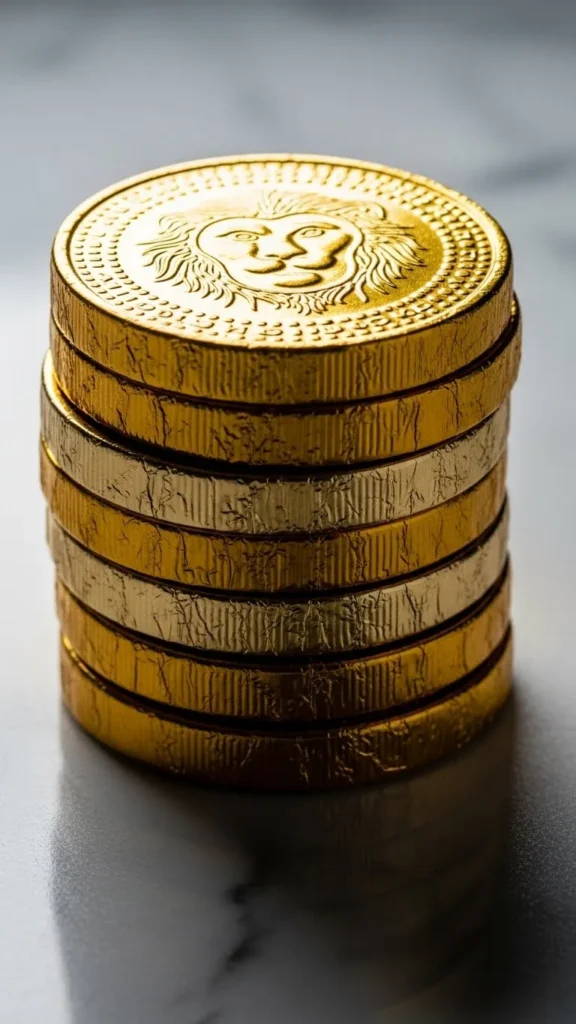
Coin molds allow stamped symbols or initials. Press designs lightly into silicone. Use solid colors for contrast.
These stack easily for packaging. Custom chocolate coins suit party favors.
15. Puzzle Piece Chocolates
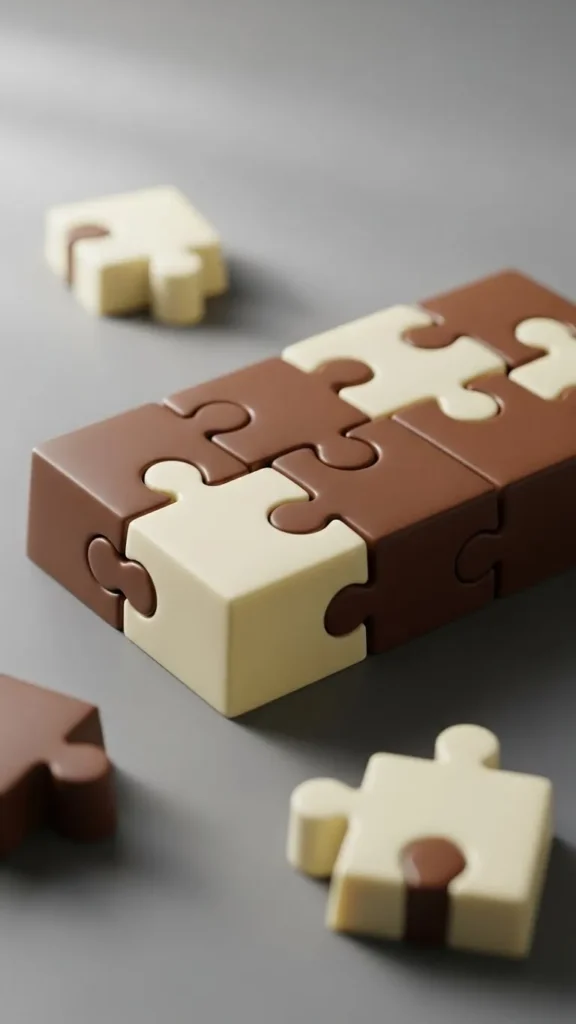
Puzzle molds symbolize connection. Use silicone trays with clear edges. Keep designs plain.
Package sets together. Puzzle chocolate pieces add meaning with simple shapes.
16. Birth Flower Shapes

Flower molds tied to birth months feel personal. Choose shallow designs for easy release.
Label outside packaging instead of molding text. Birth flower chocolates stay clean and simple.
17. Custom Number Sets
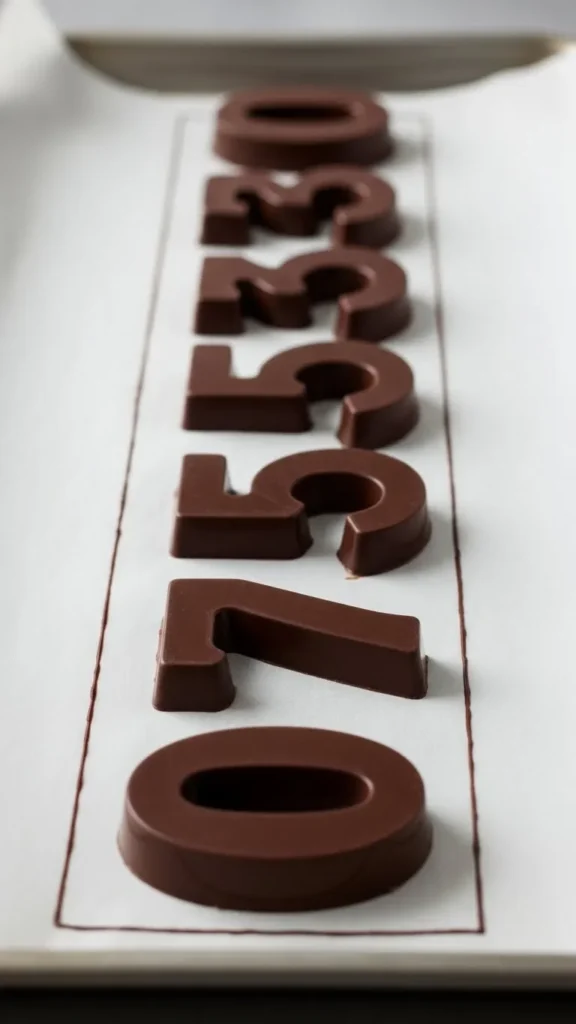
Number molds mark ages and milestones. Silicone number trays are reusable and budget-friendly.
Stick to single colors. Chocolate number molds suit birthdays and events.
18. Travel Landmark Shapes
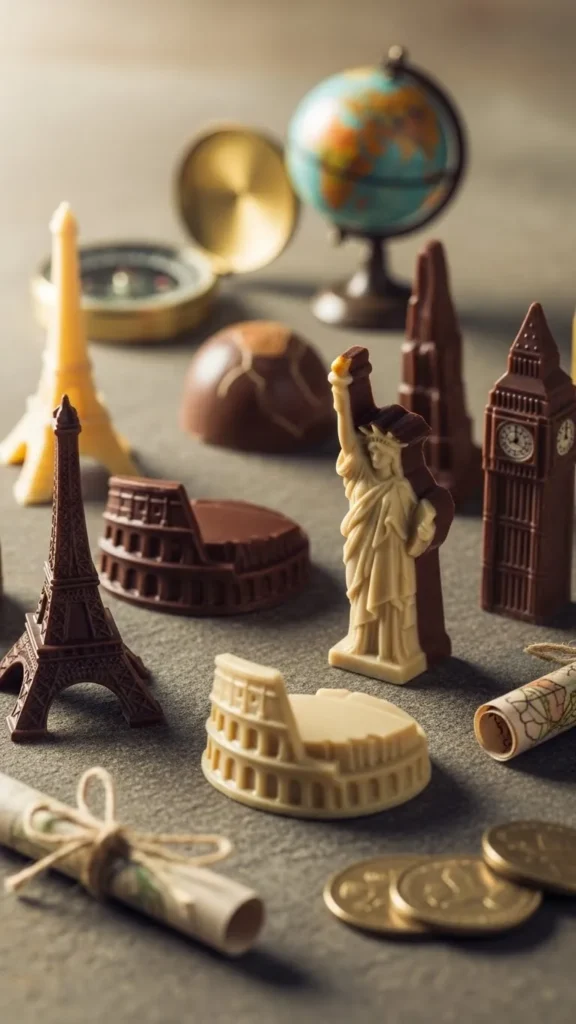
Simple landmark outlines work well in molds. Avoid tiny details. These suit themed parties.
Make small batches per design. Landmark chocolate molds add story without extra work.
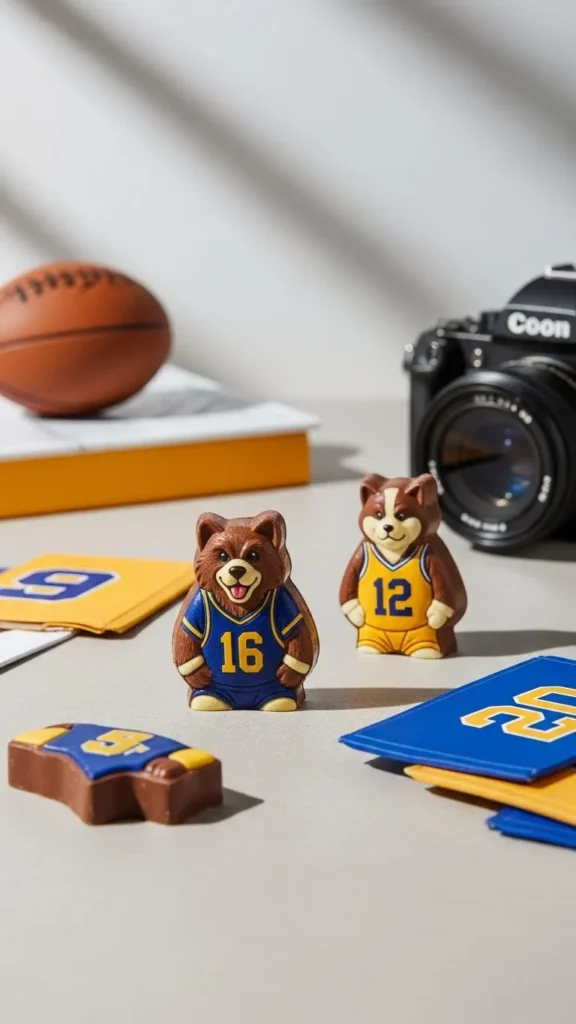
19. Sports Jersey Icons
Jersey molds fit team events. Keep numbers raised but thick. Avoid thin lines.
Wrap in team colors. Jersey-shaped chocolates feel playful yet simple.
20. Custom Emoji Faces
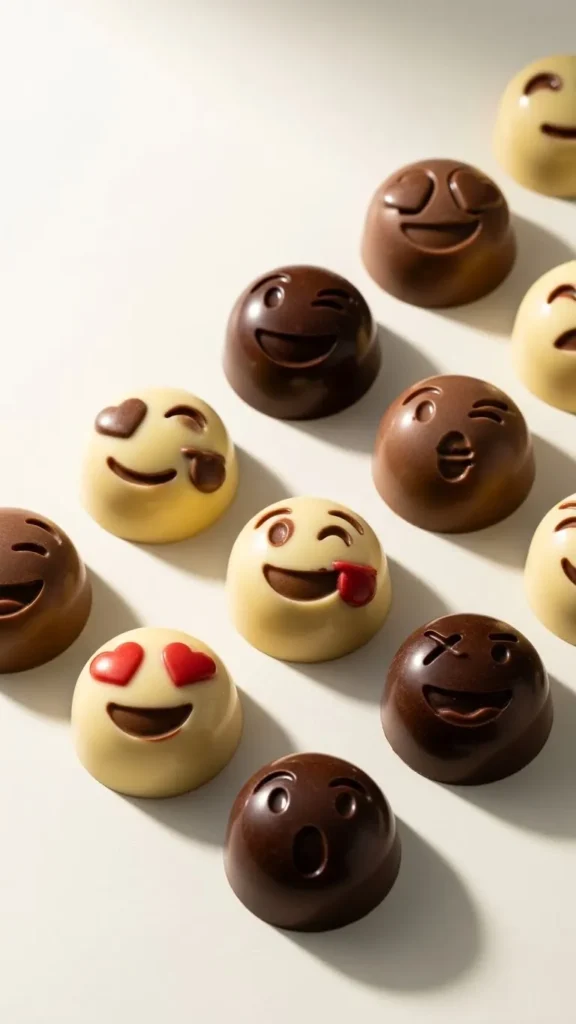
Emoji molds are fun and familiar. Use shallow molds and simple faces.
Limit details to eyes and mouths. Emoji chocolate shapes suit casual gifting.
21. Family Crest Shapes
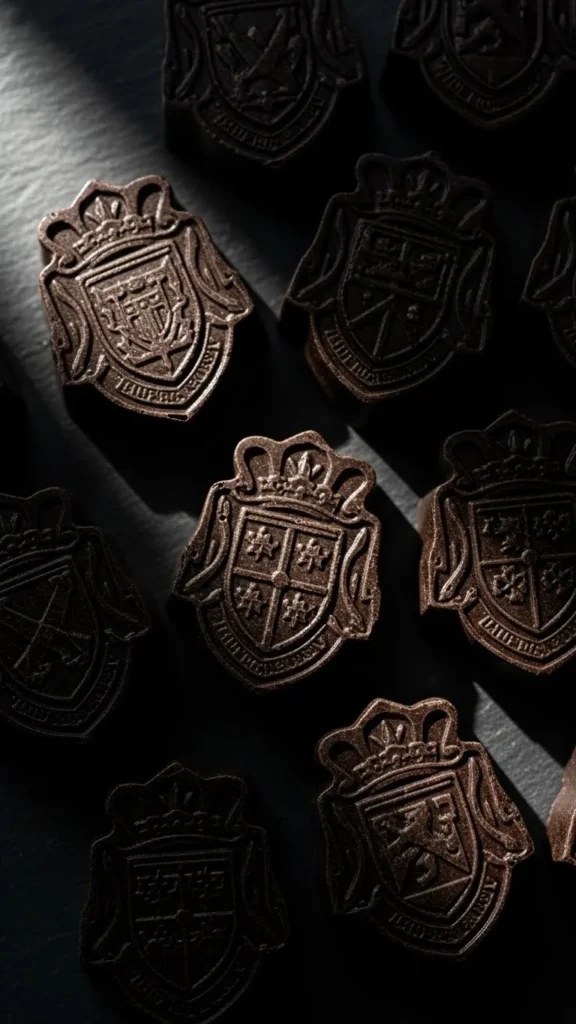
Simplify crests to outlines. Use silicone carving for raised edges.
These work best as keepsake treats. Crest chocolate molds feel meaningful with planning.
22. Seasonal Leaf Shapes
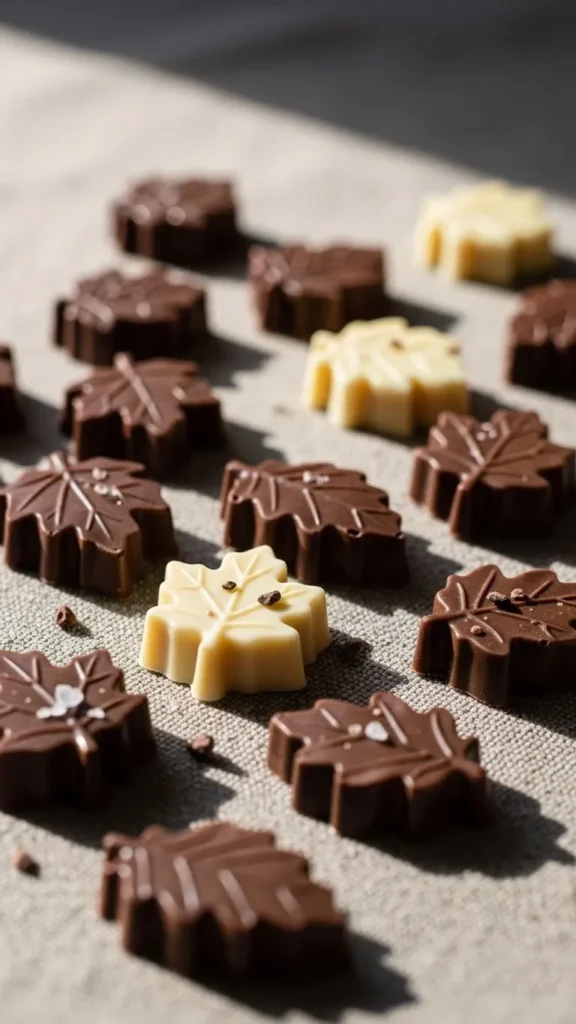
Leaf molds suit fall and spring themes. Use solid colors.
These shapes release easily. Leaf chocolate molds work across seasons.
23. Custom Stamp Seal Chocolates
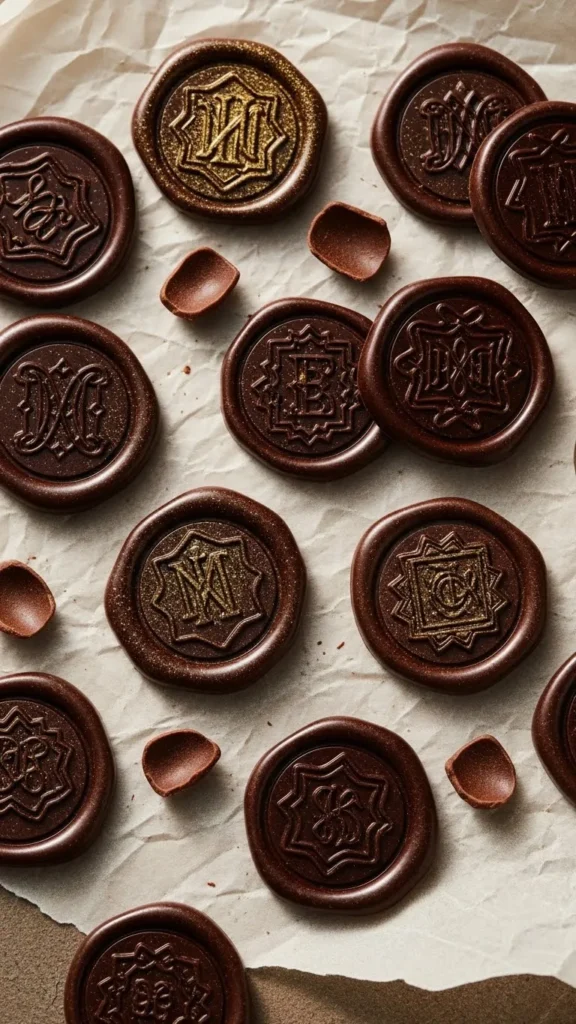
Seal-style molds mimic stamped designs. Use round molds with pressed symbols.
These suit gift boxes. Seal-inspired chocolate shapes add detail without tools.
24. Mini Portrait Cameos
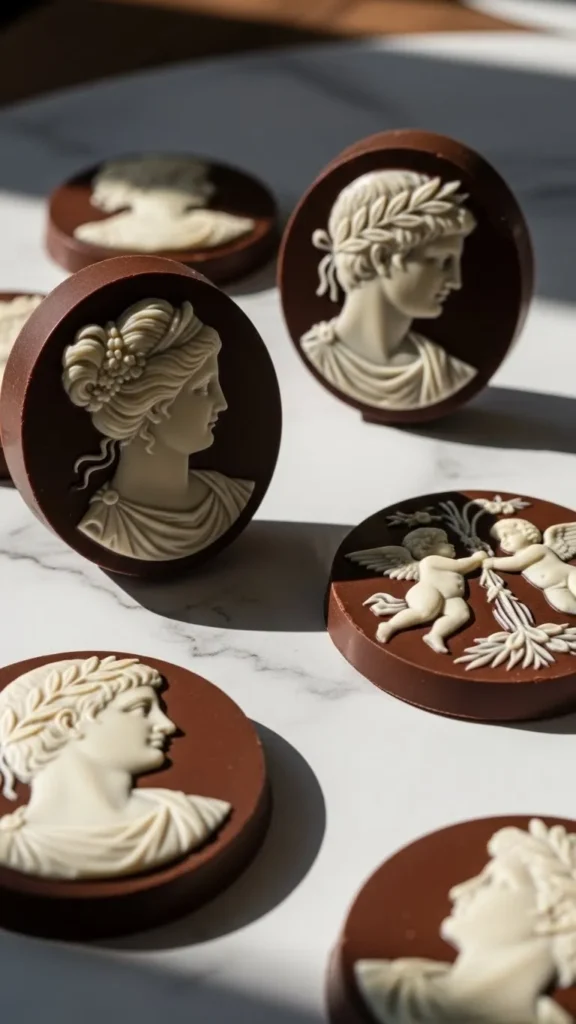
Cameo molds frame simple silhouettes. Keep faces minimal.
Use as accent pieces. Portrait cameo chocolates feel thoughtful in small quantities.
25. Simple Shape With Custom Insert
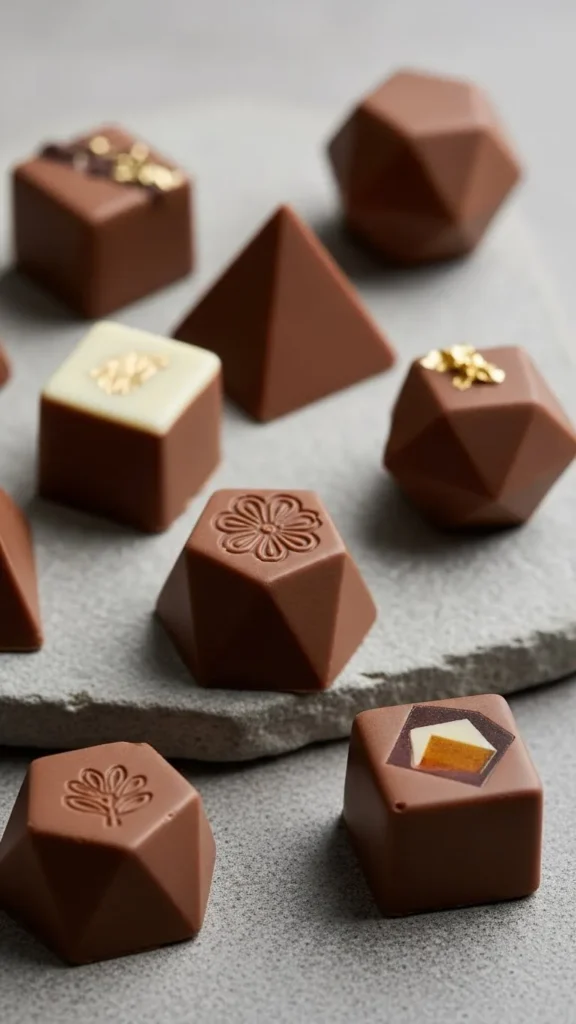
Use basic molds and swap inserts for different designs. This keeps costs low.
Change themes without buying new trays. Insert-based chocolate molds allow variety on a budget.
Conclusion
Custom chocolate molds turn everyday candy into something personal and memorable. With silicone trays, simple inserts, and careful pouring, you can shape treats that reflect names, moments, and shared interests. Start with one or two designs, practice small batches, and reuse molds often. Save your favorite ideas and plan a weekend session to try a few. Personalized candy feels special when it is made with care and simple tools.