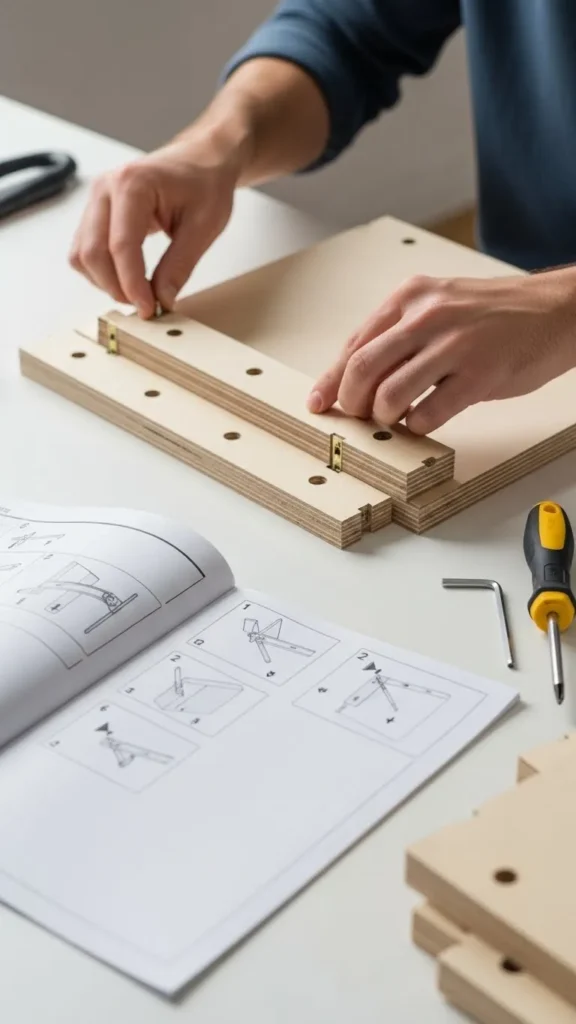
You open the box. A hundred wooden pieces. Tiny screws in plastic bags. An instruction booklet that looks more like abstract art than guidance. Flat-pack furniture can feel intimidating—but it doesn’t have to be. With the right approach, you can assemble it smoothly, avoid costly mistakes, and actually enjoy the process.
This guide walks you through clear, practical steps so your furniture ends up sturdy, straight, and frustration-free.
Prepare Before You Touch a Screw
Most assembly mistakes happen before the first piece is connected. A little prep saves hours later.
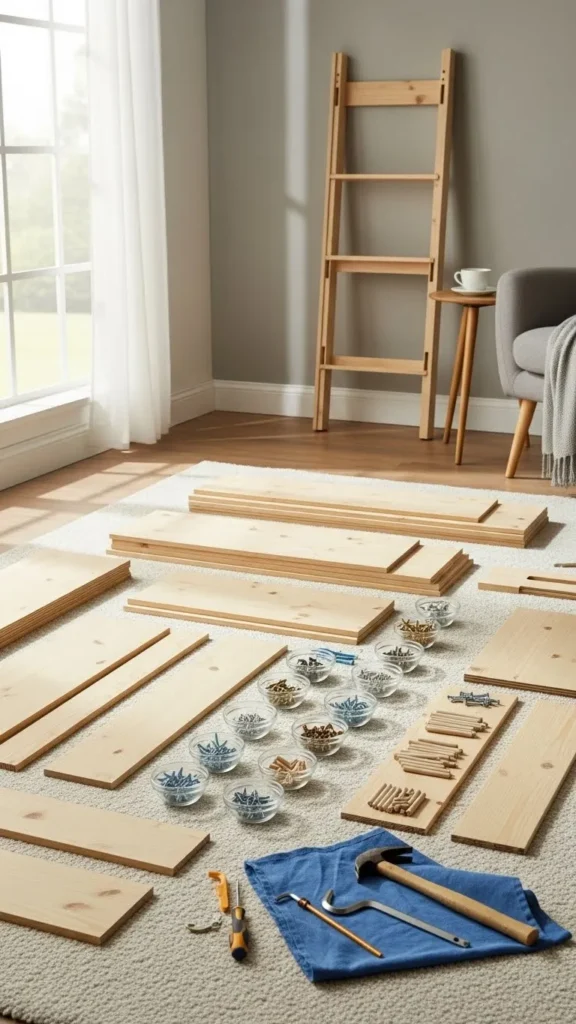
Start by clearing enough space. You need room to lay out long panels without stacking them. Tight spaces lead to scratches and missed steps.
Then:
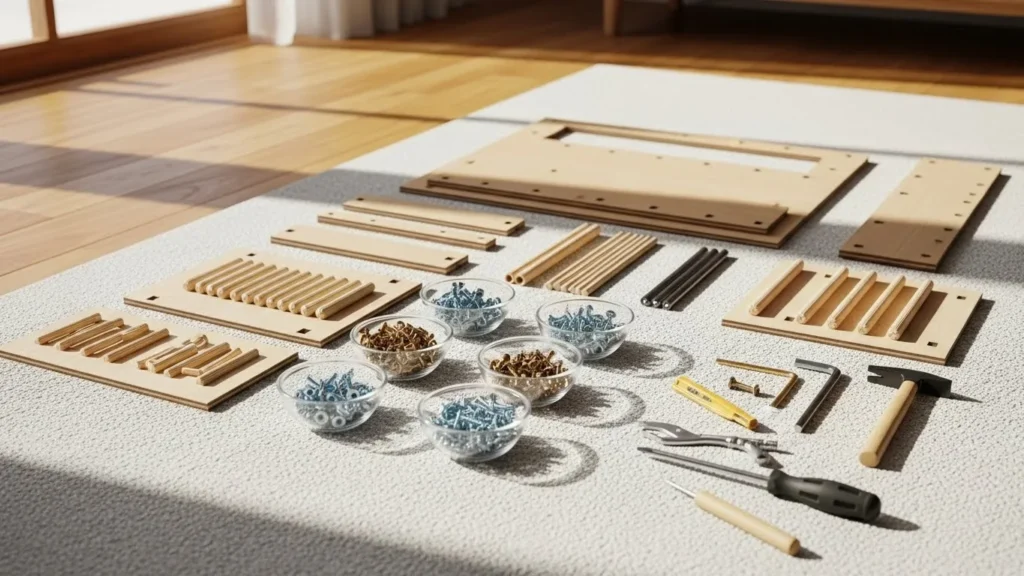
- Unbox everything carefully
- Lay pieces flat and visible
- Group similar panels together
- Sort screws and fittings into small containers or bowls
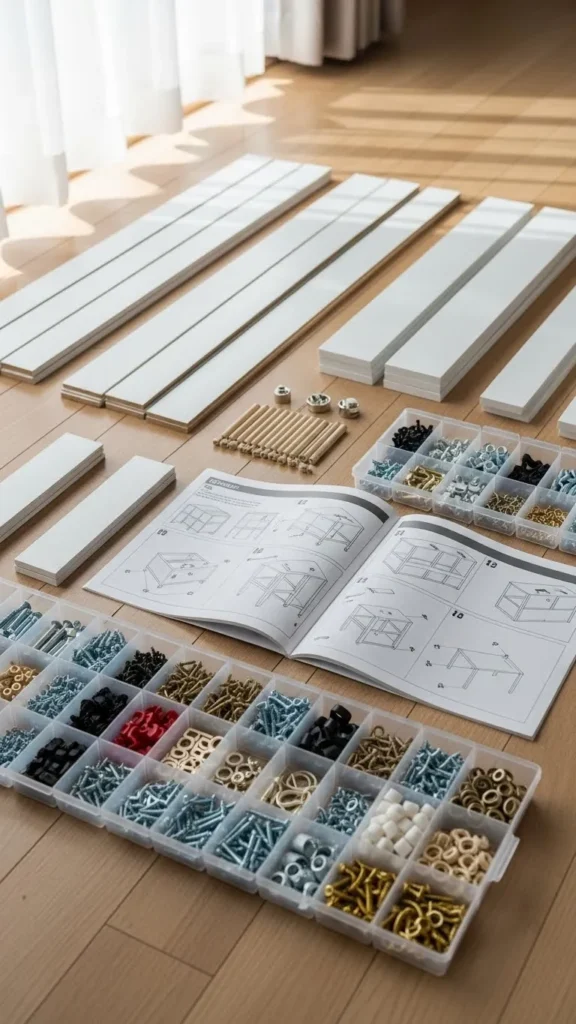
Next, skim the entire instruction manual once. Don’t assemble yet—just look for:
- Repeating steps
- Parts used later
- Warnings or symbols
This quick read helps you avoid building something backward.
Match Every Part Before Assembly
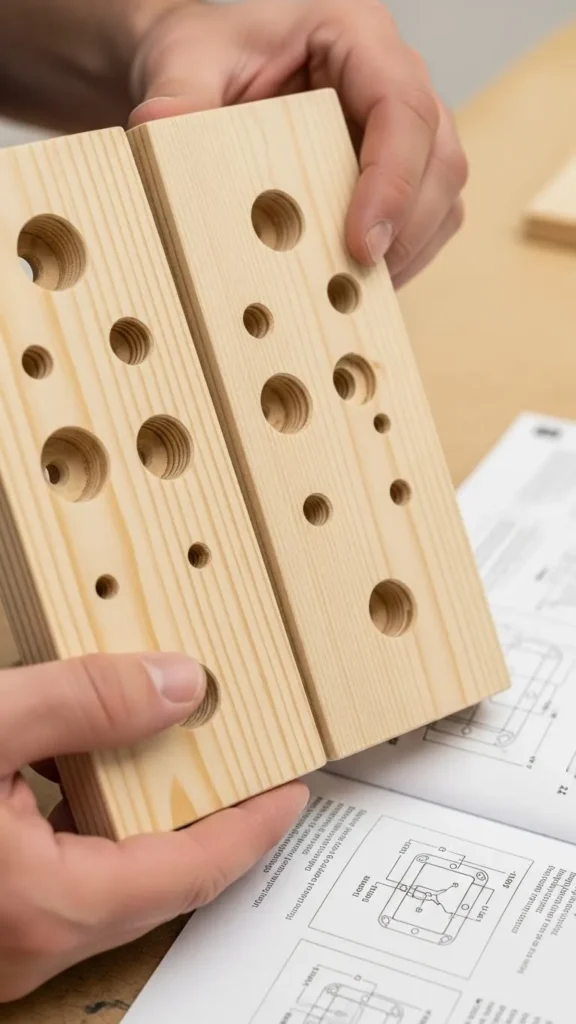
Flat-pack furniture often includes parts that look identical—but aren’t.
Before starting:
- Compare each panel to the diagram
- Check hole placement and edge finishes
- Label pieces lightly with painter’s tape if needed
A common mistake is mixing up left and right panels. If one side has pre-drilled holes closer to the edge, it matters.
Take your time here. Five extra minutes of checking can prevent a full teardown later.
Use the Right Tools (and Skip the Rush)
Many kits include a small hex key. It works—but it’s not always ideal.
Helpful tools to have:
- Rubber mallet (gentle tapping only)
- Manual screwdriver with a comfortable grip
- Small flashlight for dark corners
Avoid power drills unless the instructions clearly allow them. Over-tightening can strip holes or crack boards.
Pro tip:
- Tighten screws partially at first
- Fully tighten only after all pieces align
This flexibility keeps frames square and prevents wobbling.
Follow the Order—Even If It Feels Slow
Flat-pack instructions are designed in a specific sequence for a reason. Skipping ahead usually causes problems.
Stick to these habits:
- Complete one step fully before moving on
- Double-check orientation arrows
- Don’t assume symmetry
If something doesn’t fit easily, stop. Forcing parts together often means something is upside down or reversed.
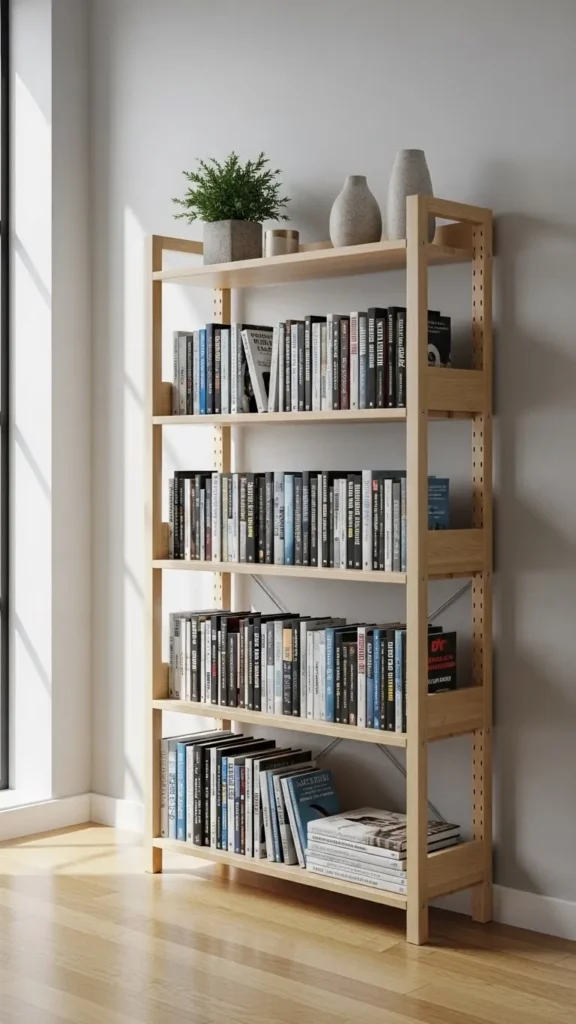
Keep Everything Level and Square
Furniture that looks fine during assembly can wobble once upright if it’s not square.
To prevent this:
- Assemble on a flat surface
- Periodically check corners and edges
- Adjust alignment before final tightening
For shelves or cabinets, attach the backing panel carefully. That thin panel plays a huge role in stability.
Quick check:
- If corners don’t line up evenly, loosen screws and realign
- Don’t ignore small gaps—they grow into big issues later
Final Tightening and Safety Check
Once fully assembled, go back and tighten all screws evenly.
Before using the furniture:
- Gently shake it to test stability
- Check that drawers slide smoothly
- Ensure doors open and close without rubbing
If wall anchors are included, use them—especially for tall units. They prevent tipping and add peace of mind.
Takeaway: Slow Down and Get It Right
Flat-pack furniture doesn’t require special skills—just patience and a smart process. Prep your space, respect the instructions, and avoid rushing. The result is furniture that looks better, lasts longer, and doesn’t need fixing later.
Save this guide for your next assembly day—you’ll thank yourself when everything fits perfectly the first time.