If you’ve got leftover fabric scraps piling up, this is the perfect cozy Christmas project. A soft DIY fabric wreath looks charming, feels handmade, and costs almost nothing to create. Plus, it’s one of those relaxing crafts you can do while watching your favorite holiday movie.
This tutorial walks you step-by-step through the process—no sewing machine required. Every scrap becomes a little piece of festive magic.
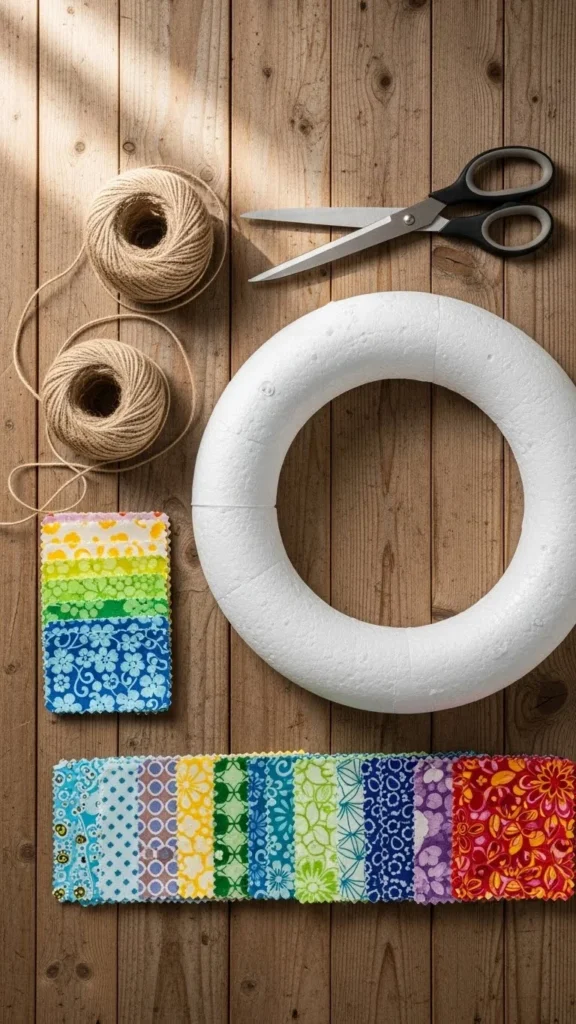
Gather Your Materials
Creating your own fabric wreath is easier than you think. You only need simple supplies you probably already have.
- A round foam wreath base
- Mixed fabric scraps (cotton, flannel, gingham, felt, linen, etc.)
- Scissors
- Ribbon or twine for hanging
- Optional embellishments: mini bells, pinecones, faux berries, buttons, or small ornaments
Choosing the Best Fabric Scraps
The beauty of this wreath is that you can mix patterns and textures freely. Try using:
- Red and green plaid for a classic Christmas look
- Creamy neutrals for a minimal farmhouse vibe
- Glittery fabric pieces for a festive sparkle
- Old flannel shirts or leftover quilt pieces for a cozy texture
If your scraps vary in size, don’t worry. You’ll trim and shape them later.
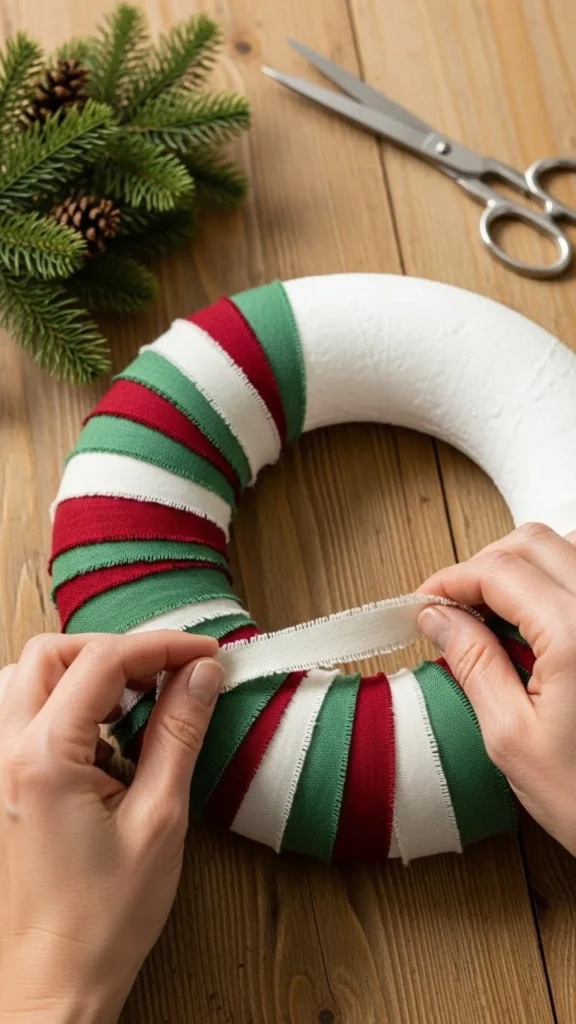
Cut the Fabric Into Strips
To get that fluffy, soft wreath look, your fabric strips need to be roughly the same size.
Recommended Size
- Length: 6–8 inches
- Width: 1–2 inches
This size is perfect for tying secure knots without creating bulk.
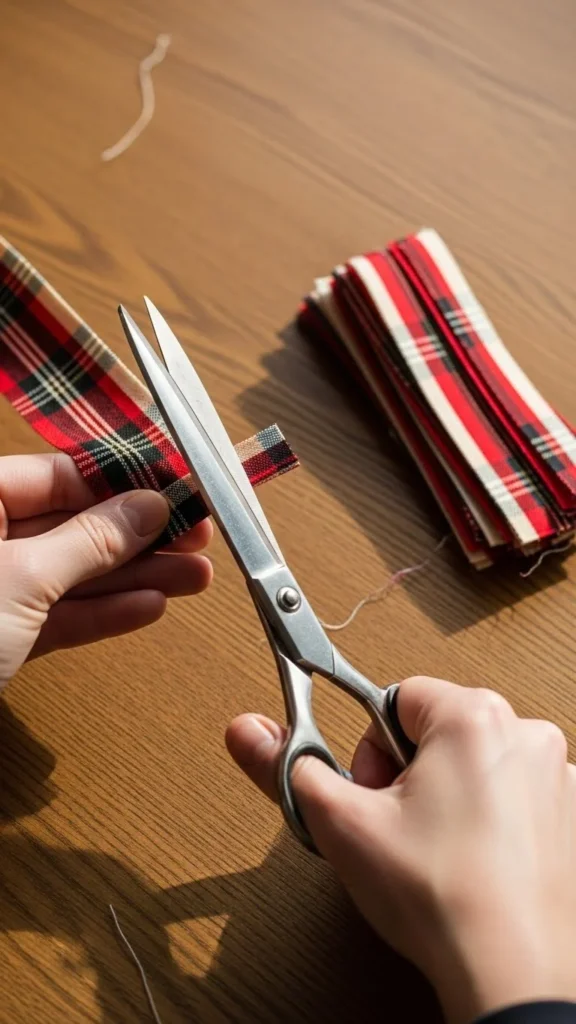
Helpful Cutting Tips
- Fold fabric layers to cut multiple strips at once.
- Use pinking shears if you want a textured edge.
- Mix narrow and wide strips to add dimension.
Don’t stress about perfection—uneven pieces make the final wreath look charming and handmade.
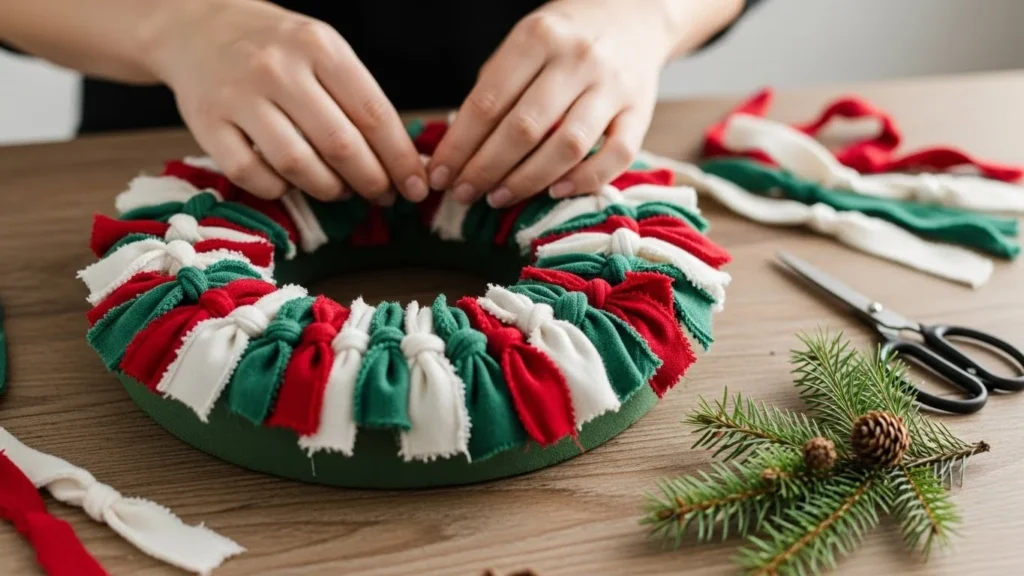
Start Tying the Strips Around the Wreath Base
This is where the magic happens. Each fabric strip gets tied around the foam base to create a full, fluffy wreath.
How to Tie the Knots
- Wrap a strip around the foam ring.
- Tie a simple double knot.
- Slide the knot tightly against the previous one.
- Continue until the wreath is completely covered.
You’ll notice the wreath filling out beautifully as you work your way around the circle.
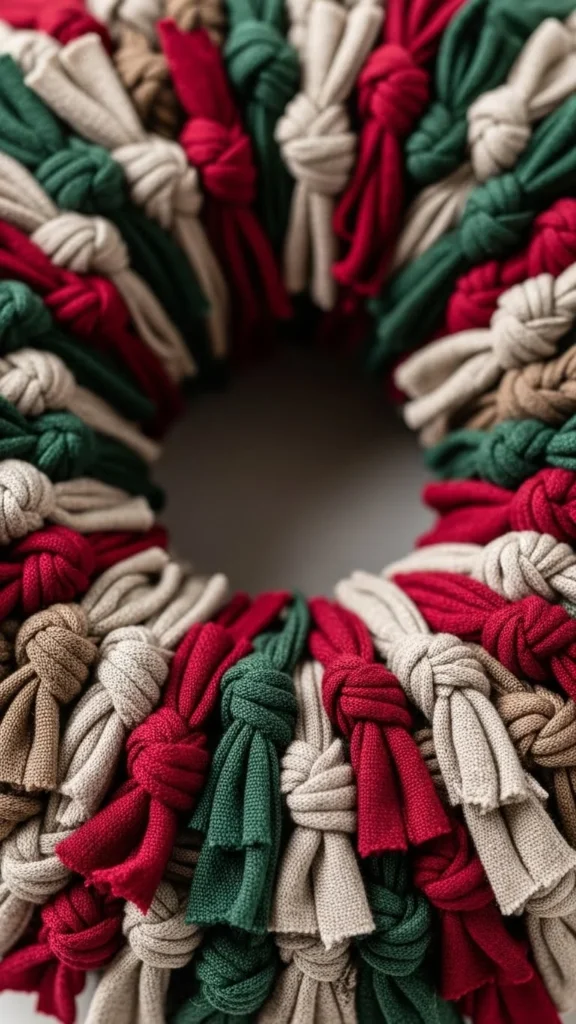
Tips for a Full, Soft Look
- Rotate the wreath as you work to keep the knots evenly distributed.
- Alternate colors and patterns for a balanced design.
- Add extra strips anywhere that looks thin.
This part is wonderfully repetitive, calming, and perfect for a cozy winter afternoon.
Customize and Add Pretty Details
Once your base is fully covered, it’s time to make it uniquely yours.
Simple and Beautiful Add-Ons
- Faux berries or greenery: Tuck small pieces between the knots.
- Mini ornaments or bells: Tie them directly onto a few fabric strips.
- Buttons: Hot-glue them to create cute accents.
- Ribbon bow: Add a large bow to the bottom or top for a classic finish.
Keep the decorations simple if you want the fabric texture to shine.

Make It Hang Ready
- Cut your ribbon or twine to the length you prefer.
- Loop it around the top of the wreath.
- Tie a knot or create a hanging bow.
Now it’s ready for a door, wall, mantel, or even your kitchen cabinets.
Display and Enjoy Your Handmade Wreath
A DIY Christmas fabric wreath adds instant warmth to any space. It’s soft, inviting, and full of personality—everything holiday decor should be. You can match the colors to your theme or create several smaller versions for gifts.
Where to Display It
- Front door
- Above the fireplace
- On a bedroom wall
- On cabinet doors
- In a hallway gallery wall
Because the wreath is lightweight and soft, it’s easy to hang anywhere without damage.
Final Takeaway
This soft DIY fabric wreath is proof that beautiful Christmas decor doesn’t have to cost much. With a few scraps, a bit of time, and a little creativity, you can make something charming and personal that lights up your home all season long.
Save this craft idea for later and make one for every room!