Big artwork has the power to completely change a room—but hanging it can feel intimidating. One wrong move, and you’re stuck with crooked frames, damaged walls, or holes you wish you could undo. The good news? With a little planning and the right approach, you can hang large artwork confidently and cleanly, without drilling mistakes or unnecessary stress.
Below is a simple, step-by-step guide to help you get it right the first time.
Start With the Right Placement (Before You Touch the Wall)
Most hanging mistakes happen before anything goes on the wall. Taking time here saves you from patching, repainting, and re-measuring later.
A few easy rules to follow:
- The center of the artwork should sit about 57–60 inches from the floor
- Above furniture, leave 6–10 inches of space between the frame and the top of the piece below
- Large art looks best when it fills about two-thirds the width of the furniture beneath it
Before committing:
- Cut paper the same size as your artwork
- Tape it to the wall
- Step back and live with it for a day
This trick makes it easy to adjust height and position without leaving a mark.
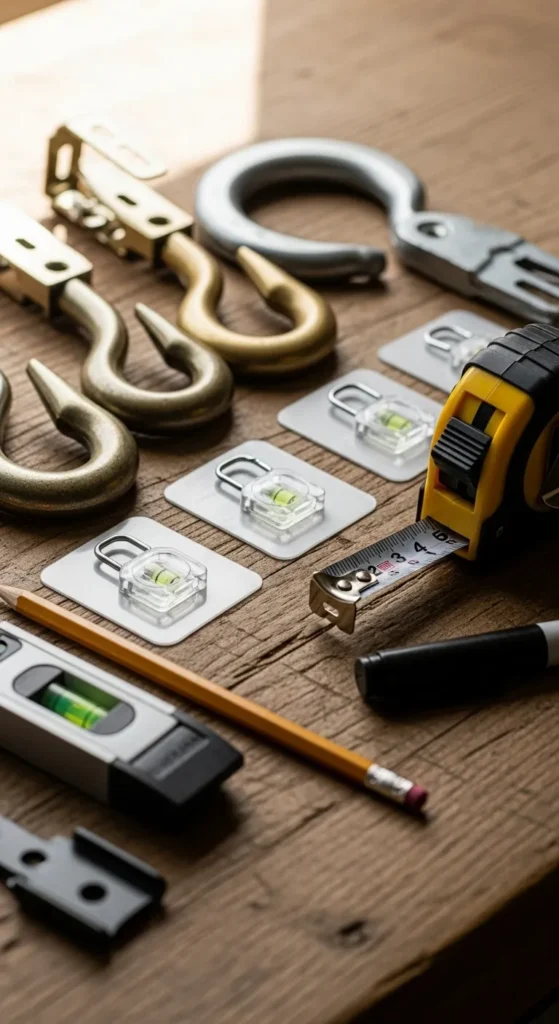
Use the Right Hanging Tools for Large Pieces
Not all hooks and hangers are created equal—especially for oversized frames. Choosing the wrong hardware is one of the fastest ways to end up with wall damage.
Reliable options include:
- Heavy-duty picture hooks with angled nails
- Adhesive hanging systems rated for high weight
- Wall anchors designed for drywall or plaster
Always check:
- The weight rating (and stay well under the limit)
- The wall type you’re working with
- Whether the hanger allows small adjustments after hanging
If your artwork feels borderline heavy, it’s better to use two hanging points instead of one.
Measure and Level Like a Pro (Without Overthinking It)
Eyeballing large artwork almost always leads to crooked results. A few simple tools make a huge difference.
What you’ll need:
- Measuring tape
- Pencil
- Level
- Painter’s tape
Helpful tips:
- Measure from the top of the frame down to the hanging wire
- Mark both hook points lightly with pencil
- Use painter’s tape to visualize the frame edges
- Double-check level before letting go
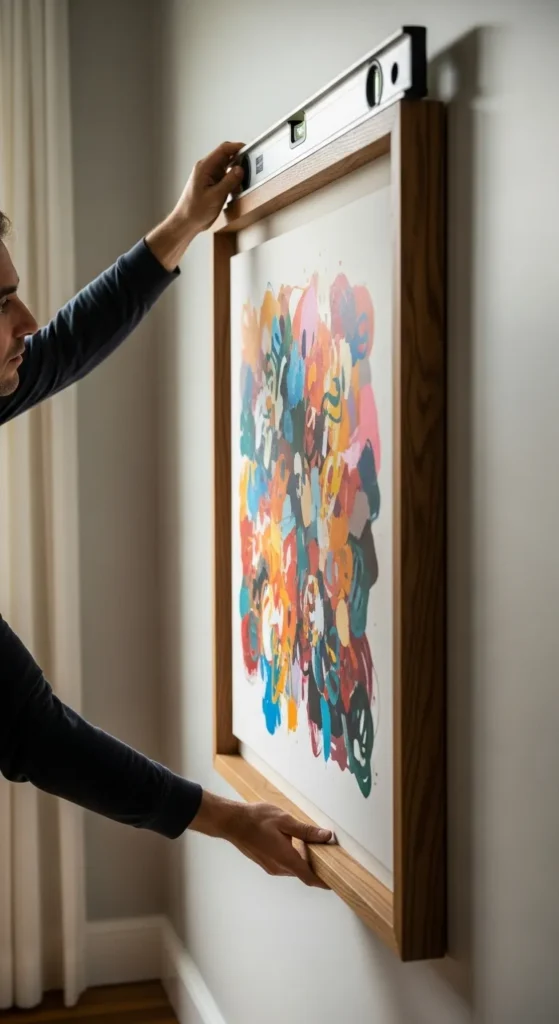
Take your time here—this is where precision pays off.
Prevent Common Wall Damage Mistakes
Large artwork puts more stress on walls than small frames. Avoid these common issues to keep your walls looking fresh.
Mistakes to avoid:
- Using nails that are too small
- Hanging from drywall without proper support
- Pulling adhesive strips off too quickly
- Skipping the level check
To protect your wall:
- Angle nails slightly upward for better grip
- Use wall anchors when needed
- Follow removal instructions exactly
- Add felt pads to the back corners of frames
These small steps help prevent cracks, peeling paint, and unwanted marks.
Make Large Art Look Balanced and Intentional
Even perfectly hung art can feel “off” if it’s not styled thoughtfully.
Simple styling ideas:
- Center artwork with nearby furniture
- Keep surrounding decor minimal
- Use lighting to highlight the piece
- Let large art stand alone instead of crowding it

Large artwork works best when it’s allowed to breathe.
When to Recheck and Adjust After Hanging
Once your artwork is up, don’t rush away. Large pieces can shift slightly as the wire settles.
Do a quick follow-up:
- Check level again after an hour
- Adjust hooks if needed
- Tighten hanging wire if it loosens
- Make sure adhesive systems are fully set
Catching tiny shifts early keeps everything looking polished long-term.
Final Takeaway
Hanging large artwork doesn’t have to feel risky or overwhelming. With smart placement, proper tools, and careful measuring, you can avoid drilling mistakes and achieve a clean, professional look.
Take your time, trust the process, and don’t skip the prep—it’s what makes the final result feel effortless.
Save this guide for later, and hang your next statement piece with confidence.