Creating a Christmas display that feels bright, cheerful, and totally one-of-a-kind doesn’t have to be complicated. A colorful DIY bauble garland is one of the easiest décor projects you can make—and it instantly transforms your mantel, staircase, doorway, or dining table into a festive showstopper. Whether you love bold jewel tones, metallics, or pastel holiday vibes, this garland gives you total creative freedom.
Let’s walk through how to make your own version that looks vibrant, polished, and totally custom.
Gather Your Supplies
Before you begin, collect everything you’ll need. This keeps the project quick, smooth, and enjoyable.
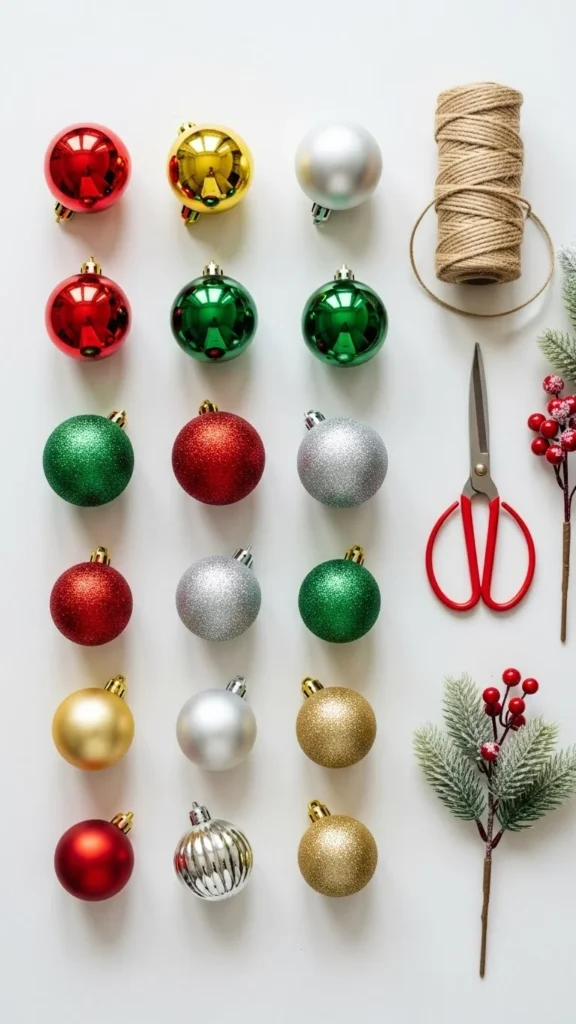
You’ll need:
- A mix of baubles in different sizes (shatterproof recommended)
- Strong twine, ribbon, or thin rope
- Hot glue gun (optional)
- Scissors
- Small greenery pieces or faux leaves (optional accents)
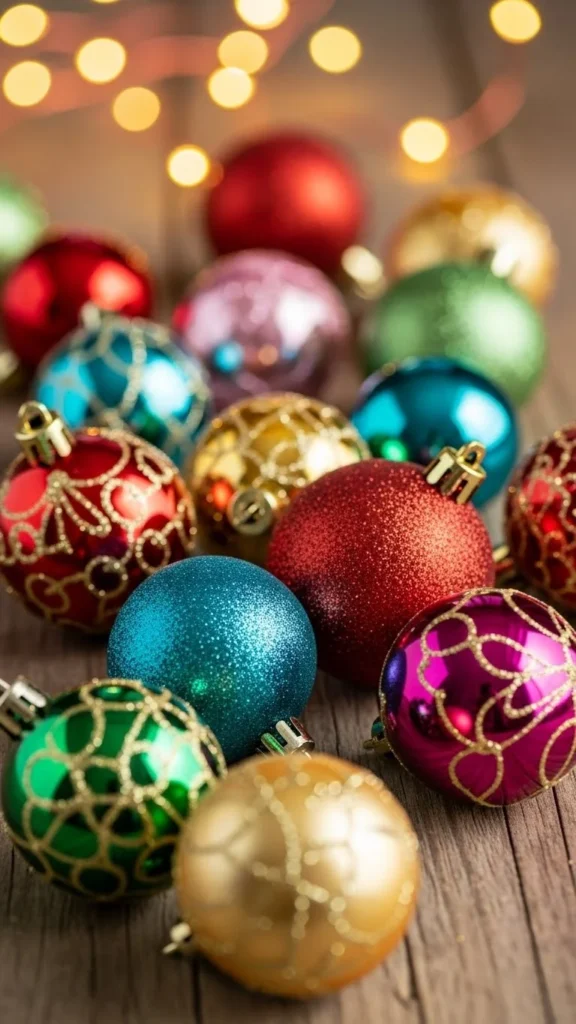
Pick baubles that match your theme—bright primary colors, rose-gold mixes, frosted pastels, or classic reds and greens. Don’t be afraid to blend matte, glossy, and glitter finishes for more dimension.
Step 1: Prepare the Baubles
Start by removing any loose tags or stickers. If your bauble tops feel wobbly, a tiny dab of hot glue helps secure them so they won’t pop off later.
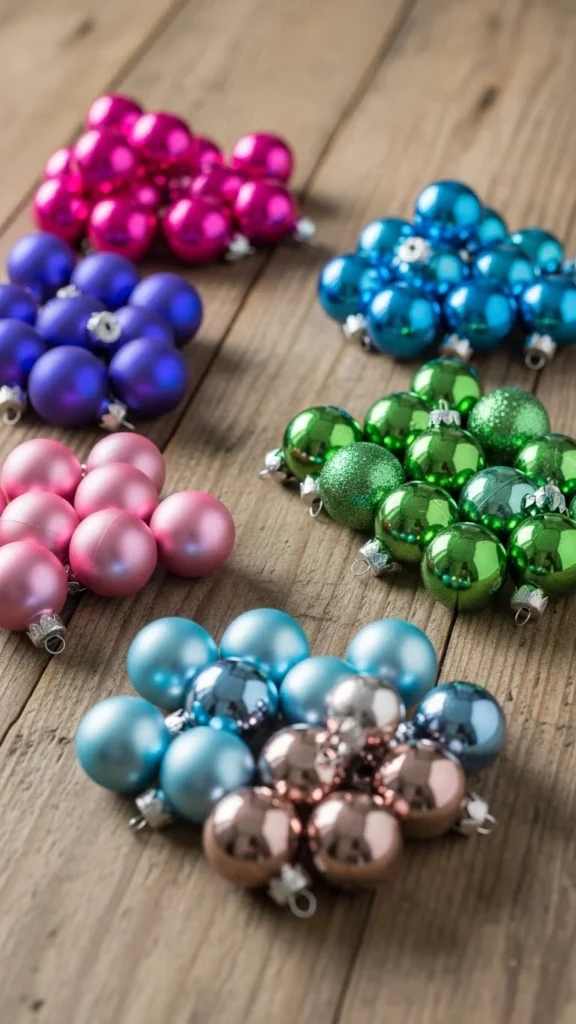
Set your baubles into color groups—this helps you build a balanced pattern.
Try:
- Pastel clusters (soft pinks, baby blues, mint)
- Bold color blocks (red, gold, green)
- Metallic shine (chrome silver, champagne gold, copper)
- Rainbow gradient (from deep jewel tones to bright brights)
Keep the smallest baubles handy; they help fill gaps later on.
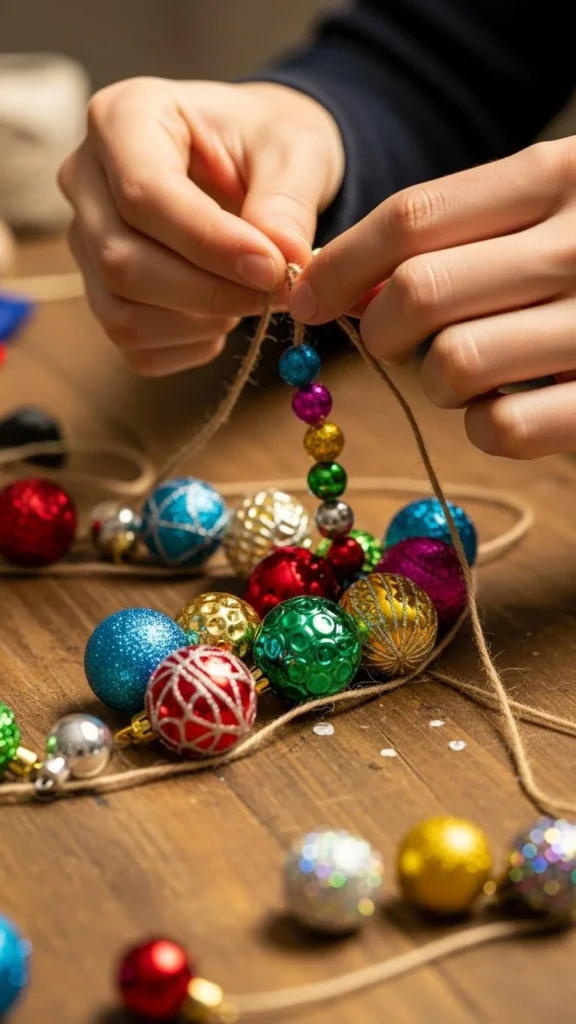
Step 2: String the Baubles
Cut your twine or ribbon a little longer than your intended finished length. It’s always better to trim at the end than run short halfway through.
There are two ways to attach your baubles:
Method 1: Thread the String Through Each Bauble Loop
- Slide the twine through the hanging loops.
- Alternate sizes to keep it visually dynamic.
- Pull the baubles close together or leave space between them for a looser look.
Method 2: Tie Each Bauble Separately
- Cut short pieces of twine.
- Tie each bauble to the main garland line.
- This method gives you more flexibility with placement and layering.
Tip: Mix oversized baubles with mini ones to create depth and avoid any flat-looking sections.
Step 3: Add Greenery and Small Accents
This step is optional, but it takes your garland from simple to stunning.
Use:
- Mini pine sprigs
- Faux eucalyptus
- Glittery leaves
- Tiny bells (non-metallic or painted for a softer touch)
- Small felt stars
Tuck them between baubles and secure them with small knots or dabs of glue. Greenery pieces help soften the look and make the colors pop even more.
Try placing accents:
- Every 4–6 inches
- Only on the sides
- In clusters at each end
- Randomly for a whimsical feel
This is where your garland gains texture and personality.
Step 4: Fluff, Adjust, and Shape
Now hold your garland up by both ends. Some baubles may shift; that’s totally normal. This is the part where you tweak and adjust until it looks full and balanced.
Ask yourself:
- Do the colors blend evenly?
- Do you want it denser?
- Should you add mini baubles to fill gaps?
- Does one side look heavier?
Feel free to add or remove pieces until the look makes you smile.

Step 5: Hang and Style Your Garland
You can drape your bauble garland almost anywhere. Some favorite spots include:
- Over the mantel
- Along a staircase banister
- Around a doorway frame
- Across a windowsill
- As a centerpiece runner down your dining table
Use small removable hooks, ribbon loops, or clear clips to secure it neatly. If placing it on a mantel or table, layer in fairy lights for that extra magical glow.
For a fuller look, overlap two garlands: one with baubles and one with greenery. This creates a high-impact setup that looks designer-level without the cost.
Bonus Tips for Color Pop Success
- Stick to 3–5 main colors for a cohesive palette.
- Use oversized baubles in the center and smaller ones toward the ends.
- Add pops of unexpected colors like teal, fuchsia, or lime for a playful twist.
- Mix textures—glitter, matte, mirrored—for a rich, dimensional look.
- Try a themed garland, such as candy colors, icy winter tones, or modern monochrome.
Final Thoughts
A DIY bauble garland is festive, colorful, and surprisingly simple—perfect for beginners or seasoned crafters. It adds instant cheer to any space and lets you personalize your holiday theme in the most delightful way. Plus, you can reuse it year after year.
If you loved this tutorial, save it for later so you can recreate it anytime the holiday spirit strikes!