Creating Christmas snowflakes is one of the easiest ways to dress up your home for the holidays. These little pieces offer charm, texture, and sparkle without costing much. Many designs use everyday items you already have at home. With a few clever touches, you can make snowflakes that look like they came straight from a boutique store. Below, you’ll find 26 creative DIY snowflake ideas — each simple, pretty, and budget-friendly. Try a few this week and bring cozy sparkle to your tree, windows, and gift wrapping.
1. Classic Folded Paper Snowflake
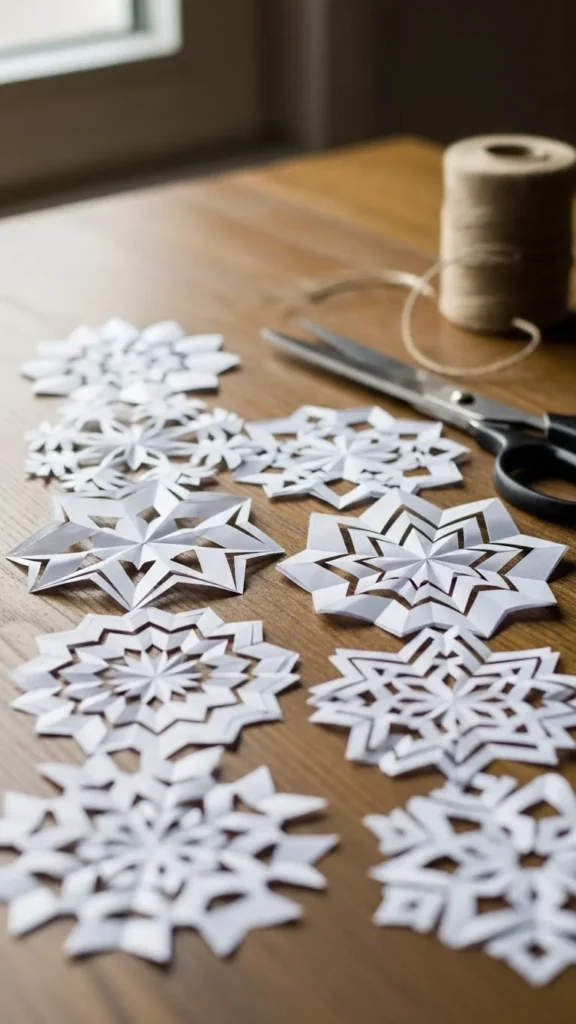
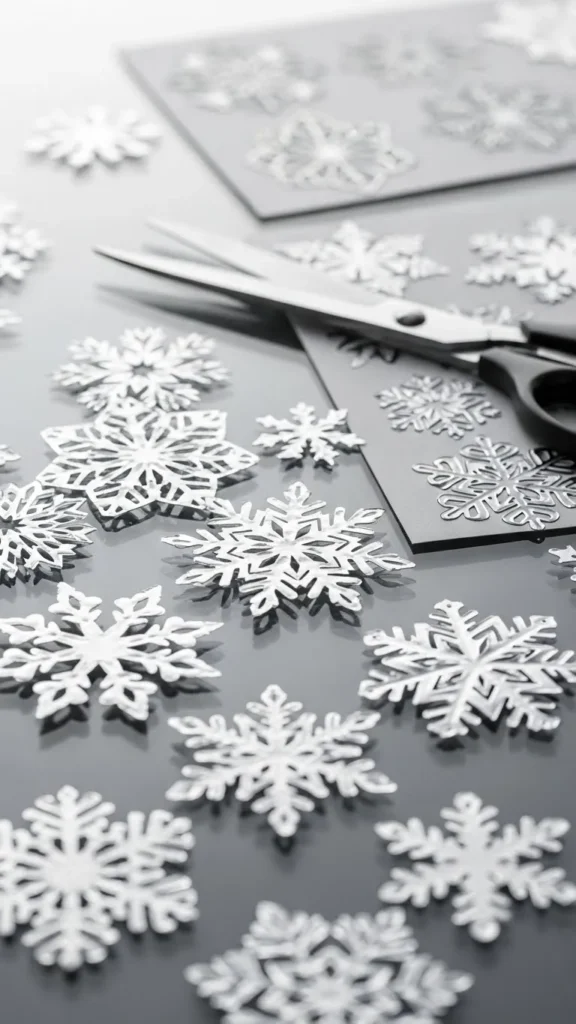
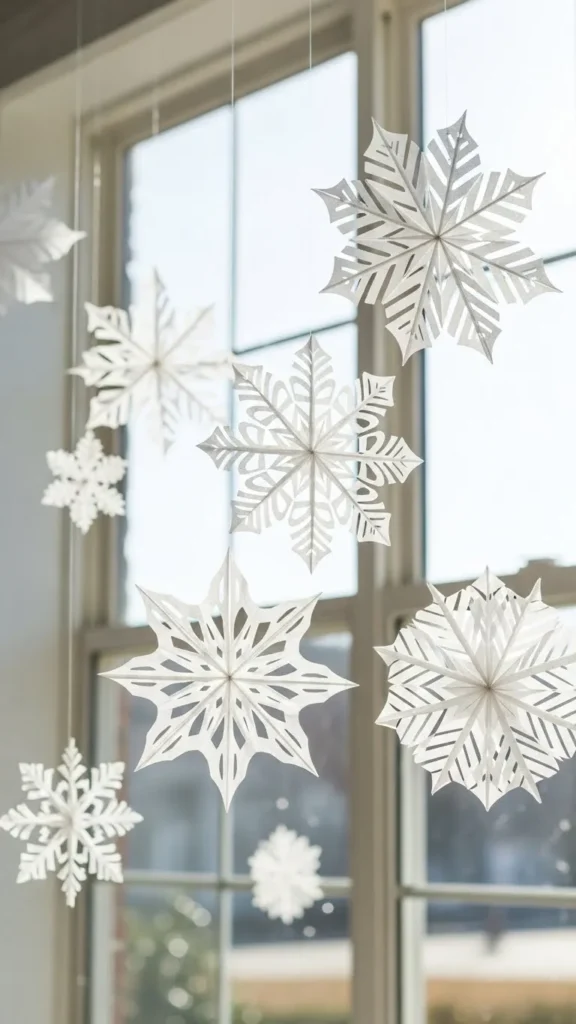
This is the go-to style for quick holiday decorating. Use plain printer paper or lightweight craft sheets. Fold a square into sections and cut small shapes along the edges. Tiny triangles and curved lines create impressive detail. Open the paper and watch the pattern appear. Hang these snowflakes on thin thread for a floating effect. Make sets in different sizes for a layered look. Spray them lightly with silver craft mist to add shine. Create a few extras to attach on gift bags or to tuck inside holiday cards. Kids can help with these too. If you want more structure, use thicker cardstock. It keeps its shape and looks sharper on windows. Keep your cuts small and controlled for cleaner lines. Store them flat after the season so they last longer. These always get compliments because they look intricate without much effort.
2. Glitter-Dusted Cardstock Snowflake

Cardstock creates sturdy designs that hold up well on trees and garlands. Cut simple snowflake shapes using a stencil or a craft knife. Brush a thin layer of glue over the surface and sprinkle fine glitter across the cutouts. Shake off the extra and let them dry. Use neutral colors for a clean, high-end finish. Soft gold and icy silver always look pretty. Add a small bead or button in the center for dimension. Punch a tiny hole at the top for hanging. These hold their shape better than thin paper and won’t curl from humidity. If you prefer a cleaner workspace, use glitter paper instead. It has the sparkle already built in, so no mess. These snowflakes look great layered onto a wreath or clipped onto stocking tags. They are easy to store and reuse every year.
3. Wooden Popsicle Stick Snowflake
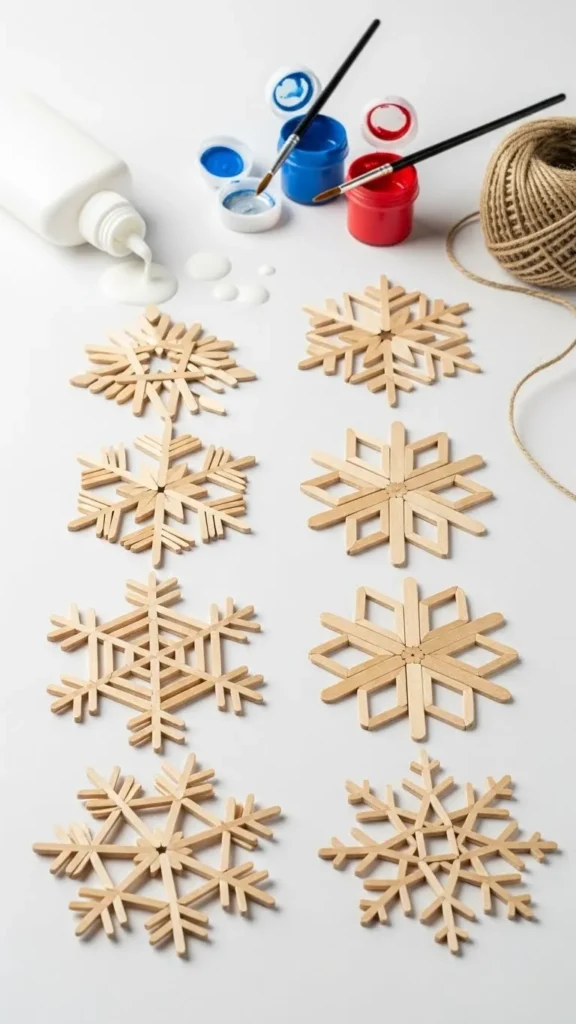
Popsicle sticks make charming rustic snowflakes that fit well with farmhouse décor. Lay out a few sticks in star shapes and glue them together. Add crossbars to create detailed arms. Leave the wood natural or paint them white for a clean finish. Lightly brush the edges with soft metallic paint for a frosted look. Add twine for hanging. These look great on large blank walls or as mantel accents. Make oversized versions using long wooden craft sticks for more impact. They are sturdy and long-lasting, making them perfect for repeated holiday use. Kids enjoy creating these because the shapes are easy to build. Add small pearls or dried berries for a festive touch. These also work well outdoors if you seal them with a clear spray. Keep them grouped for a beautiful winter display.
4. Hot Glue Snowflake
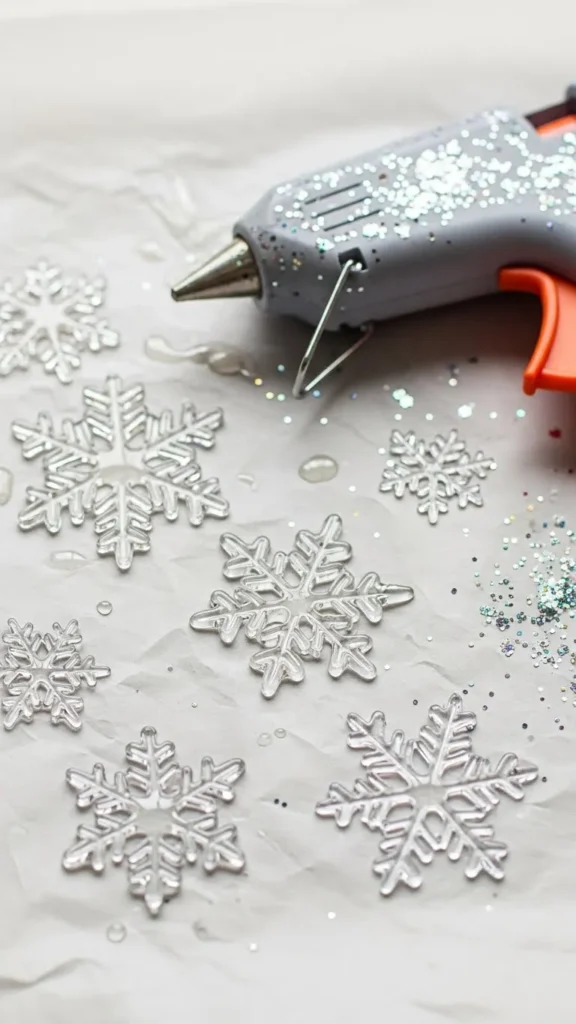
This technique creates delicate, glassy snowflakes. Draw a snowflake shape directly onto parchment paper using a hot glue gun. Start with simple lines and build outward. While the glue is still warm, sprinkle a bit of shimmer on top for shine. Let it cool completely before peeling it off. These snowflakes look almost crystal-like. Add fishing line for hanging so they appear to float. They also catch light beautifully on trees. Make a mix of small and medium pieces for texture. Keep your movements slow so the glue lines stay steady. Practice on scrap parchment first. Store these flat to avoid bending. They blend well with clear ornaments, giving your décor a frosty look without heavy materials.
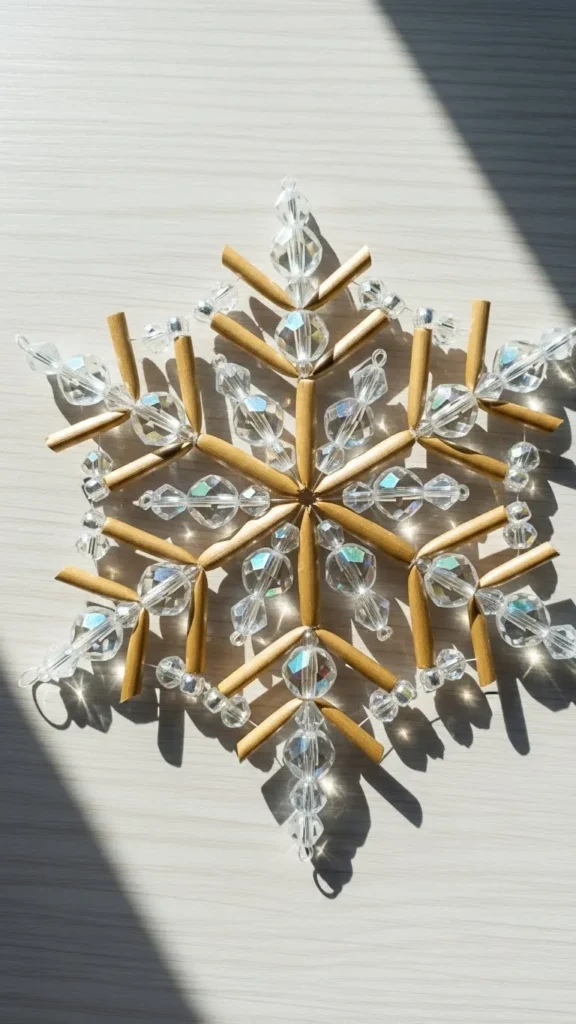
5. Beaded Wire Snowflake
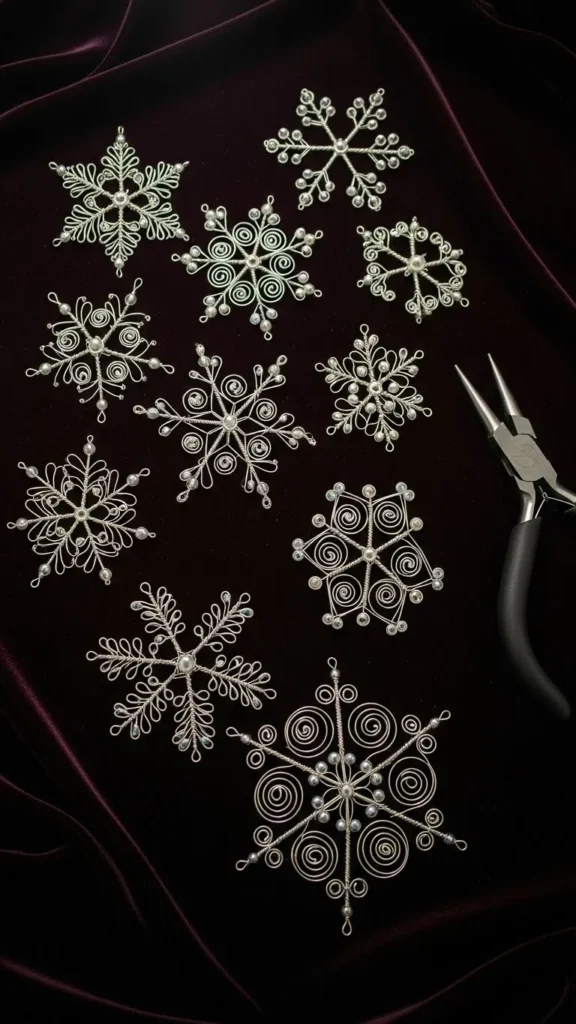
Wire snowflakes offer sparkle and structure. Use thin craft wire and shape it into six straight arms. Add small beads before bending each arm’s tip. Create loops or swirls for extra detail. Twist the center tightly to secure everything. These snowflakes look polished and delicate. Choose clear, white, or pearl beads for a soft winter style. Hang them near lights so they catch the glow. This project is simple once you master the arm shape. It works well for ornaments, gift toppers, or even napkin ring accents. Make a matching set for a consistent theme. If you want a firmer hold, double the wire. These pieces last for years with careful storage.
6. Crochet Lace Snowflake
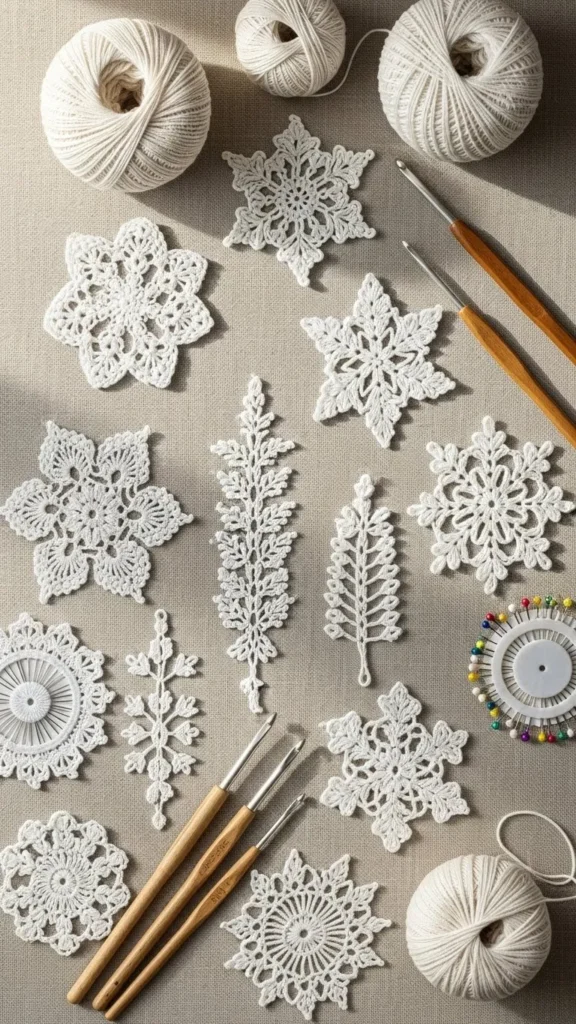
Crocheted snowflakes feel soft and nostalgic. Use cotton yarn for crisp detail. Follow a simple pattern with loops and chains. Once finished, pin them to a board and brush with fabric stiffener. Let them dry overnight. This helps them hold shape. Add thin thread for hanging. These snowflakes look lovely on trees or framed in shadow boxes. They also work as delicate coasters during holiday gatherings. If you enjoy handwork, make sets in uniform sizes. They store flat and stay beautiful year after year. Add subtle shimmer by mixing in metallic thread. These pieces bring a handmade touch that feels warm and timeless.
7. Felt Snowflake Cutouts
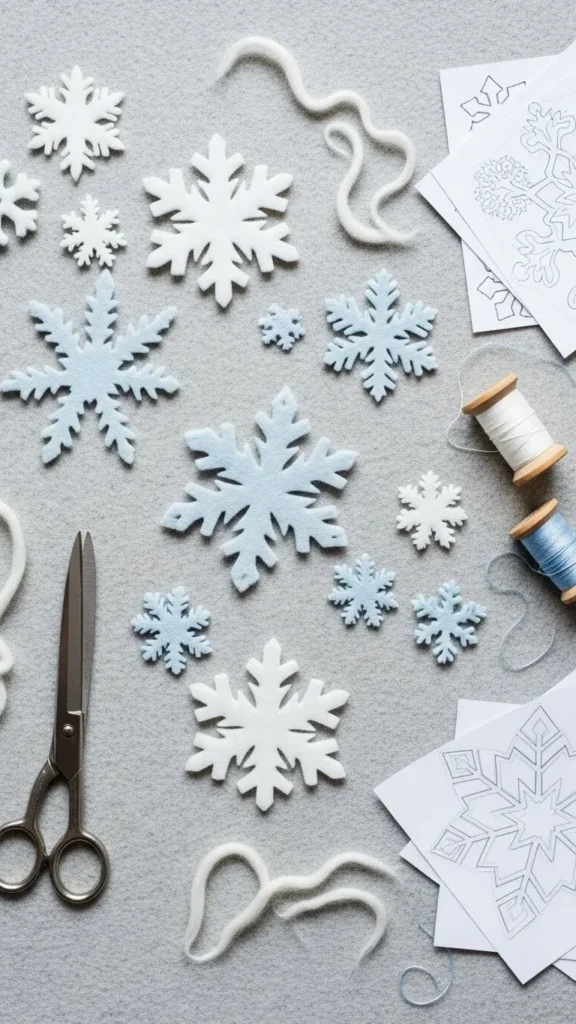
Felt is forgiving and easy to cut. Choose white, gray, or pastel tones for a clean look. Trace snowflake shapes onto sheets and cut them with sharp scissors. Layer two pieces together for more structure. Stitch around the edges using contrasting thread for charm. Add a bead in the middle for detail. These snowflakes work well as ornaments or as fillers for tiered trays. They won’t tear or wrinkle. You can also string them together for a garland. Choose thick felt for a crisp silhouette. Kids can help trace simple shapes if you keep them large. These are affordable and quick to make in bulk.
8. Paper Straw Snowflake
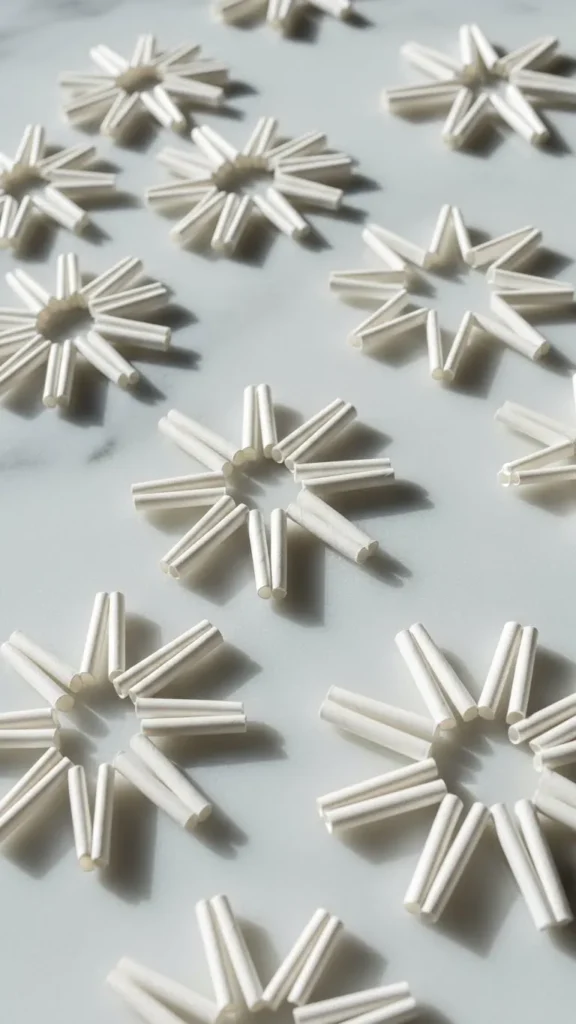
Paper straws make lightweight geometric snowflakes. Cut straws into small equal pieces. Glue them into clusters, then attach the clusters together. Creating straight lines makes the final piece look clean and airy. If you choose patterned straws, use subtle designs so the snowflake stays elegant. These look great hanging in windows because they let light through. Add fishing line or thin thread. You can spray them lightly with white paint for a softer look. They work well in sets, especially when paired with larger décor pieces. Store them in small boxes to prevent crushing. They are inexpensive, easy to make, and surprisingly sturdy once glued.
9. Twine-Wrapped Cardboard Snowflake
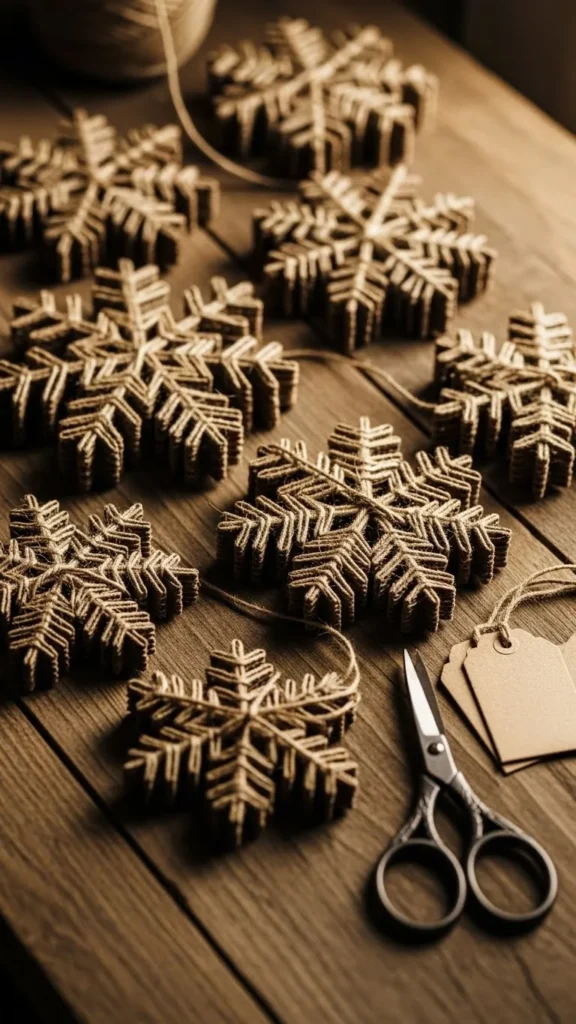
Cut a simple snowflake shape from scrap cardboard. Wrap twine around it, overlapping the edges for a thick texture. Keep the wrapping tight for a neat finish. Add a small wooden bead in the center to complete the look. These snowflakes offer a cozy farmhouse feel. They pair well with burlap garlands and simple greenery. Make different sizes so they sit well on shelves and mantels. If you want more contrast, use white or red string instead of twine. This project is budget-friendly and uses materials you likely already have. They also make cute gift toppers. Keep them dry when storing to preserve the twine.
10. Origami Snowflake
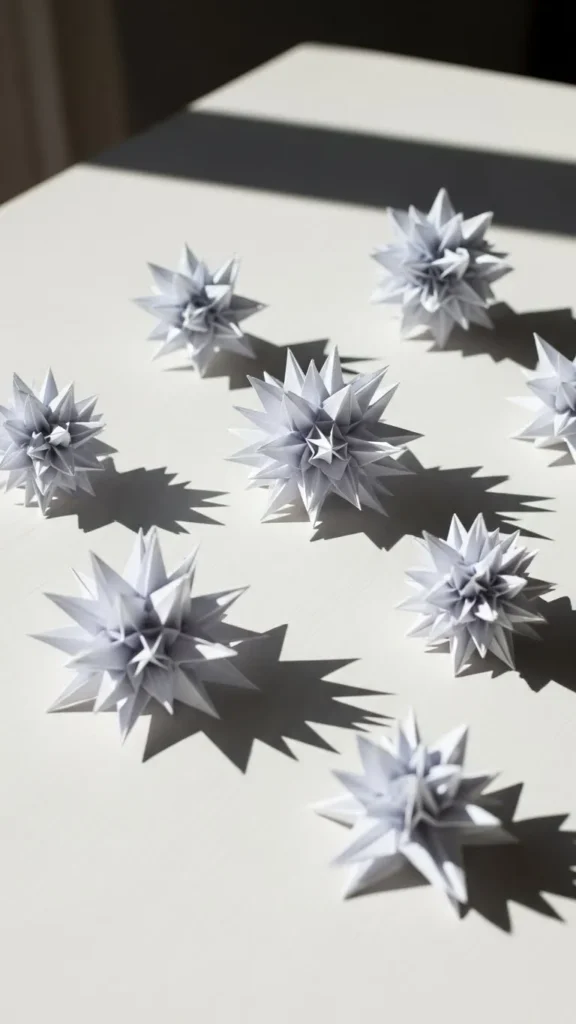
Origami snowflakes bring structure without glue. Use thin square sheets for sharp folds. Follow a step-by-step guide to create layered angles. The final piece has a sculpted look that stands out on trees. Choose pastel or metallic paper for variety. These snowflakes are light and easy to hang. They pack flat, making storage simple. If you want more dimension, mix two sizes together and stack them with glue dots. These pieces look like they came from a craft boutique. Take your time with each fold to keep the lines crisp. Once you learn the pattern, you can make many in one sitting.
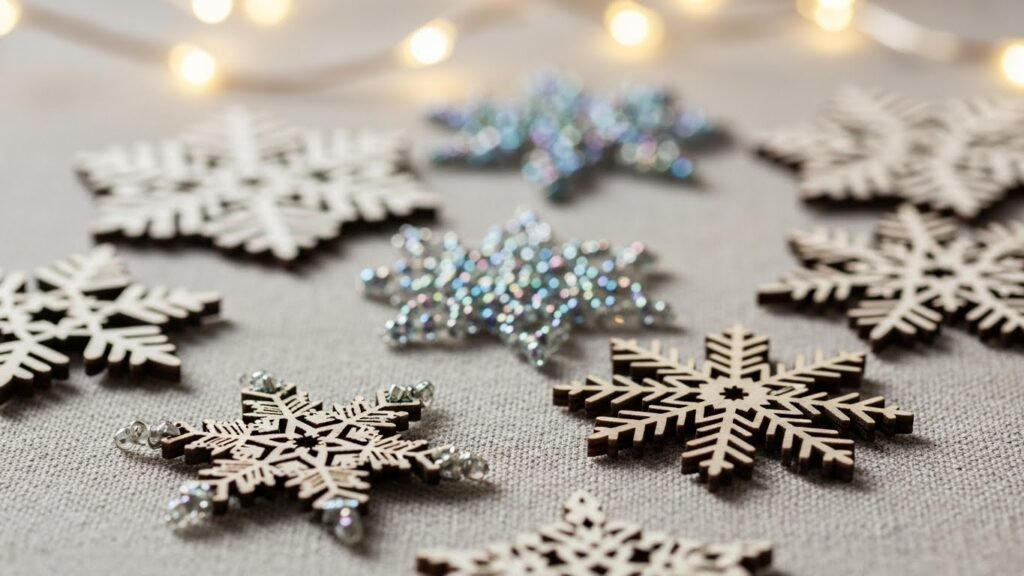
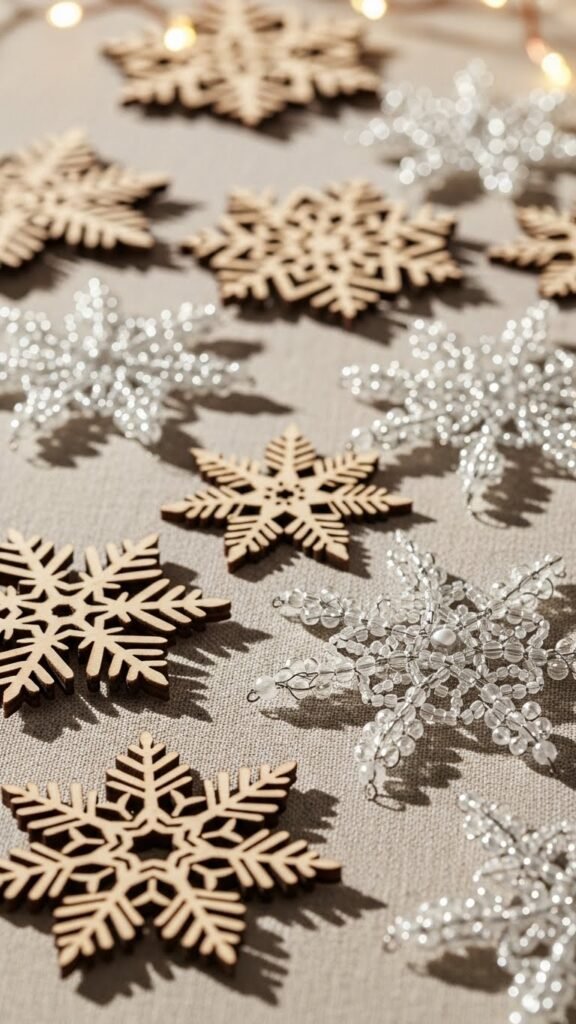
11. Painted Wooden Snowflake Shapes
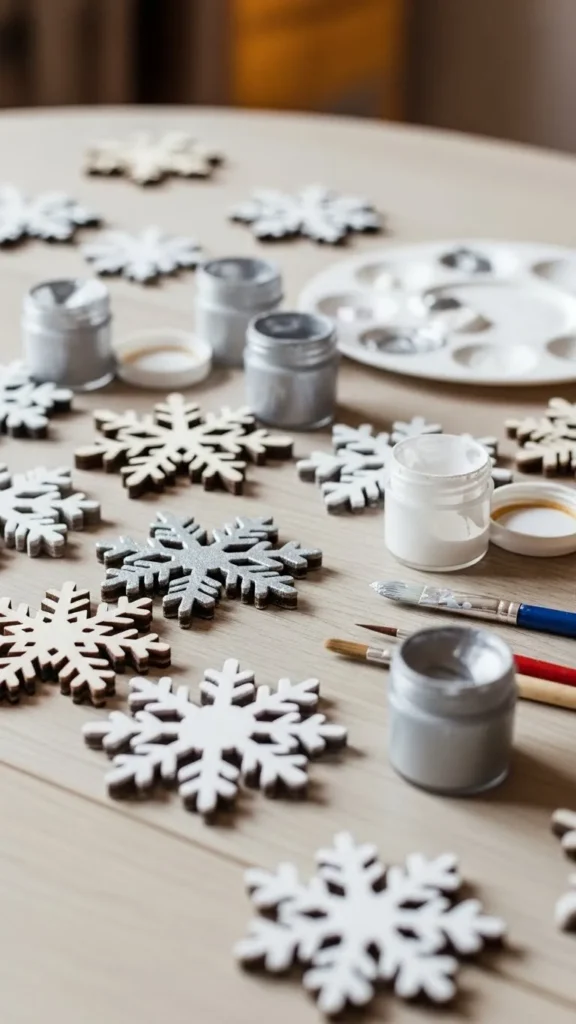
Pick up unfinished wooden snowflake shapes from a craft shop or cut your own. Sand the edges lightly for a smooth feel. Paint them white or soft metallic tones. Add subtle shading around the tips to mimic natural frost. Once dry, add a tiny jewel or bead in the center. These wooden pieces last for years. They look charming when hung with thin wire hooks on a tree. You can also glue magnets to the back and use them on metal boards. They pair well with greenery and lanterns. Keep your palette soft for a store-bought look. These are simple to customize and great for beginners.
12. Button Cluster Snowflake
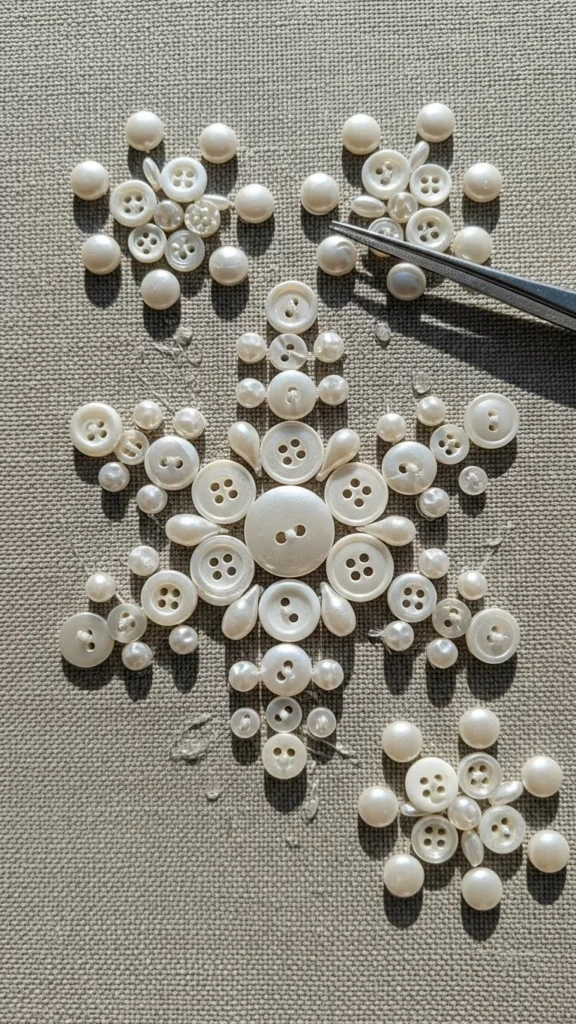
This design uses simple buttons to create texture. Arrange small and medium buttons into a star pattern. Glue them onto a cardstock base. Keep the colors soft — white, cream, or pearl. Add a thin loop of thread for hanging. These snowflakes feel charming and unique. They look great as accents on wrapped gifts or on small trees. To add depth, stack a smaller button on top of a larger one. Kids love helping with this craft because it’s easy to assemble. If you want a larger piece, mount the snowflake onto a wooden round. It creates a pretty wall accent. These are affordable and use supplies already in most homes.
13. Cinnamon Stick Snowflake
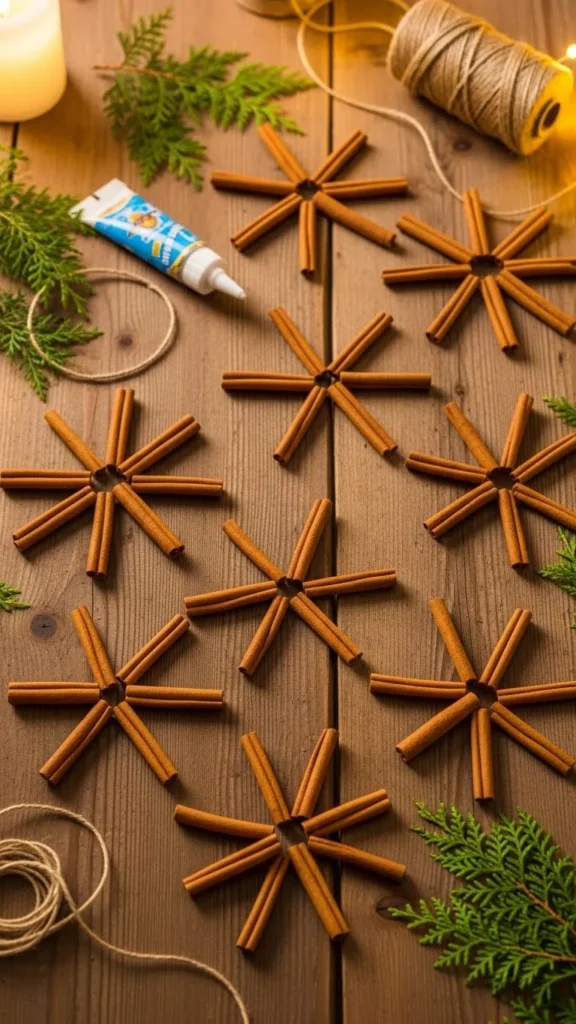
Cinnamon sticks create natural, fragrant decorations. Cut or break them into equal segments. Glue them into a six-point shape, then add shorter sticks for detail. Wrap the center with twine for a finished look. Hang these on your tree for a cozy scent. They also make great gift toppers. Keep the design simple so the natural color stands out. If you want a soft frosted touch, dab a bit of white paint on the tips. These snowflakes last through the season and store well in small boxes. They bring a warm, organic element to your holiday décor without extra cost.
14. Pipe Cleaner Sparkle Snowflake

Pipe cleaners are perfect for quick, shiny snowflakes. Twist three pieces together to form six arms. Bend the ends into tiny loops or star points. Add beads for more shine. These snowflakes catch light beautifully on a tree. They’re simple enough for kids yet pretty enough for adults to use in décor. Choose metallic silver, gold, or white for an elegant look. Make them in sets for garlands or window displays. They store flat and don’t break easily. This project takes only minutes and creates beautiful results.
15. Book Page Snowflake
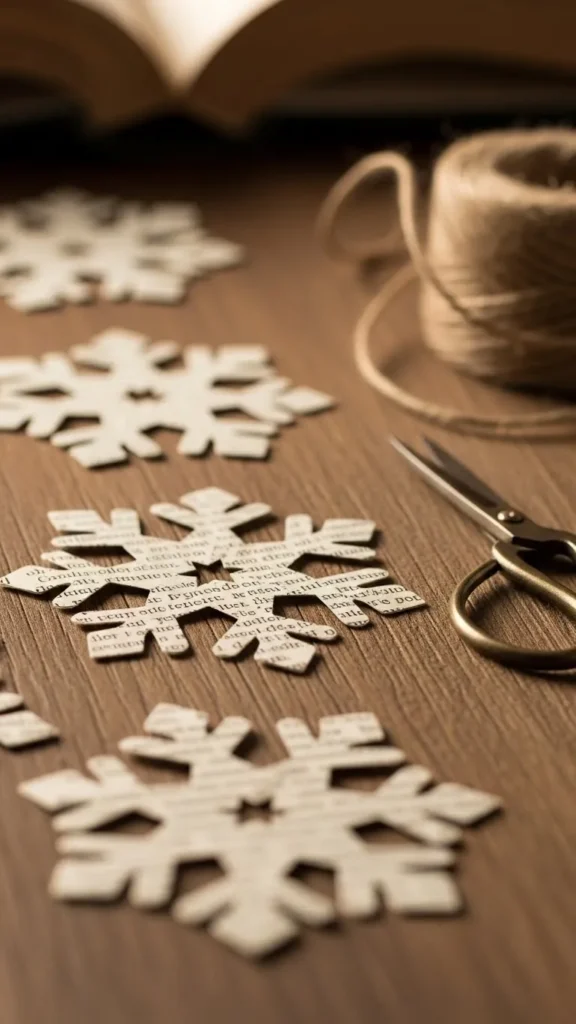
Old book pages create charming snowflakes with character. Tear out a few pages with interesting print. Fold the paper and cut simple shapes. Open the page to reveal the pattern. The printed text adds texture and charm. These work well for vintage or rustic décor themes. Hang them with jute string or tape them to windows. Layer two pieces for more fullness. If you want a modern twist, spray them lightly with white paint. These snowflakes cost nothing if you use old books on hand. They are lightweight and easy to store. Make a mix of sizes for a more interesting display.
16. Quilled Paper Snowflake
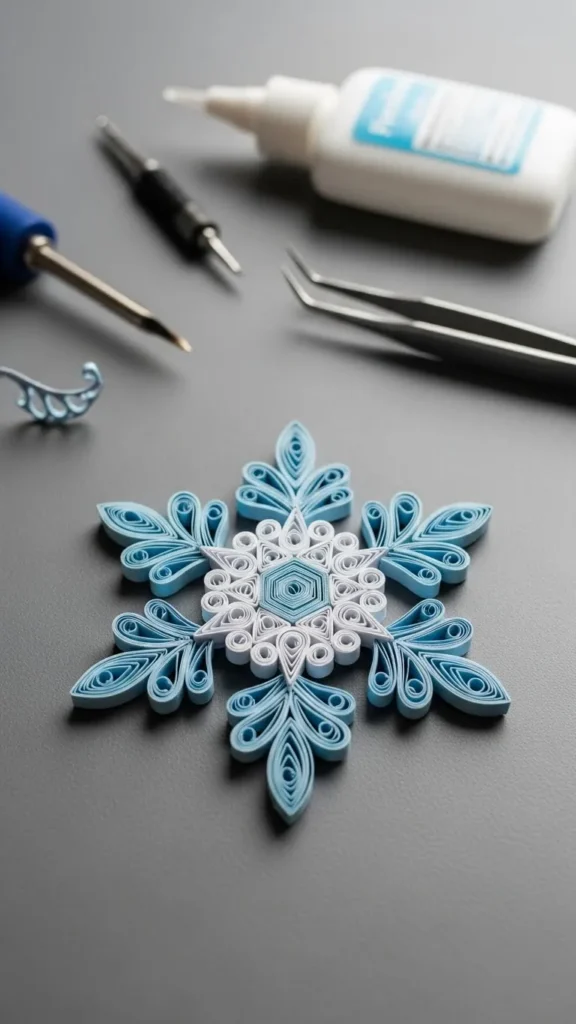
Quilling takes thin paper strips and shapes them into curls and loops. Create small circles, teardrops, and swirls before gluing them into a snowflake pattern. The result looks delicate and fancy. Choose white or soft blue strips for a winter look. These snowflakes sit beautifully on gift boxes or framed behind glass. They require patience, but the results feel special. To save time, use pre-cut strips. Keep your glue minimal so it stays clean. These hold their shape well once dry.
17. Metallic Foil Snowflake
Foil sheets give snowflakes a polished sheen. Use thin metallic craft foil or foil cardstock. Trace a snowflake stencil and cut carefully with sharp scissors. The metallic shine makes even simple patterns stand out. These snowflakes look amazing on dark gift wrap or hanging in windows. They reflect lights beautifully. Handle them gently to avoid creasing. Make a few extra to layer onto wreaths. These pieces feel stylish and modern without much effort. Use gold, silver, or icy blue for variety.
18. Foam Sheet Snowflake
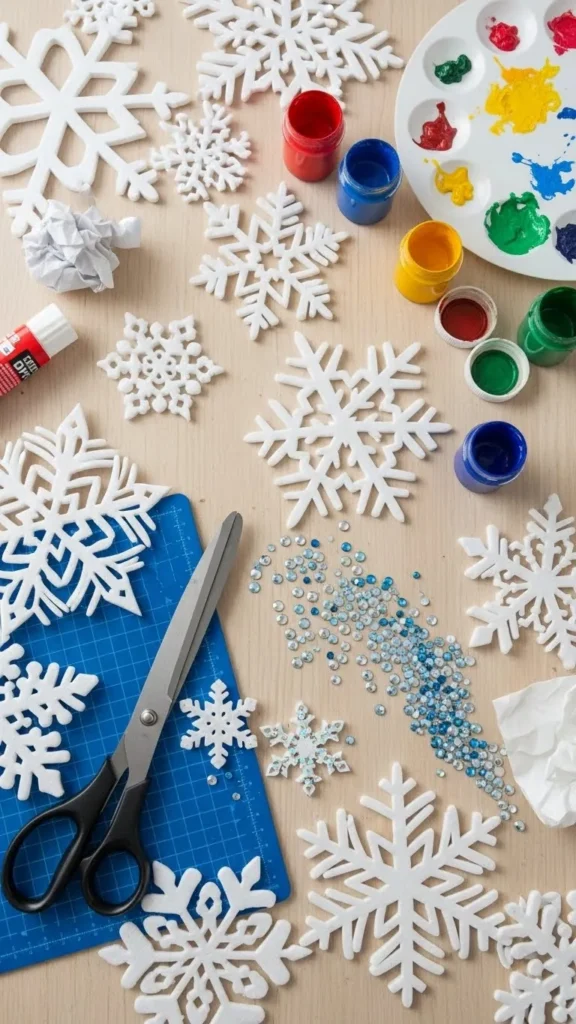
Foam sheets offer thickness and dimension. Cut snowflake shapes from white or glitter foam. Add small rhinestones for sparkle. The foam is easy to cut and holds shape well. These snowflakes are perfect for kids’ crafts or outdoor décor because they’re lightweight and durable. Hang them with yarn or tape them to windows. They resist moisture, making them great for porch displays. Create a mix of sizes to place along railings or fences. They store easily without bending. Foam is inexpensive and great for quick holiday projects.
19. Clothespin Snowflake
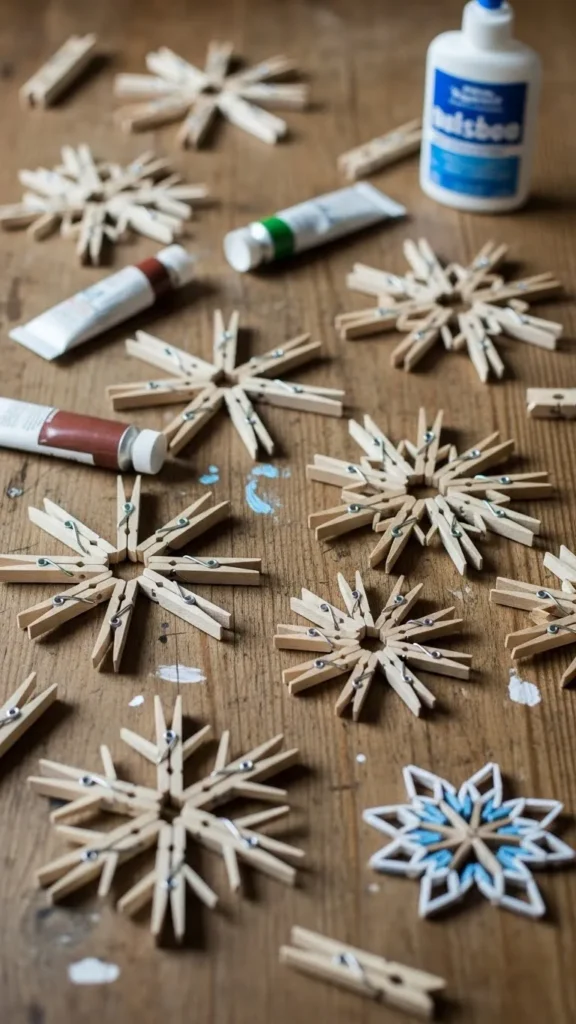
Take apart wooden clothespins and glue the flat sides together. Arrange them into a six-point snowflake. Paint them white or soft gray. Add subtle shimmer with a light brush of metallic paint. These snowflakes are sturdy and striking. Hang them on walls or use them as large ornaments. You can also attach magnets for fridge décor. Make oversized versions for a dramatic effect. Clothespins are affordable and easy to assemble, so this project is perfect for groups.
20. Embroidery Hoop Snowflake Art
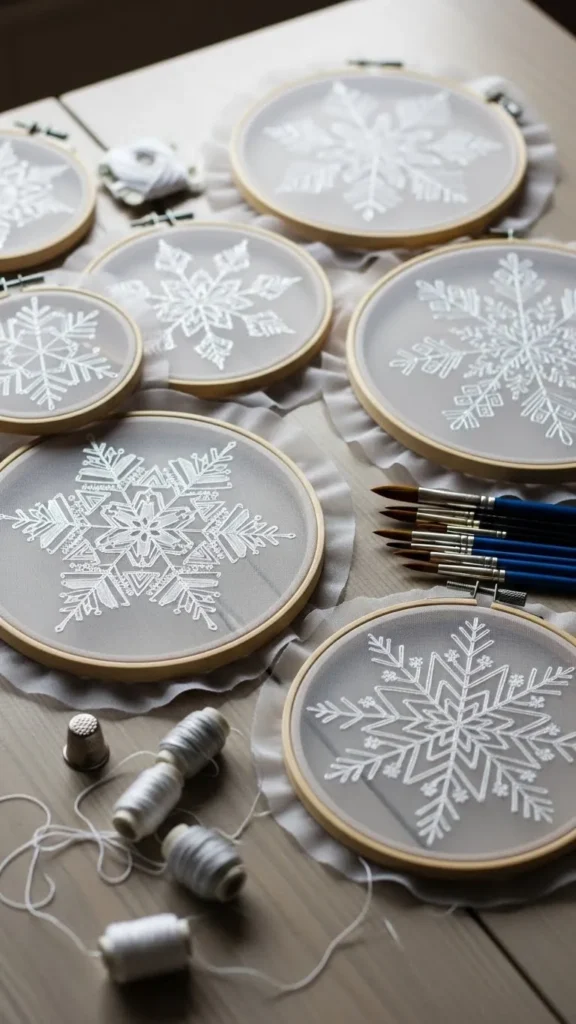
Place sheer fabric inside a small embroidery hoop. Use white paint to paint a simple snowflake on the surface. Once dry, tighten the hoop and trim the edges. These look airy and delicate. Hang them on walls or layer several together for a gallery effect. You can also add beads or sequins for texture. These pieces look great against greenery or fairy lights. Make a set of three for balance. This craft is quick, clean, and easy to personalize.
21. Straw Bead Snowflake
Cut plastic straws into uniform pieces. Thread beads and straw segments onto wire to create straight snowflake arms. Twist the center tightly. These snowflakes shimmer and feel airy. They look great on trees, windows, or garlands. Choose clear or pearl beads for a soft winter effect. This project is simple once you get the pattern down. Make many at once for a coordinated theme.
22. Burlap Ribbon Snowflake
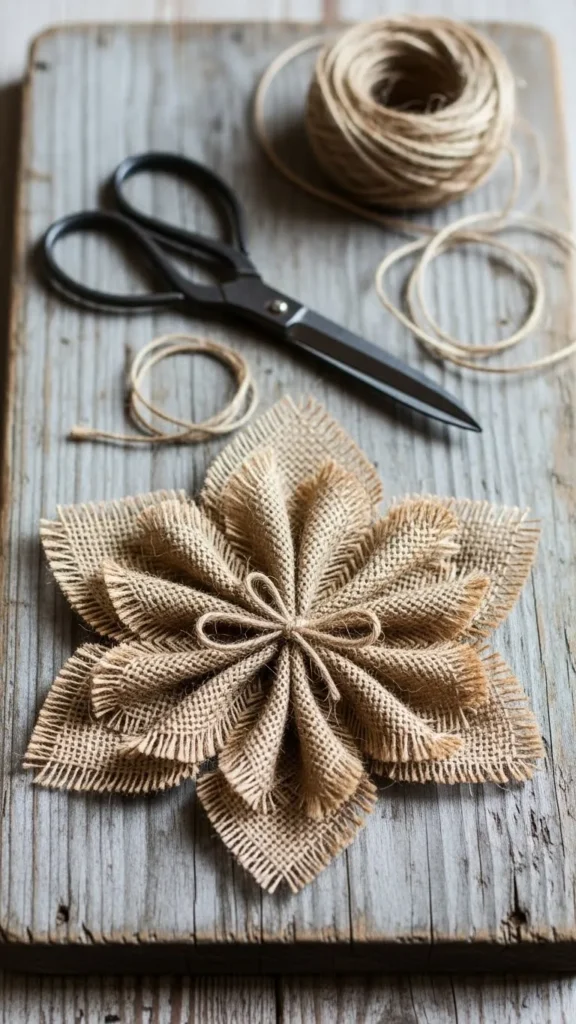
Cut burlap ribbon into strips. Fold and layer them into a star shape. Glue the layers carefully. Add a wooden button at the center. These snowflakes have a farmhouse touch. Use them on wreaths or tree skirts. Keep the layers even for a balanced look. Burlap is inexpensive and easy to shape. These pieces look charming when paired with greenery or wooden ornaments. Make a full set for a matching theme.
23. Tissue Paper Snowflake
Tissue paper creates airy, delicate designs. Fold the sheet several times and cut small shapes into the edges. Open it gently to reveal the pattern. These snowflakes look pretty hanging from ceilings or across windows. Make them in different pastel shades for a dreamy look. Use careful cuts to avoid tearing. They’re inexpensive and perfect for large displays. Store them flat to reuse.
24. Painted Pine Cone Snowflake
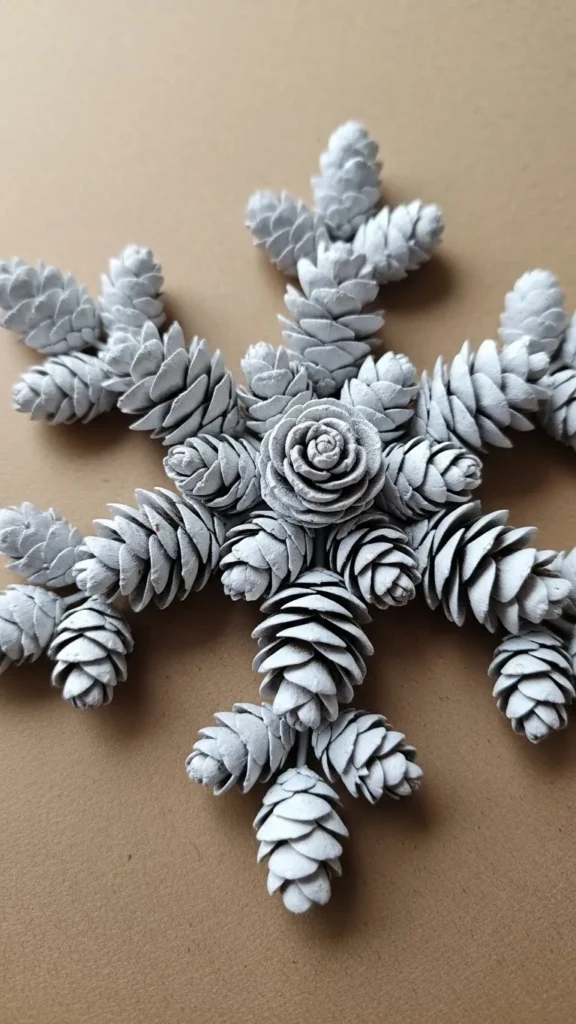
Pull apart pinecone scales and glue them into a star pattern. Paint the entire piece white for a frosted look. Add a bead in the center for detail. These snowflakes look natural and textured. They pair well with rustic décor. Attach a loop of string to hang. This project reuses natural materials and costs almost nothing. Make a few extras for gift tags.
25. Transparent Acetate Snowflake
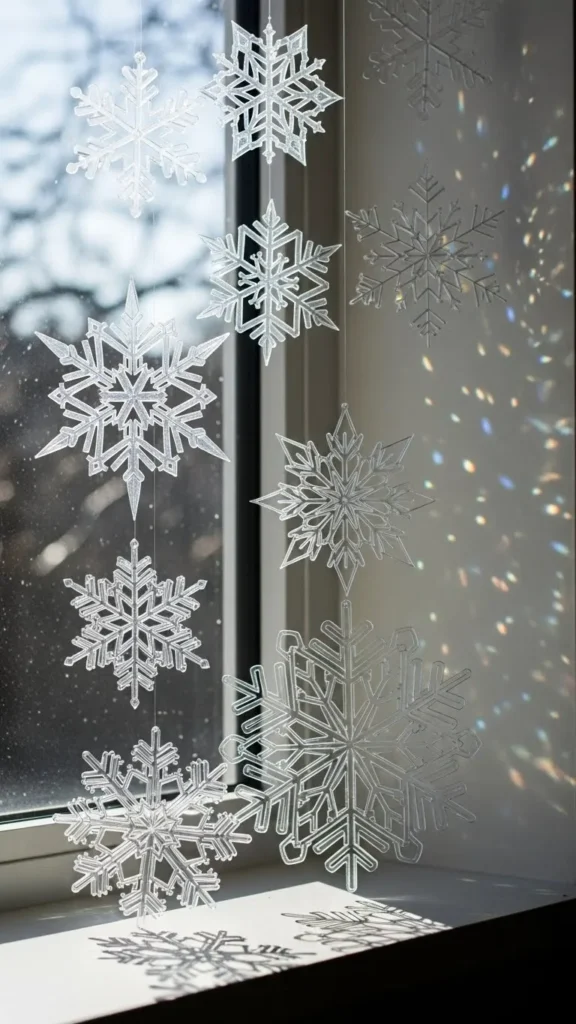
Acetate sheets create see-through designs with crisp lines. Print or trace a snowflake pattern onto the sheet. Cut carefully with a craft knife. These snowflakes look almost glass-like when hung in windows. They let light pass through and create soft reflections. Use fishing line so they appear suspended. These pieces last year after year and store flat.
26. Layered Paper Rosette Snowflake
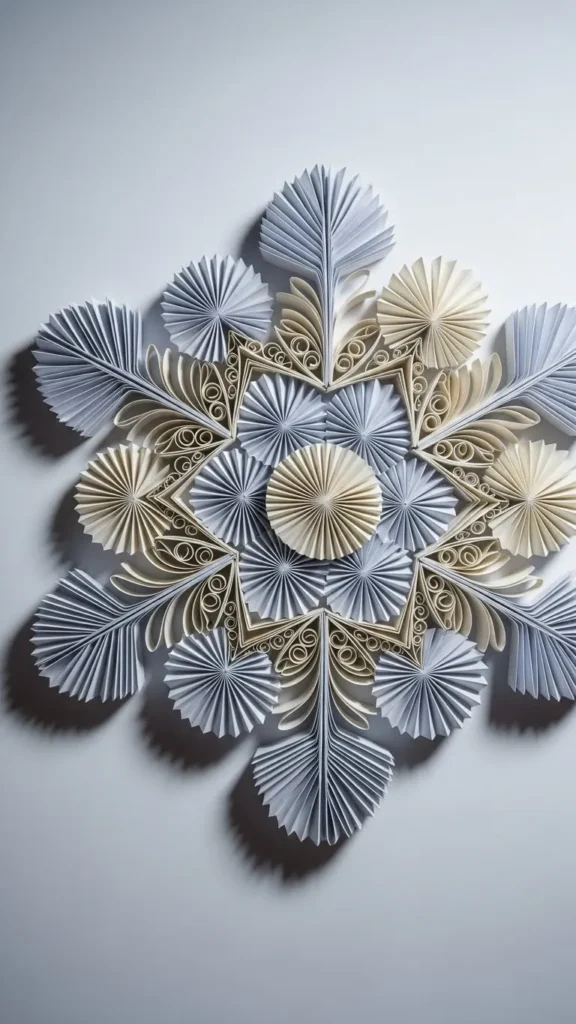
Fold strips of paper into accordion shapes and glue the ends to form rosettes. Arrange six rosettes into a snowflake. Add a circle cutout in the center. These snowflakes feel full and dimensional. They look lovely on walls or above mantels. Choose soft white or pale metallic paper for a clean style. Make multiple sizes for better visual balance. These pieces are budget friendly and easy to assemble in batches.
Conclusion
DIY snowflakes bring charm, texture, and sparkle to any holiday setup. These 26 ideas help you decorate your home beautifully without spending much. Try a few styles, mix materials, and create a winter display that feels polished and personal. Save this list for your next crafting day and bring cheerful holiday magic into every corner of your home.