If you’re looking for a simple, cozy Christmas craft that instantly warms up any room, felt trees are the perfect project. They’re soft, colorful, beginner-friendly, and easy to customize—plus, they look adorable on shelves, mantels, and tabletops. Whether you’re decorating your own space or making handmade gifts, these trees are a fun way to bring holiday cheer into your home.
Below, you’ll learn how to make these cute DIY Christmas felt trees in just three simple steps, using materials you probably already have tucked away in your craft drawer.
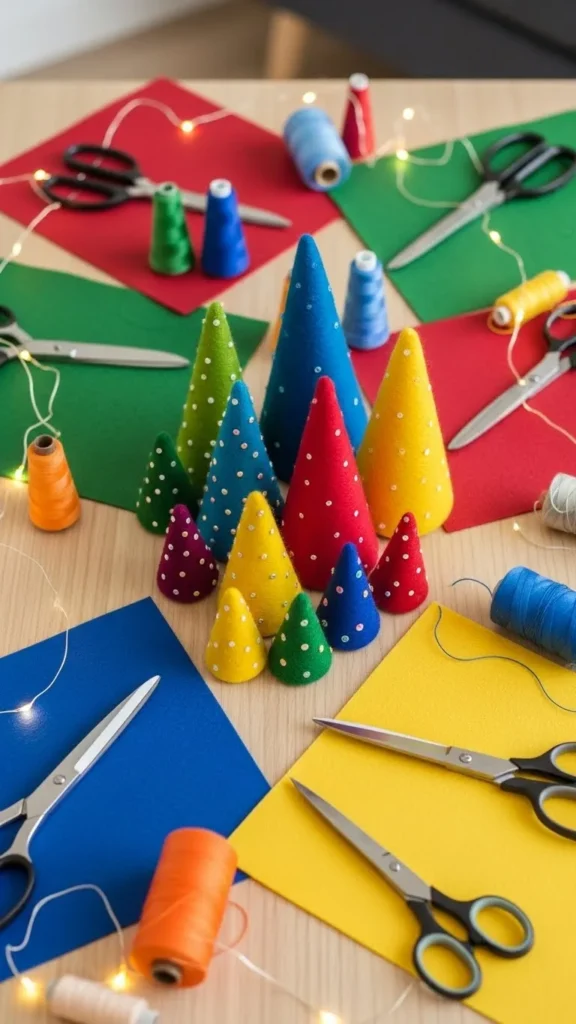
Step 1: Gather Your Materials and Choose Your Colors
Before you start cutting or stitching, spend a moment gathering the right supplies. Felt trees don’t require much, but choosing the perfect colors and textures makes all the difference.
You’ll need:
- Felt sheets (choose a mix of greens, creams, reds, or sparkly tones)
- Scissors
- Hot glue gun or fabric glue
- Cardstock or lightweight cardboard for the cone form
- Optional trims: pom-poms, ribbons, buttons, beads
If you want your trees to look cohesive, stick to a color palette such as:
- Frosty whites and icy blues
- Classic reds and greens
- Neutral creams and browns for a Scandinavian look
Once your materials are ready, plan your tree sizes. Mixing tall, medium, and tiny felt trees creates a charming layered effect on any Christmas display.

Step 2: Shape the Cone and Wrap It with Felt
This is the core of the project—creating the cone base and wrapping it in felt to form the tree shape.
Make the Cone Base
Cut a large triangle-like wedge from your cardstock. Roll it into a cone and secure the seam with tape or glue. Don’t stress if it’s not perfectly even; the felt will hide small imperfections.
Wrap with Felt
Lay your chosen felt color flat and place the cone on top. Wrap the felt around the cone, trimming any extra fabric as you go.
A few tips:
- Keep your wrap tight so there are no gaps.
- Use a thin bead of glue as you roll the felt around the cone.
- Fold felt neatly at the top to create a clean point.
You can leave the tree smooth and minimalist or add cut felt strips for a layered, textured effect. Try mixing different felt textures—wool felt, glitter felt, or even patterned felt—for extra charm.

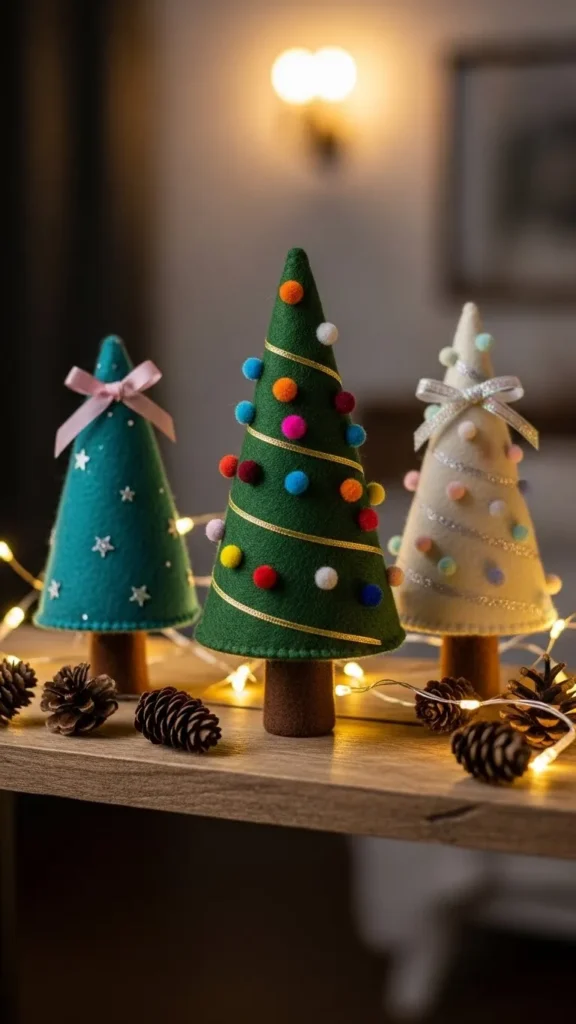
Step 3: Decorate Your Felt Trees with Cute Details
Now comes the fun part—adding personality! Your felt tree can be as simple or decorative as you want. This is where you can get creative with trims and embellishments.
Decorating Ideas
- Pom-poms: Glue tiny pom-poms randomly for a playful, snow-dotted look.
- Ribbon spirals: Wrap a thin ribbon gently around the tree like a garland.
- Buttons: Vintage buttons make charming ornaments.
- Beads or pearls: Add subtle sparkle with a few bead accents.
- Mini stars: Cut small felt stars and glue one to the top.
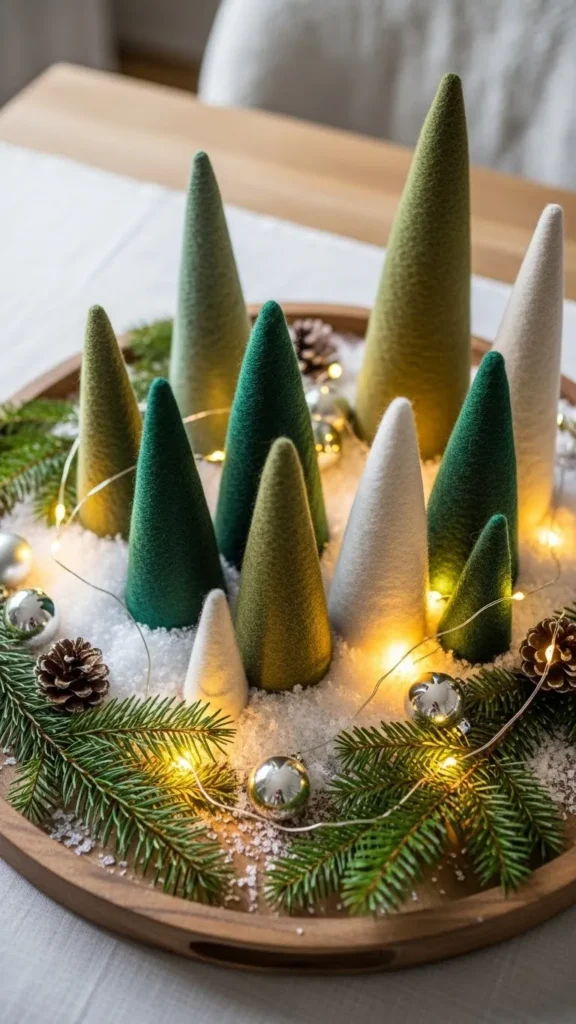
If you prefer a minimalist Scandinavian style, skip the trims and leave the tree simple. Smooth felt cones in earthy tones look beautiful on mantels or paired with wooden décor.
Helpful Tips
- Work in small sections so the glue doesn’t dry before you place your decorations.
- Mix various tree heights for more visual interest.
- Keep some trees undecorated for balance.
These little trees come together quickly, so you can easily make several in one afternoon—perfect for last-minute holiday decorating.
Where to Display Your DIY Felt Trees
Once your trees are complete, you can use them in countless festive ways. Try placing them:
- On your mantel with candles (battery-operated for safety)
- Along a coffee table tray
- On floating shelves for a cozy layered look
- As part of your entryway display
- On your Christmas dinner table as soft, cute centerpieces
They also make a sweet handmade gift—bundle a few in a small basket or box with tissue paper and a ribbon.
Final Takeaway
DIY Christmas felt trees are the kind of craft that anyone can enjoy—easy, charming, and full of personality. With just a few supplies and a little creativity, you can create a whole forest of cute decorations that brighten up your home all season long.
Save this project for later and make a few extra trees to gift to friends and family!