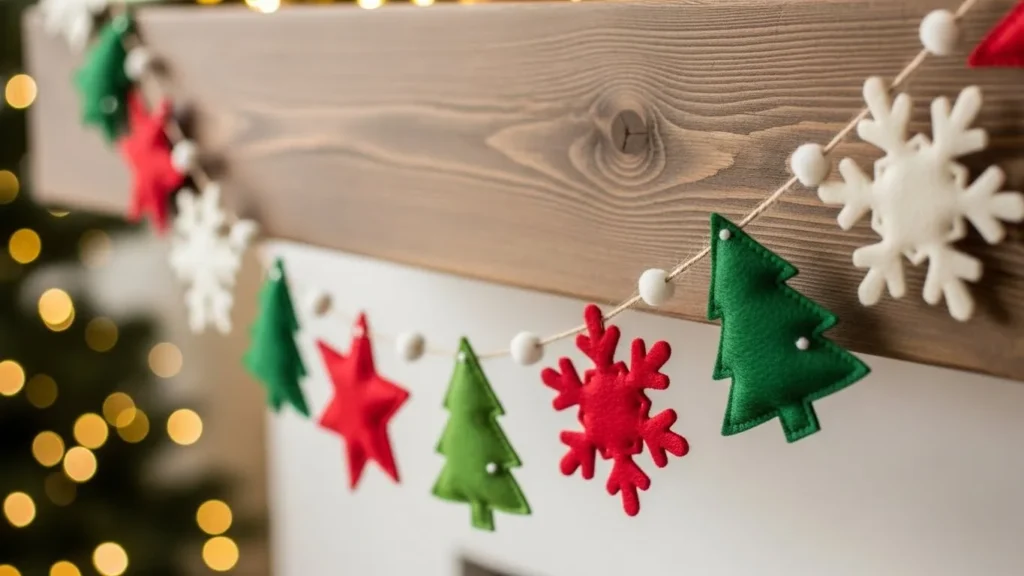
There’s something extra magical about Christmas decorations that feel handmade, soft, and cozy. A felt garland checks all those boxes—it’s simple to create, completely customizable, and adds instant charm to your tree, mantel, railing, or shelves. Whether you love classic reds and greens or prefer a modern pastel palette, this project lets you design the perfect holiday accent.
Let’s walk through everything you need to make your own soft DIY Christmas felt garland from start to finish!
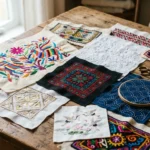
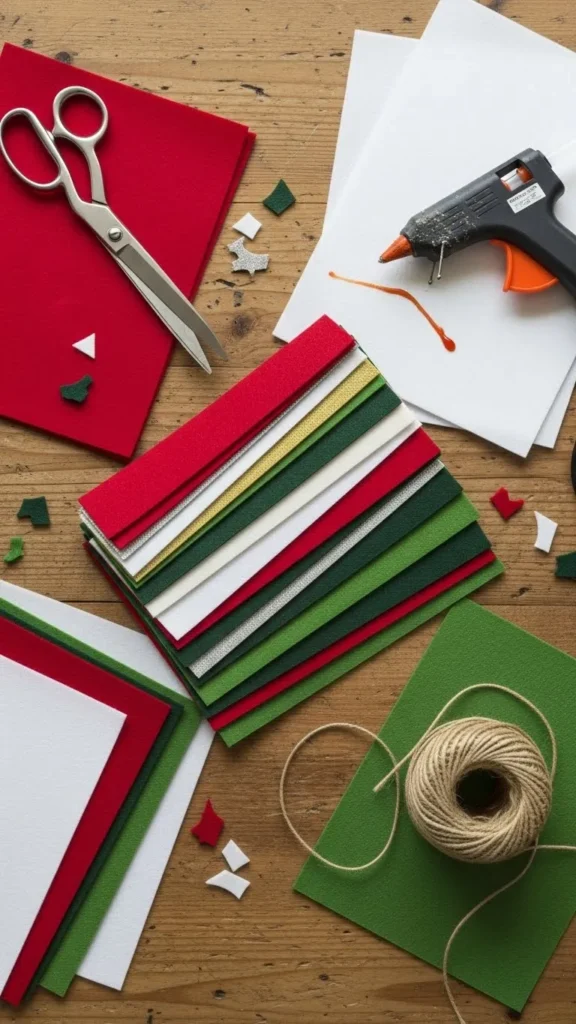
Gather Your Supplies
Before diving into crafting, collect a few basic items. This project is budget-friendly and beginner-friendly, so you likely already have some of these at home.
You’ll need:
- Felt sheets in your preferred colors
- Scissors
- Twine, string, or thin rope
- Hot glue gun or fabric glue
- Needle and thread (optional for reinforcement)
- Templates or stencils for shapes (optional but helpful)
Choosing your color theme early helps the whole garland feel cohesive.
Try:
- Classic: Red, green, white
- Rustic: Forest green, beige, brown
- Modern: Pink, mint, gold
- Minimal: White and cream
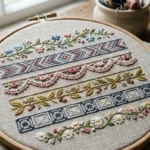
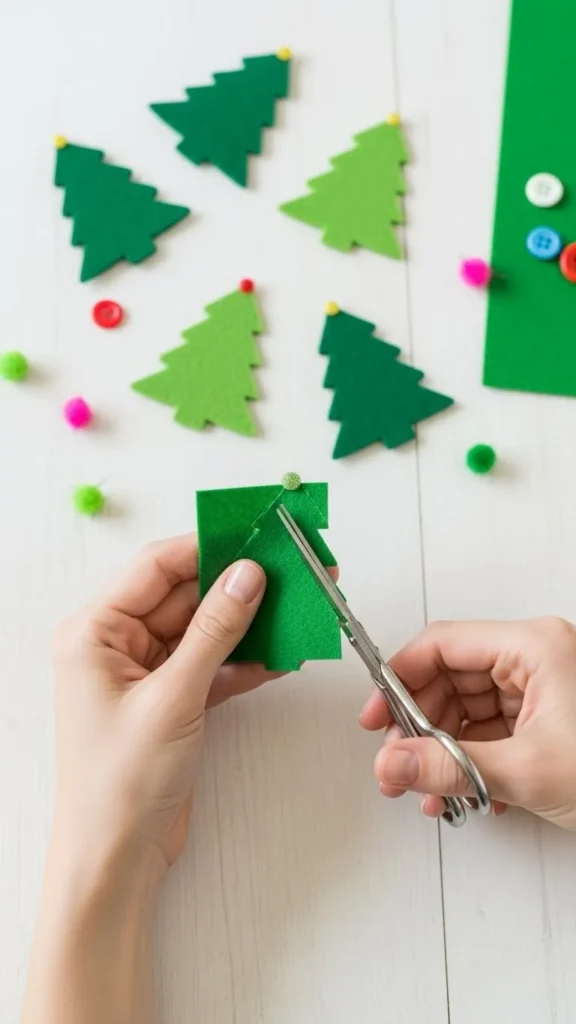
Cutting Felt Into Festive Shapes
Once your supplies are ready, it’s time for the fun part—cutting out your shapes. Felt is forgiving, making it perfect for beginners and seasoned DIY lovers.
Popular shape ideas include:
- Stars
- Hearts
- Christmas trees
- Circles or felt balls
- Stockings
- Mittens
- Snowflakes
If you want a crisp look, use stencils or print templates. For a whimsical feel, freehand-cutting adds a charming, homemade touch.
Tips for Cutting:
- Fold your felt to cut symmetrical shapes faster.
- Mix large and small pieces for visual balance.
- Keep your scraps—you can turn them into mini stars or tiny dots.
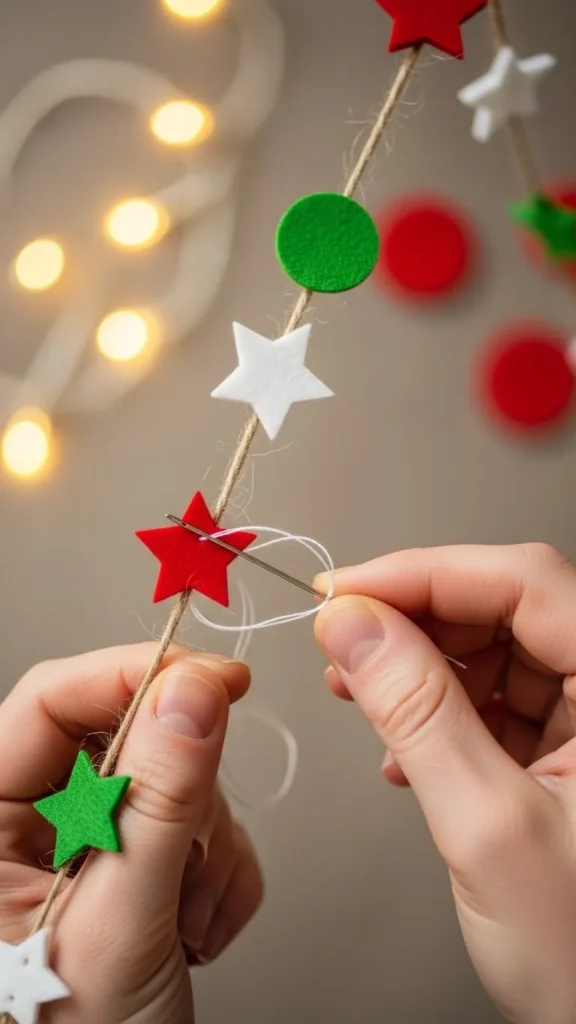
Assembling Your Garland
Now that your shapes are ready, it’s time to connect everything into one beautiful strand.
You can assemble your garland in two main ways:
1. Glue Method (Fast & Easy)
Perfect for beginners or quick projects.
- Lay out your twine.
- Space your felt pieces evenly.
- Add a small line of glue to secure each shape to the twine.
- Press gently to avoid bumps.
2. Stitch Method (Durable & Decorative)
Ideal for a handmade look that lasts year after year.
- Thread a needle with coordinating thread.
- Stitch each piece directly onto the twine or run a thread through the tops of the shapes.
- Use a simple running stitch or blanket stitch.
Once you start assembling, your garland begins to come alive. Don’t be afraid to mix shapes and colors as you go—it adds personality and charm.
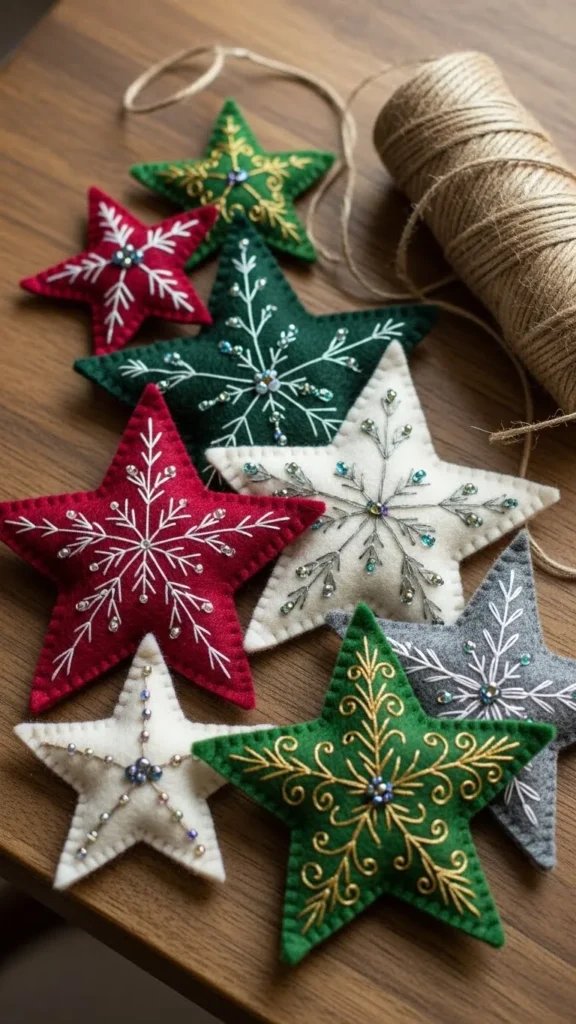
Add Decorative Details
If you want your garland to feel extra special, small details can make a big difference.
Ideas for Enhancing Your Garland:
- Layered shapes: Place a smaller star on top of a bigger one.
- Embroidery accents: Add tiny stitches, outlines, or snowflake patterns.
- Buttons or beads: Create dimension with small embellishments.
- Felt pom-poms: Add soft, round pops of color between shapes.
Even simple details elevate the entire look and make your garland feel store-bought while retaining the charm of handmade décor.
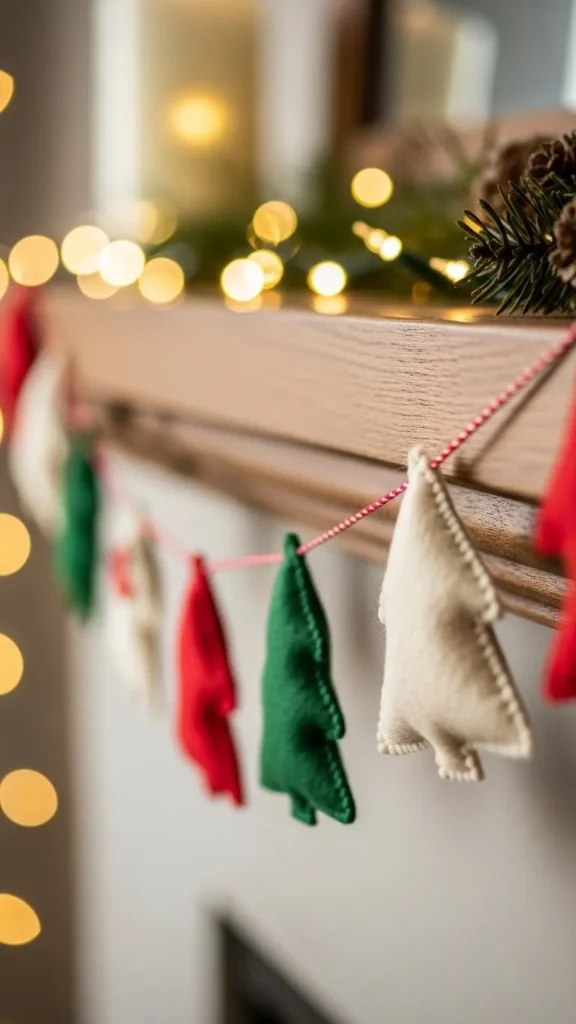
Display Your Felt Garland
Once finished, your garland becomes the perfect soft decorative touch for any holiday space.
Where to Hang It:
- Across a Christmas tree
- On a fireplace mantel
- Draped along a staircase railing
- Over a window or curtain rod
- Around shelves or bookcases
- As part of a holiday photo backdrop
You can also make multiple garlands in different lengths and colors to layer them. The softness of felt adds a warm, festive texture wherever you place it.
Pro Display Tips:
- Keep spacing even for a tidy look.
- Use Command hooks for easy hanging.
- Combine felt garlands with greenery for extra depth.
- Pair with fairy lights to create a glowing holiday moment.
Final Thoughts
A soft DIY Christmas felt garland is one of those projects that’s fun to make and even more rewarding to display. With just a few materials, you can create a custom decoration that fits your style, your home, and your holiday spirit. It’s budget-friendly, beginner-friendly, and perfect for craft nights with family or friends.
If you love simple, cozy Christmas projects, save this idea for later!