

There’s something extra special about gifting something handmade during the holidays. Christmas-themed DIY bath bombs check all the boxes: they’re thoughtful, affordable, and feel like a little luxury wrapped in festive charm. Whether you’re making gifts for friends, teachers, or holiday hosts, these bath bombs add a cozy, spa-like touch to the season.
The best part? You don’t need fancy equipment or hard-to-find supplies. With a few simple ingredients and a little creativity, you can create beautiful bath bombs that look store-bought but feel deeply personal.
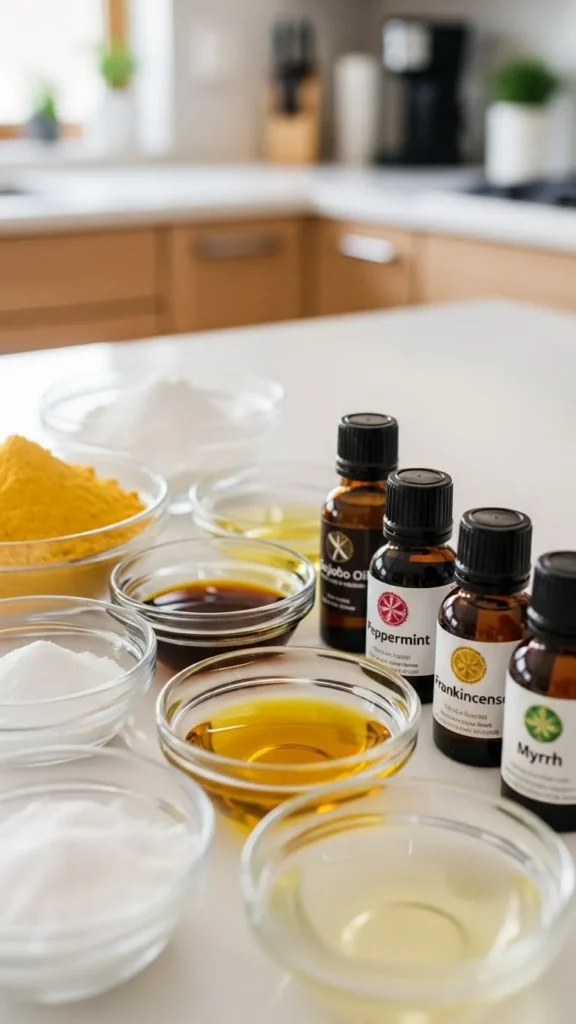
What You’ll Need to Get Started
Before you dive in, gather your supplies. Most of these items are easy to find online or at local craft stores.
Basic bath bomb ingredients:
- Baking soda
- Citric acid
- Cornstarch
- Epsom salt
- Coconut oil or another skin-friendly oil
- Essential oils (peppermint, eucalyptus, or lavender work beautifully for winter)
- Natural colorants (mica powders or food-safe colorants)
- Rubbing alcohol or witch hazel (in a spray bottle)
Tools and extras:
- Mixing bowls
- Whisk or spoon
- Bath bomb molds or silicone holiday molds
- Gloves (optional but helpful)
Having everything ready before you start makes the process smoother and more enjoyable.
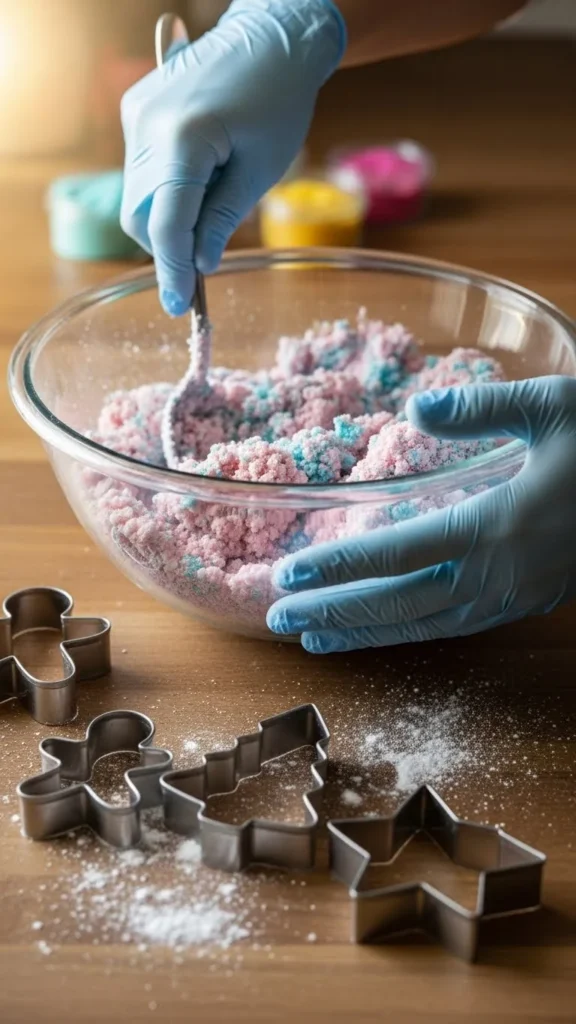
Step-by-Step: Making the Bath Bomb Mixture
This is where the magic happens. Take your time and enjoy the process—it’s surprisingly relaxing.
- Mix the dry ingredients
In a large bowl, combine baking soda, citric acid, cornstarch, and Epsom salt. Whisk until fully blended and free of lumps. - Combine the wet ingredients
In a separate bowl, melt the coconut oil if needed. Add essential oils and a few drops of colorant. - Slowly mix wet into dry
Gradually drizzle the wet mixture into the dry ingredients while whisking constantly. Go slowly to avoid fizzing. - Adjust the texture
The mixture should feel like damp sand and hold its shape when squeezed. Lightly spritz with rubbing alcohol or witch hazel if it’s too dry.
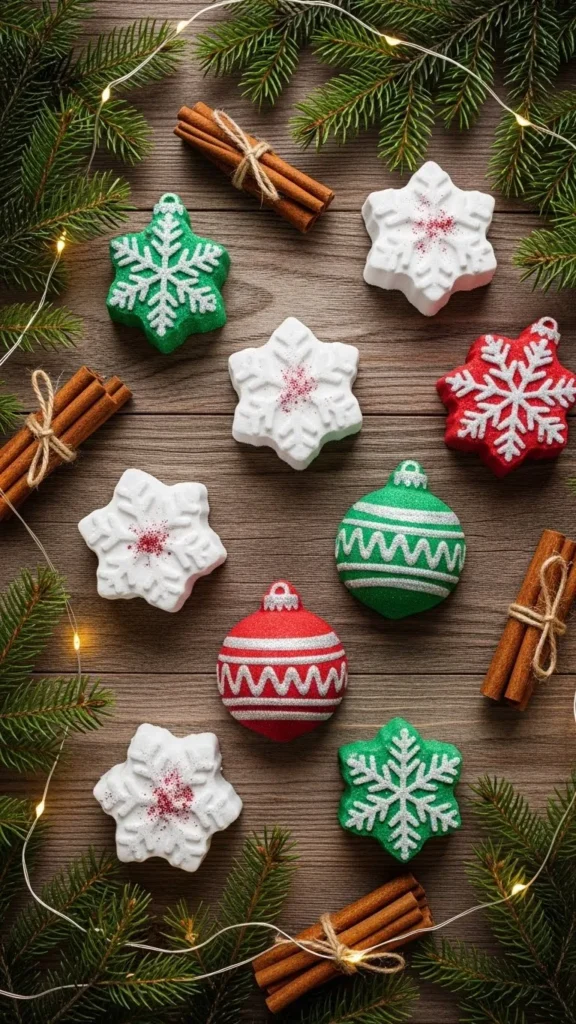
Shaping and Setting Your Christmas Bath Bombs
Once your mixture is ready, it’s time to shape it into festive designs.
- Firmly press the mixture into molds
- Pack tightly so the bath bombs don’t crumble
- Carefully remove from molds after a few minutes
- Let them dry for 12–24 hours on parchment paper
Holiday-themed molds like snowflakes, stars, trees, or ornaments instantly give them a Christmas feel. If you don’t have molds, you can use measuring cups or even shape them by hand.
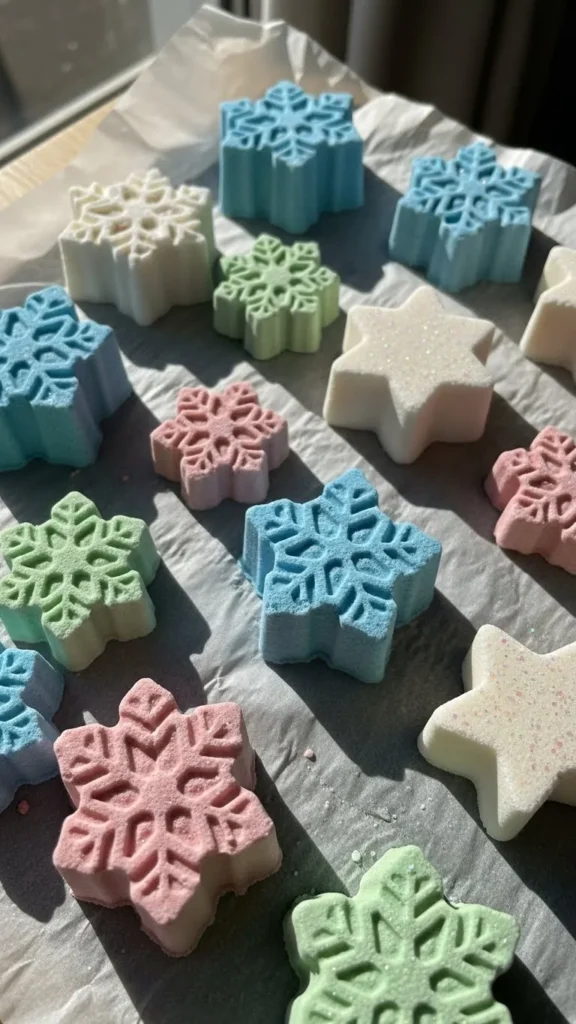
Festive Scents and Color Ideas
The scent and color combo is what makes these bath bombs feel truly seasonal.
Popular Christmas-inspired combinations:
- Peppermint + white and red swirls
- Eucalyptus + icy blue tones
- Lavender + soft silver or pastel purple
- Citrus blends + warm golden hues
Use color sparingly. Soft, muted shades feel elegant and gift-worthy, while bold colors work great for playful designs.
Tip:
Layer different colors in the mold for a marbled or striped effect.
Packaging Ideas That Feel Gift-Ready
Presentation matters, especially for holiday gifts. Simple packaging can instantly elevate your bath bombs.
- Wrap individually in clear biodegradable bags
- Tie with twine, ribbon, or jute string
- Add a handwritten tag with the scent name
- Place sets in small boxes or reusable tins
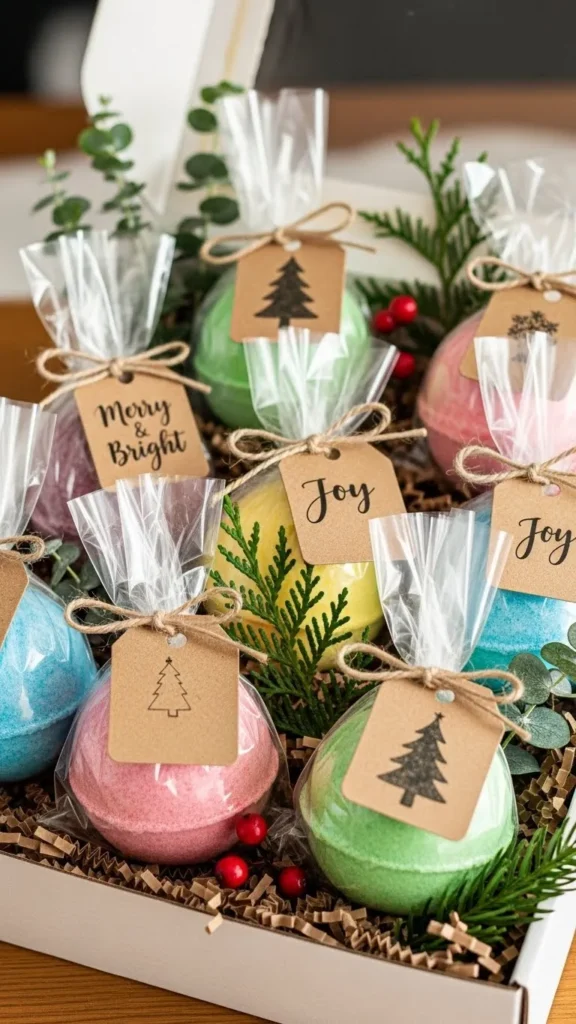
These small touches make your gift feel intentional and heartfelt.
Storage and Gifting Tips
To keep your bath bombs fresh:
- Store in a cool, dry place
- Avoid humidity
- Gift within a few weeks for best results
If you’re making batches ahead of time, silica gel packets (kept separate) can help reduce moisture in storage containers.
Why DIY Bath Bombs Make Perfect Christmas Gifts
They’re customizable, budget-friendly, and suitable for nearly everyone. You can tailor scents and colors to match the recipient’s style, making each gift feel personal without spending a fortune.
Plus, they’re a great option for:
- Teacher gifts
- Stocking stuffers
- Party favors
- Self-care themed baskets
Making Christmas-themed DIY bath bombs is a fun way to slow down during the busy season and create something meaningful. Once you try it, you may find yourself making them every year.
Save this idea for later and start planning your holiday gift-making day!

Leave a Reply