

There’s something undeniably magical about holiday décor that feels handmade, personal, and charming. That’s exactly why chalkboard-style Christmas signs have become a Pinterest favorite—cozy, rustic, and perfect for any festive corner of your home. Whether you want something whimsical for the entryway or a bold statement piece for the mantel, this DIY project is simple, affordable, and incredibly fun.
This guide walks you through everything you need—from prepping your board to creating lettering that looks beautifully vintage and festive.
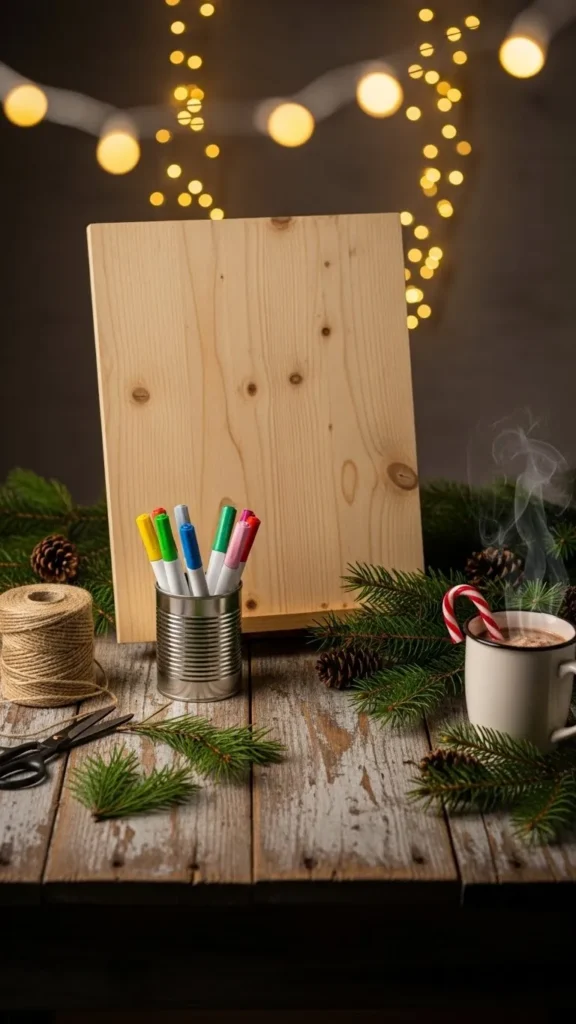
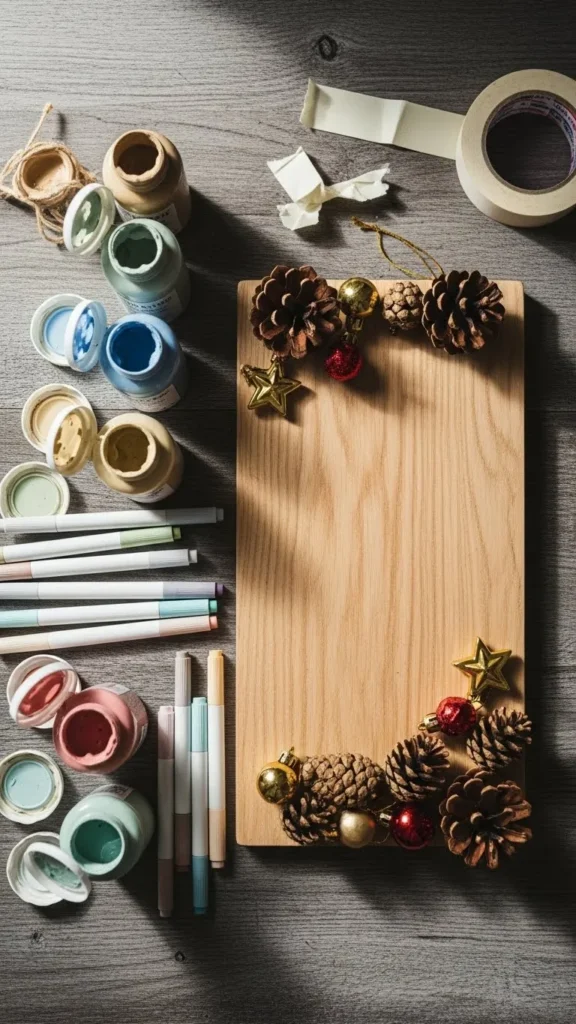
Gather Your Supplies
Before you dive into the creative part, make sure you have everything ready. A chalkboard-style sign doesn’t require much, and you can even repurpose items you already own.
You’ll need:
- A wooden board or canvas (any size you like)
- Chalk paint (black or deep green for classic Christmas vibes)
- Foam or bristle paintbrush
- Chalk markers or regular white chalk
- Painter’s tape
- Optional: stencils, ribbon, greenery, wood frame
Having everything laid out before you begin helps you stay in the creative flow without interruption.
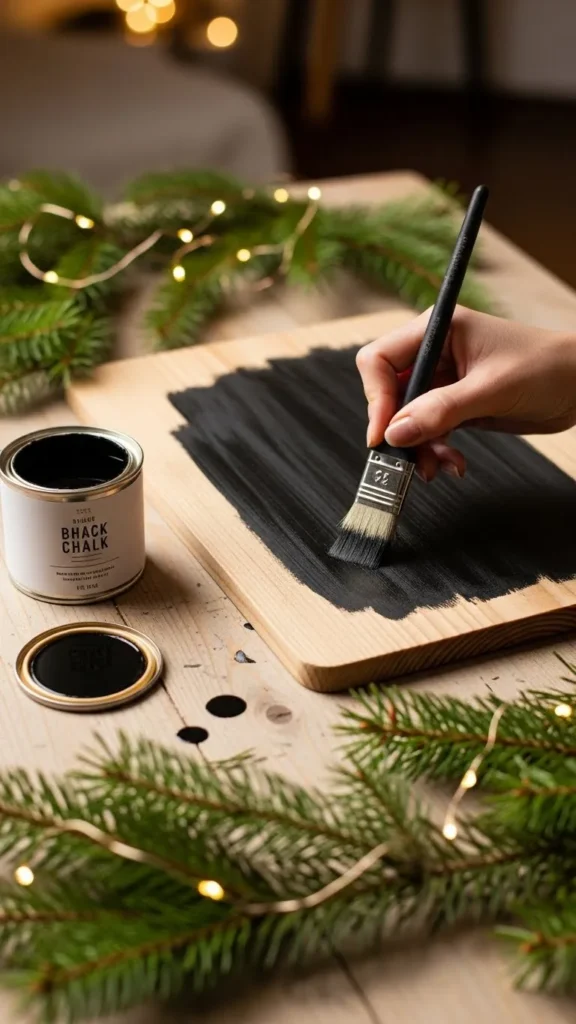
Step 1: Prep and Paint Your Board
Start by creating the chalkboard effect base.
If your board is unfinished wood:
- Lightly sand the surface for smoothness.
- Wipe off the dust before painting.
Apply 1–2 coats of chalk paint, letting each coat dry completely. For a more rustic look, don’t worry about achieving perfect coverage—visible texture adds charm.
Pro tip:
Add painter’s tape around the edges if you want crisp borders or plan to create a framed look later.
Once the paint dries, you’re ready for the fun part—designing the artwork.
Step 2: Plan Your Design Before Drawing
It’s tempting to start drawing right away, but a little planning goes a long way toward making your sign look polished.
Sketch your idea on scratch paper first.
Think about:
- The main phrase (e.g., “Merry Christmas,” “Joy to the World,” “Believe”)
- Supporting accents like stars, holly, snowflakes, little houses, or evergreen branches
- Decorative frames, banners, or corner designs
If you’re not confident with freehand lettering, stencils are your best friend. You can also lightly outline your design using regular chalk before going over it with a chalk marker.
Keep spacing balanced. Leave room for decorative touches so the sign doesn’t feel crowded.
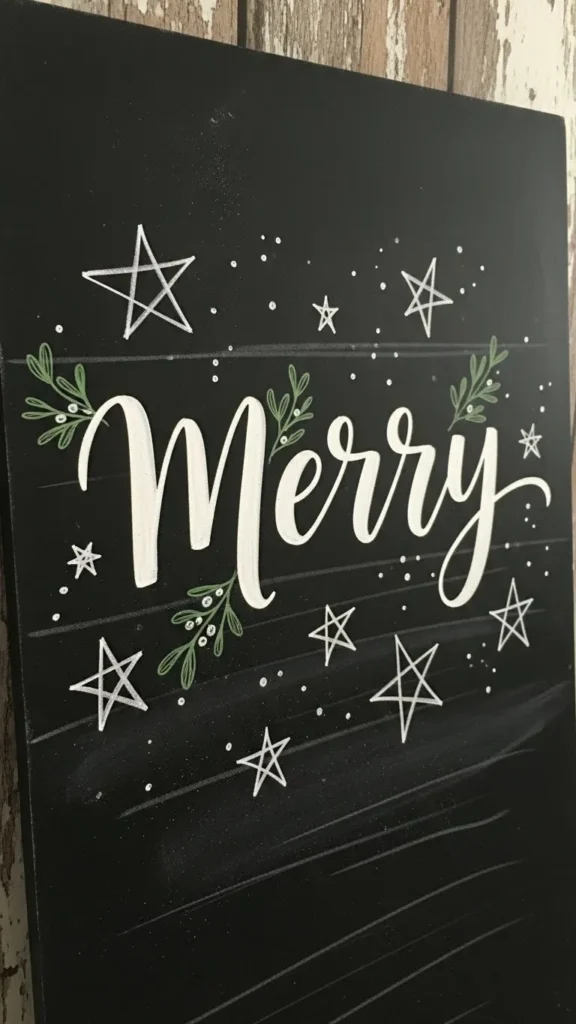
Step 3: Start Lettering Your Christmas Message
Now comes the creative centerpiece—the lettering. Take your time and enjoy the process.
Here’s how to get that classic chalkboard style:
- Use a mix of fonts—script, bold block letters, and tiny uppercase accents.
- Bold the main phrase at the center.
- Add curls, tiny stars, or dotted lines to make the text feel festive.
- Use chalk markers for crisp lines, or real chalk if you want softer, dustier edges.
A great rule of thumb: always start with the big words first, then fill in the smaller designs around them.
If you make a mistake, don’t panic—chalk wipes off easily with a damp cloth. Small imperfections actually add to the vintage charm.
Step 4: Add Illustrations and Decorative Details
This step brings your sign to life.
Try adding:
- Snowflakes in different sizes
- Holly leaves and berries
- Mini Christmas trees or simple garlands
- Starbursts or twinkling lights
- Cute hand-drawn ornaments
Keep your illustrations simple and repeat shapes to create harmony. Little touches can transform your design from basic to eye-catching.
If you want your sign to feel more dimensional, add drop shadows by lightly outlining one side of the letters with a soft gray chalk.
Step 5: Seal or Leave It Erasable
You have two choices for finishing your sign, depending on how you plan to use it:
Option 1: Seal It
If you want the design to last for years:
- Use a matte spray sealer.
- Hold the can at least 10–12 inches away.
- Apply in light, even layers.
Option 2: Keep It Erasable
If you enjoy updating your décor every season:
- Do not add a sealant.
- Leave the chalk surface raw so you can erase and re-create whenever inspiration strikes.
This makes the sign incredibly versatile—you can change it for New Year’s, Valentine’s Day, or even everyday home décor.
Display Ideas to Make Your Chalkboard Sign Pop
Once your sign is finished, show it off somewhere it can shine. A chalkboard looks great in so many corners of your home.
Try placing it:
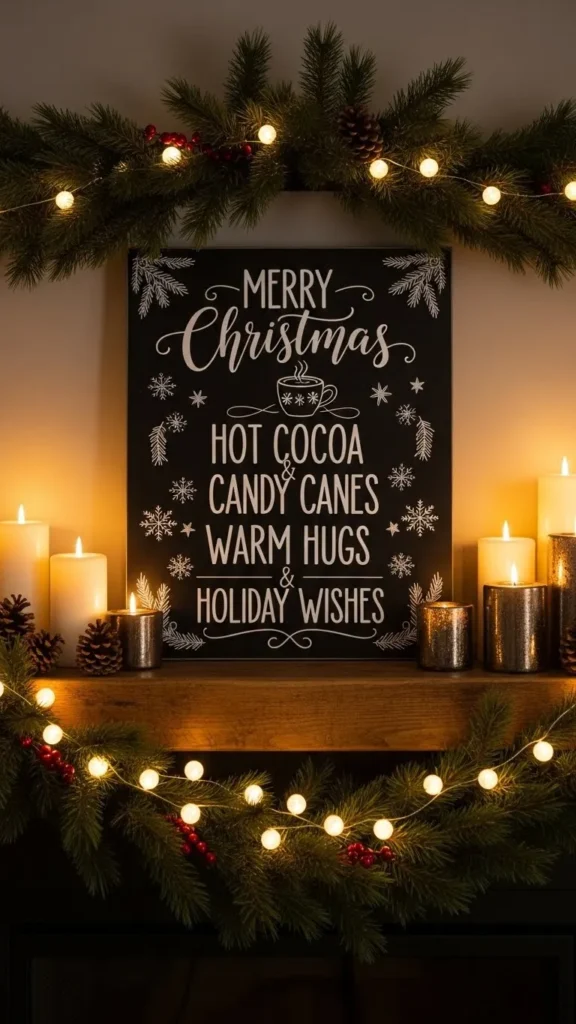
- On the mantel with candles and greenery
- In the entryway to welcome guests
- As part of a hot cocoa bar setup
- Leaning on a shelf alongside mini trees and fairy lights
- Hung on the wall with a ribbon or rustic twine
You can also pair it with other DIY crafts like homemade ornaments or a festive wreath to create a true holiday vignette.
Final Tips for Success
- Don’t rush—chalk designs look best when you work slowly and layer details.
- Try practicing lettering styles on scrap paper before moving to the board.
- Use contrast! Big bold letters + tiny accents = perfect balance.
- The goal isn’t perfection. It’s charm, personality, and holiday warmth.
Create Something Cozy and Festive
Making a chalkboard-style Christmas sign is a relaxing project that brings instant holiday cheer to your home. It’s budget-friendly, customizable, and easy enough for beginners to enjoy. Plus, once you make one, you’ll want a sign for every season.
Save this idea for later and pin it for your next DIY Christmas décor session!

Leave a Reply