

Looking for a cozy holiday craft that instantly adds farmhouse charm to your space? Rustic DIY Christmas rope trees are the perfect project. They’re simple, budget-friendly, and create that warm, handmade look everyone loves during the holidays. Whether you place them on your mantel, entryway table, or dining-room centerpiece, these little trees bring texture and personality to your décor.
In this guide, you’ll learn how to make your own rope trees from scratch, plus smart tips to customize their style so they match any room.
Gathering Your Supplies
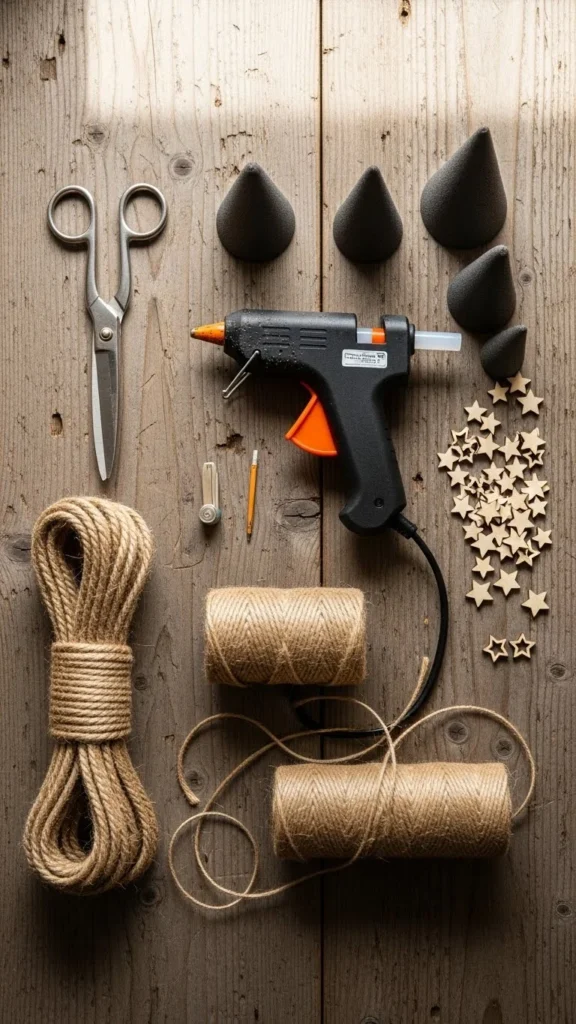
Before you begin, set up a small crafting station so you can work comfortably. You don’t need anything fancy—just a few affordable basics.
What You’ll Need
- Paper or foam cones (various sizes)
- Jute, cotton, or sisal rope
- Hot glue gun + glue sticks
- Scissors
- Optional: twine, mini bells, wooden stars, faux greenery
Choosing the right rope makes a big difference. Jute rope gives an earthy look, cotton rope feels softer and more modern, and sisal rope adds a touch of rough texture. Pick whatever fits your holiday style.
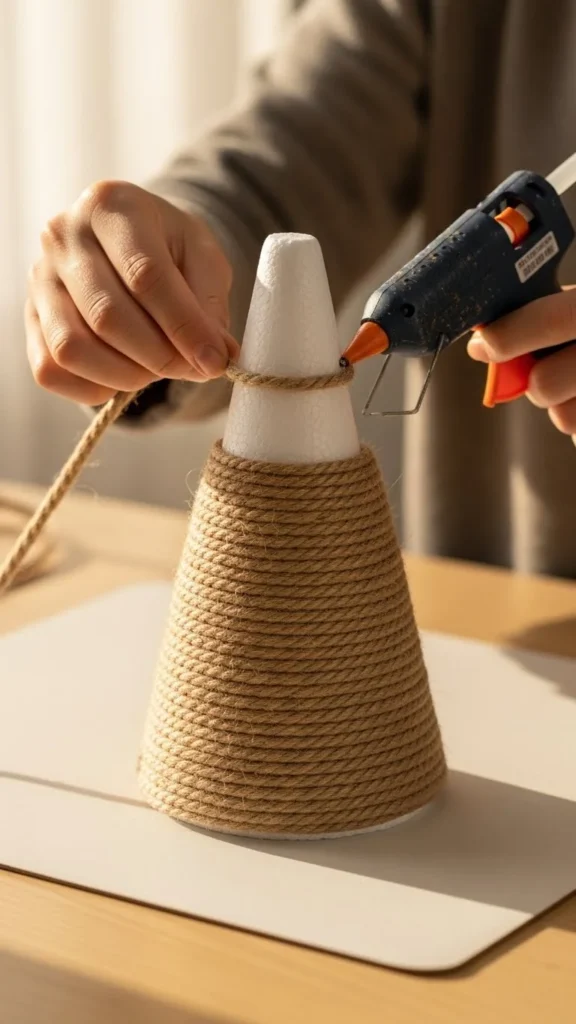
Step 1: Wrap the Cone Smoothly
The base wrap is what creates the signature tree shape, so take your time with this part.
Start by adding a small dot of hot glue at the bottom of the cone. Press the end of the rope into it and begin wrapping tightly around the base. Continue working your way up, adding glue every few inches to keep the rope firmly in place.
Use small sections of rope for better control, especially when the cone narrows near the top.
Tip:
If gaps appear between rope rows, gently push the rows together before the glue sets. This helps create a seamless, professional-looking finish.
Step 2: Create a Rustic Texture
Once your tree shape is fully wrapped, it’s time to give it that cozy, farmhouse character.
Here are a few easy ways to add texture:
- Use multiple rope types for a layered look. Alternate between thick rope and thin twine.
- Leave the rope slightly uneven at certain points to achieve a handcrafted aesthetic.
- Dry brush with white paint for a snowy, weathered effect.
If you want a natural winter look, dab a bit of faux snow or sprinkle fine white glitter gently along the rope.

Step 3: Add Charming Farmhouse Decorations
This is the fun part—decorating! Keep it simple and rustic so the rope texture remains the star.
Here are some cute, budget-friendly ideas:
- Wrap twine in a spiral around the tree.
- Add tiny wooden beads or buttons for texture.
- Glue on mini pinecones or sprigs of faux greenery.
- Top it off with a wooden star or small bell.
You can also leave your tree minimalistic if you love a clean, earthy vibe.

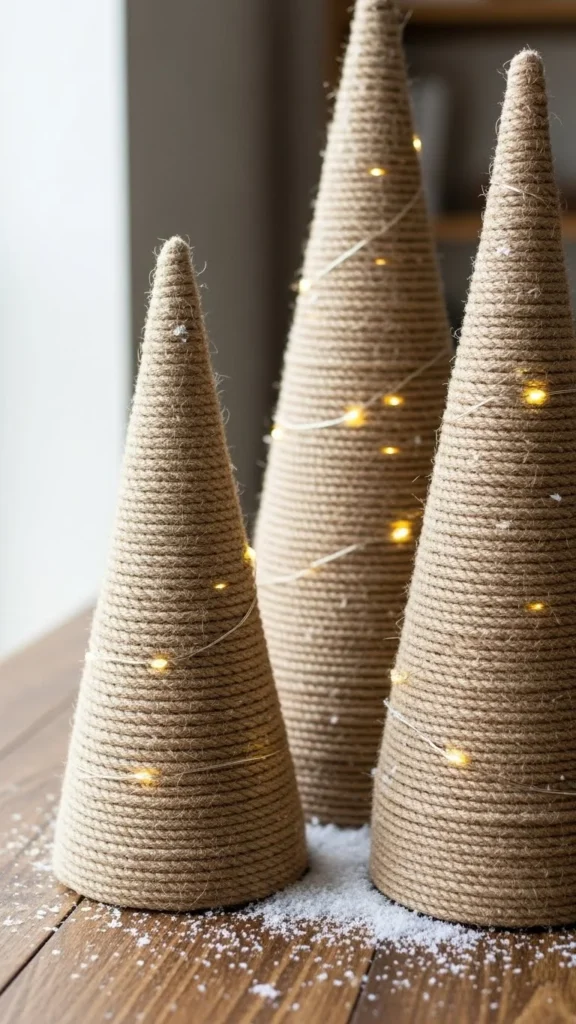
Step 4: Create a Display That Pops
Once your rope trees are finished, it’s time to style them beautifully.
Try grouping two or three trees in different heights to create a cozy vignette. Add fairy lights around the base or set them on a wooden tray with greenery to elevate the farmhouse feel.
Here are some display ideas:
- Mantel décor
- Coffee table centerpieces
- Dining table setups
- Entryway console displays
Natural elements like pine branches, dried oranges, cinnamon sticks, and wooden coasters help tie everything together for a warm Christmas look.
Extra Tips for a Perfect Finish
- Choose cones in multiple sizes for a more dynamic display.
- Secure the top tightly—the tip is the trickiest part to wrap neatly.
- Use neutral-colored rope for easy styling with different décor themes.
- Add warm white lights for a magical glow at night.
If you’re gifting these rope trees, wrap them in kraft paper and tie with twine for the ultimate rustic presentation.
Final Thoughts
Rustic DIY Christmas rope trees are the perfect way to bring handcrafted farmhouse charm into your home this season. They’re simple to make, beautifully textured, and completely customizable. Plus, they add a warm, natural touch that never goes out of style.
If you’re ready to create holiday décor that feels cozy and meaningful, give this project a try—and don’t forget to save this idea for later!

Leave a Reply