

If you love easy, cozy holiday crafts, a DIY Christmas star garland is one of the quickest ways to bring instant magic to any room. It’s simple, budget-friendly, and perfect for beginners or families crafting together. Whether you hang it across your mantel, drape it over a doorway, or wrap it around your tree, this project adds soft festive charm without much effort.
Below, you’ll find a friendly, step-by-step guide that walks you through everything—from choosing materials to arranging your stars so your garland looks picture-perfect.
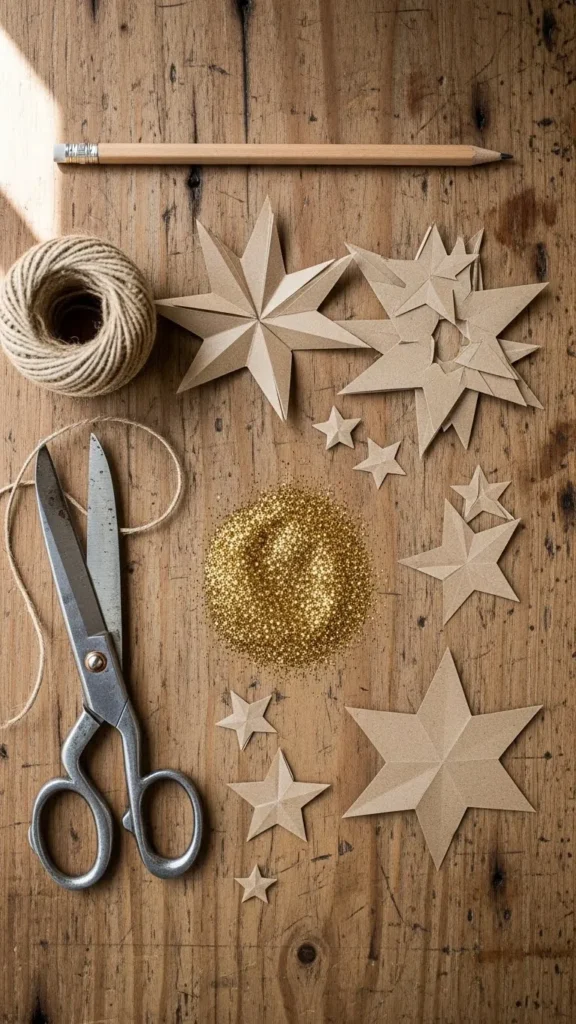
Gather Your Simple Crafting Supplies
You don’t need anything fancy to make a Christmas star garland. Most of these supplies are already in your home or easy to find at any craft store.
Here’s what you’ll want:
- Cardstock, kraft paper, glitter paper, or patterned scrapbook sheets
- Scissors or a craft knife
- A pencil for tracing
- Star templates (draw your own or print simple outlines)
- Twine, jute string, or cotton thread
- Hole punch or a needle
- Optional: glue, glitter, mini beads, or small wooden stars
Keep your color scheme in mind before cutting your stars. Neutral tones like cream, gold, and brown give a cozy farmhouse vibe. Bright reds and greens feel more traditional. Metallics create a modern, festive style.
Cut Out Your Stars
This is where your garland starts to come to life. Cutting stars is simple, but a few small tips make them look clean and professional.
Trace and Cut
Place your template on your paper and trace as many stars as you need. Try a mix of sizes—small, medium, and large—to give your garland a dynamic, layered look.
Use sharp scissors so the edges stay crisp. If you prefer precision, a craft knife and cutting mat work beautifully.
Add Texture
If you want something special, try:
- Folding each star down the center to give it a 3D effect
- Using embossed paper
- Layering two stars together for thickness
- Adding a light touch of glitter glue around the edges for sparkle

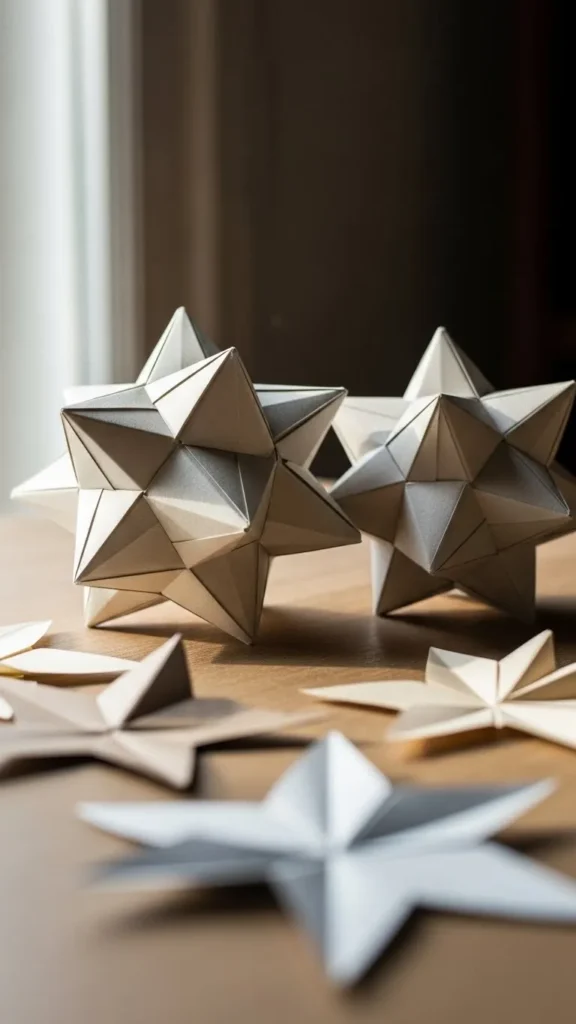
Create Dimension With Simple 3D Stars
Flat stars are cute and classic—but 3D stars make your garland stand out instantly.
How to Make Easy Folded Stars
Once your stars are cut:
- Draw light diagonal lines from point to point.
- Fold gently along each line to create soft ridges.
- Press the center outward to form a raised shape.
This takes less than a minute per star and looks incredibly polished.
If you want deeper dimension, glue two stars together back-to-back. They’ll hold their shape better and rotate beautifully when hung by a breeze or near a heater vent.
Assemble Your Garland
Now the fun part—turning your stars into a hanging decoration.
Punch the Holes
Use a hole punch near the top of each star. If your stars are small or the paper is thick, a needle threaded through each piece works great too.
Thread Your Garland
String your stars onto twine or jute. Space them evenly or cluster them in small groups for a more whimsical style.
A few layout ideas:
- Evenly spaced: Clean, simple, minimal.
- Clustered sets: One large star with two smaller ones around it.
- Random mix: A charming, childlike look perfect for playrooms.
Don’t forget to tie small knots behind each star if you don’t want them sliding around.
Add Final Decorative Touches
Your garland is nearly done—just a few finishing touches can elevate the entire look.
Try adding:
- Mini wooden beads between stars
- Sprigs of faux greenery at each end
- Gold paint splatter for shimmer
- Tied bows made from thin ribbon or twine
If you prefer a natural look, leave the stars exactly as they are. Kraft paper and twine alone look incredibly warm and rustic.
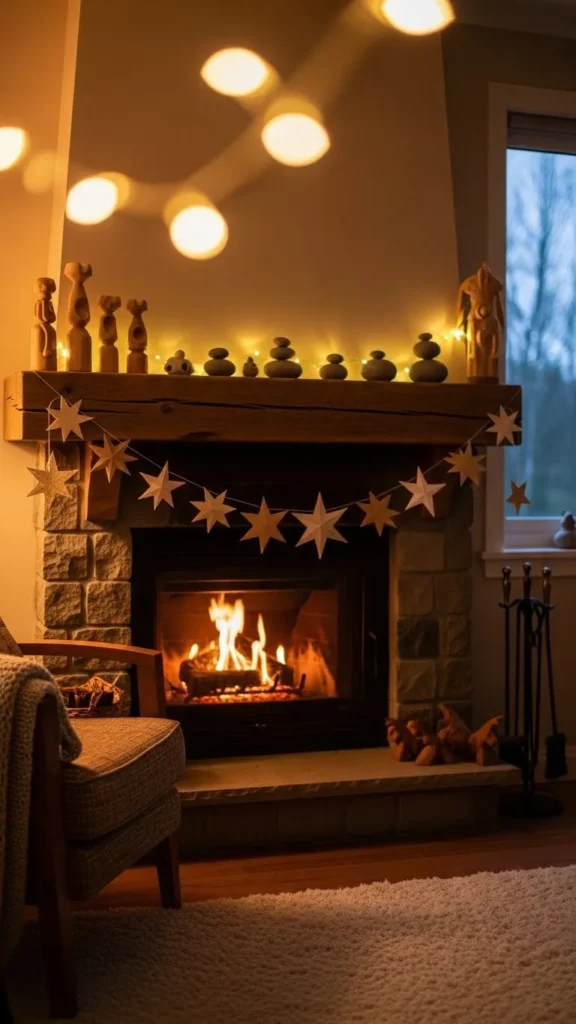
Hang and Display Your Garland
Where you hang your garland depends on the vibe you want to create:
- Across a mantel: Classic and cozy
- Above a door frame: Welcoming and festive
- Layered along a bookshelf: Simple yet charming
- Wrapped around a tree: Adds depth and handmade detail
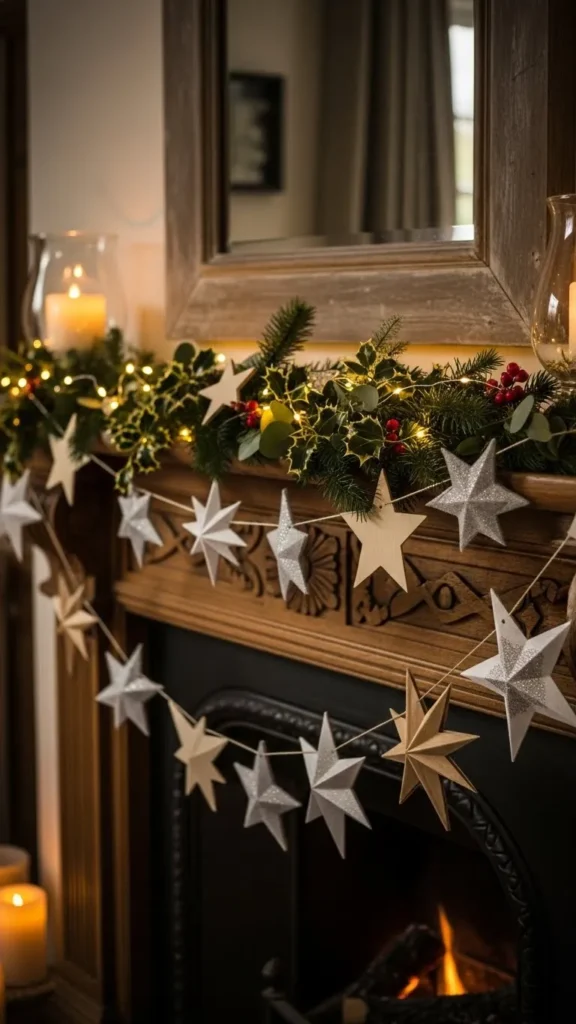
- Draped across windows: Beautiful with the light shining through
Experiment with height, drape, and spacing. Try stacking multiple garlands for a fuller display—stars pair beautifully with greenery garlands or fairy lights.
Final Thoughts
A DIY Christmas star garland is the perfect mix of easy crafting and beautiful holiday style. It’s affordable, fun, and something you can customize endlessly depending on your home’s look.
Save this project for later—or make a few garlands today and enjoy a festive atmosphere all season long!

Leave a Reply