

Nothing changes the mood of a room faster than a gentle, steady fragrance. Reed diffusers are a favorite because they work quietly in the background—no flames, no plugs, no daily effort. The best part? You can make them yourself with just a few simple supplies and customize the scent for every space in your home.
Why Reed Diffusers Are Perfect for Everyday Scents
Reed diffusers slowly release fragrance through natural reeds that draw scented oil upward and disperse it into the air. Unlike sprays or candles, they provide continuous scent without attention.
They’re ideal for:
- Entryways and hallways
- Bathrooms and laundry rooms
- Bedrooms and home offices
- Small apartments or shared spaces
Once set up, they can last weeks with minimal upkeep.
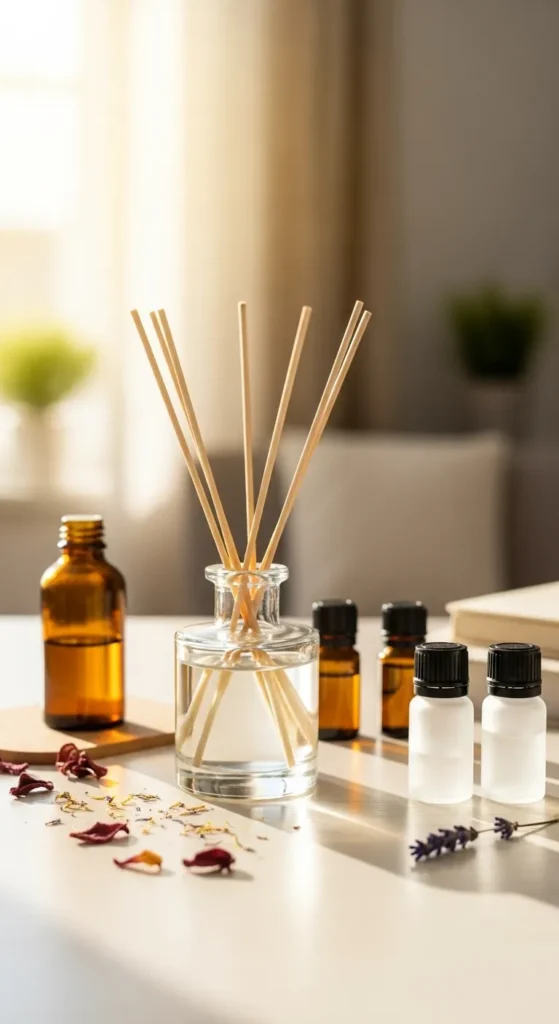
What You’ll Need to Get Started
Making a reed diffuser is simple and affordable. You may already have some of these items at home.
Basic supplies:
- Small glass bottle or jar with a narrow neck
- Reed diffuser sticks or bamboo skewers
- Carrier oil (fractionated coconut oil or sweet almond oil work well)
- Essential oils
- Small funnel or measuring cup
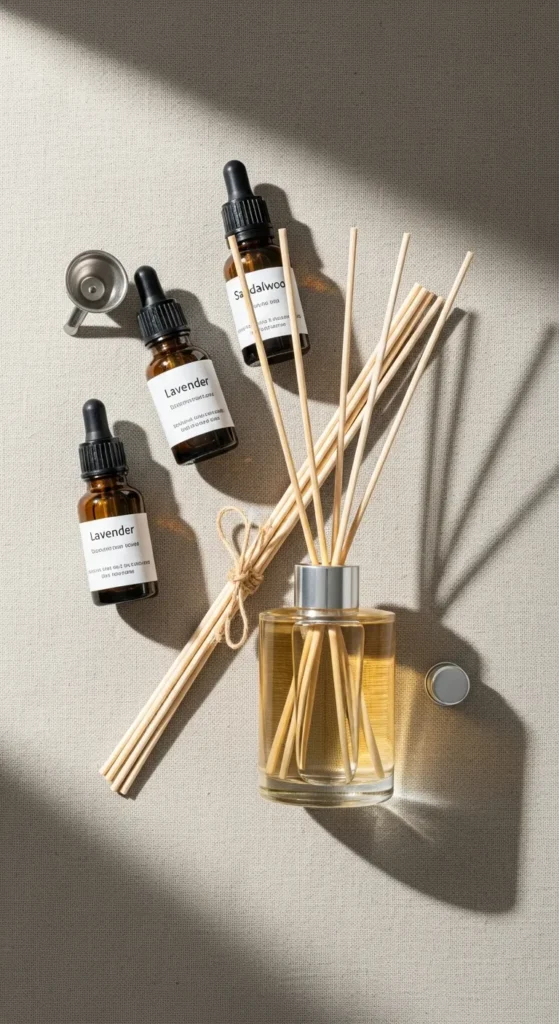
Choosing the Right Oils for Long-Lasting Results
The carrier oil matters more than most people realize. Lighter oils travel up the reeds more easily and release scent more evenly.
Best carrier oil options:
- Fractionated coconut oil (light and nearly odorless)
- Sweet almond oil (smooth and widely available)
- Safflower oil (budget-friendly and neutral)
Avoid thick or heavy oils, as they don’t diffuse as well.
For fragrance, essential oils give you full control over the scent strength and mood.
Popular essential oil choices:
- Lavender for relaxation
- Lemon or orange for freshness
- Eucalyptus for a clean feel
- Vanilla or sandalwood for warmth
Step-by-Step: How to Make a Reed Diffuser
Follow these steps for a diffuser that smells great and lasts longer.
- Add the carrier oil
Fill your bottle about two-thirds full with your chosen carrier oil. - Add essential oils
Start with 20–30 drops total. Adjust later if you want a stronger scent. - Mix gently
Swirl the bottle slowly to blend the oils. Avoid shaking, which can create air bubbles. - Insert the reeds
Place 5–8 reeds into the bottle and spread them slightly. - Flip after one hour
Turn the reeds upside down to kick-start the scent release.
How to Create Custom Scent Blends
Blending oils is where the fun begins. Stick to two or three oils for a balanced result.
Easy blend ideas:
- Fresh & Clean: Lemon + eucalyptus
- Calming: Lavender + vanilla
- Warm & Cozy: Orange + sandalwood
- Spa-Inspired: Eucalyptus + mint
Always test blends by smelling them together before adding them to the oil.
Tips to Make Your Diffuser Last Longer
A few small tweaks can extend the life of your diffuser and keep the scent consistent.
- Use fewer reeds for a lighter scent
- Flip reeds once a week, not daily
- Keep diffusers away from direct sunlight
- Refill with plain carrier oil when scent fades, then add a few more drops of essential oil
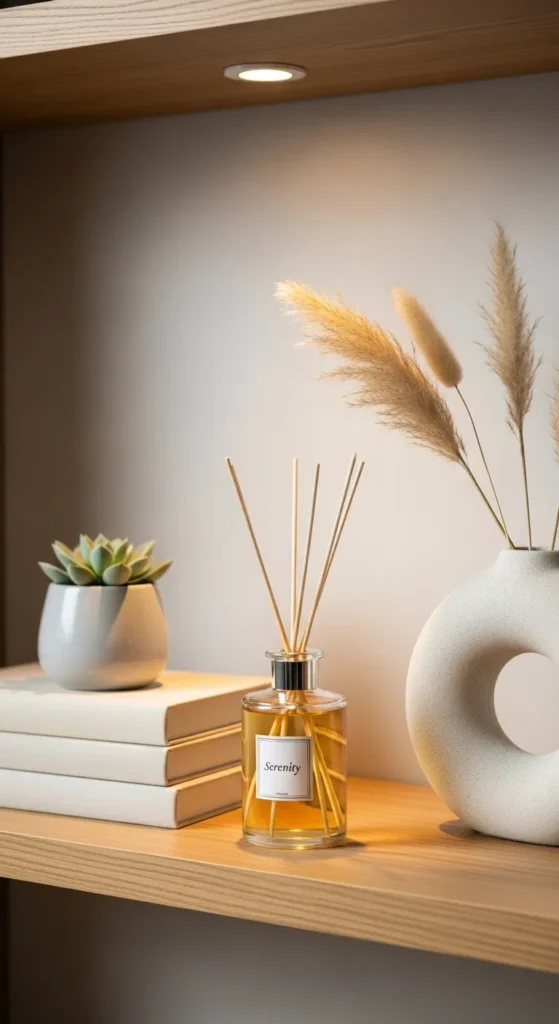
Where to Place Reed Diffusers for Best Results
Placement affects how well your diffuser works.
Good spots include:
- Near doorways where air circulates
- On bathroom counters or shelves
- On nightstands or dressers
- In entryways to welcome guests
Avoid placing them near open windows or vents, which can cause the scent to fade faster.
Common Mistakes to Avoid
Even simple projects have a few pitfalls.
- Overloading with essential oils
- Using plastic containers instead of glass
- Choosing thick oils that won’t travel up the reeds
- Forgetting to flip the reeds occasionally
Keeping things simple usually gives the best result.
A Simple Way to Make Your Home Feel More Inviting
DIY reed diffusers are one of the easiest ways to add personality and comfort to your home. They’re affordable, customizable, and beautiful enough to double as décor.
Once you make one, you’ll want a different scent for every room.
Save this guide for later and start creating your own signature home scents today.

Leave a Reply