

Old cabinets don’t mean a tired kitchen or dated bathroom. With a few smart DIY updates, you can completely change how your cabinets look and feel—without the cost or stress of a full remodel. Small tweaks can make a big visual impact, and most of them are beginner-friendly.
Whether your cabinets are scratched, dark, or just boring, these simple tricks can bring them back to life. Let’s break it down step by step.
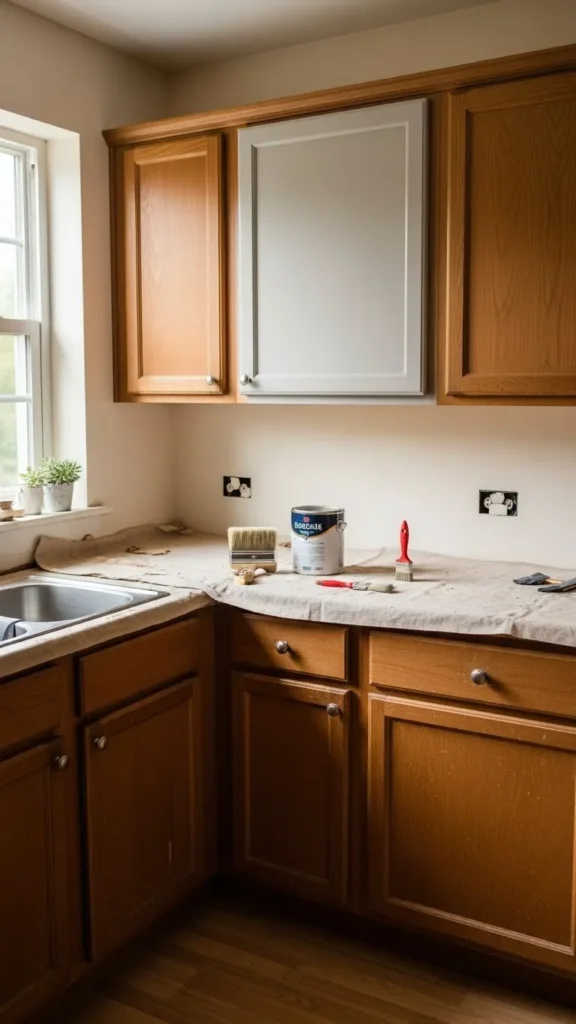
Start With a Deep Clean (It Matters More Than You Think)
Before any makeover magic happens, your cabinets need a serious clean. Years of grease, dust, and fingerprints can stop paint or finishes from sticking properly.
Focus on:
- Cabinet doors and drawer fronts
- Handles and knobs
- Corners and edges where grime builds up
Use warm water with a grease-cutting cleaner or mild soap. For stubborn spots, a soft brush works wonders. Dry everything completely before moving on.
This step feels basic, but it’s the foundation of a smooth, professional-looking result.
Refresh Cabinets With Paint or Stain
Paint is one of the fastest ways to transform old cabinets. It instantly changes the mood of the room and hides imperfections.
Tips for best results:
- Remove doors and hardware first
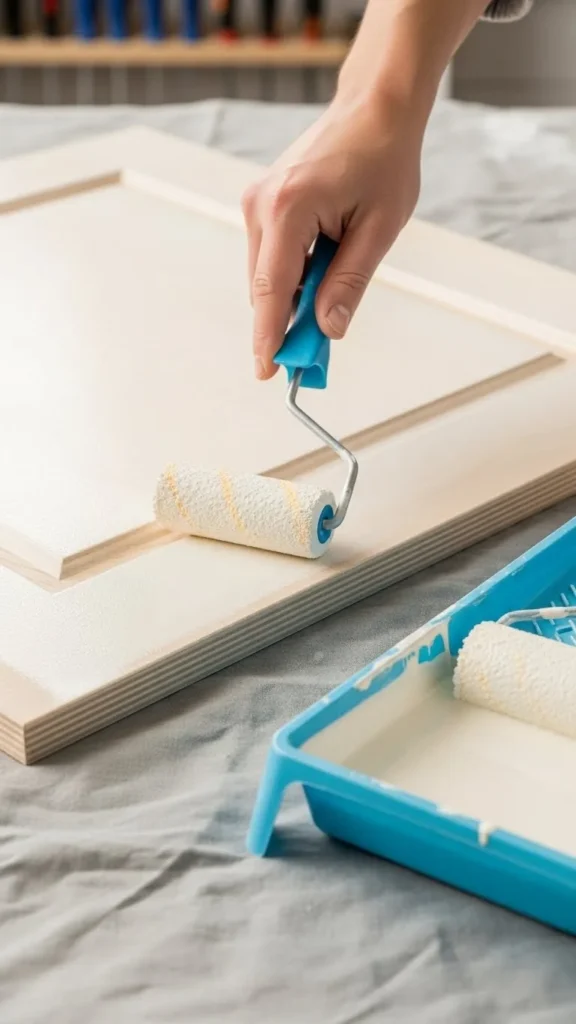
- Lightly sand to help paint stick
- Use a foam roller for smooth surfaces
- Apply thin coats instead of one thick layer
Popular choices include soft whites, warm beige tones, muted greens, and light gray. If you love the wood grain, consider a fresh stain instead of paint for a warmer look.
Let each coat dry fully. Patience here pays off.
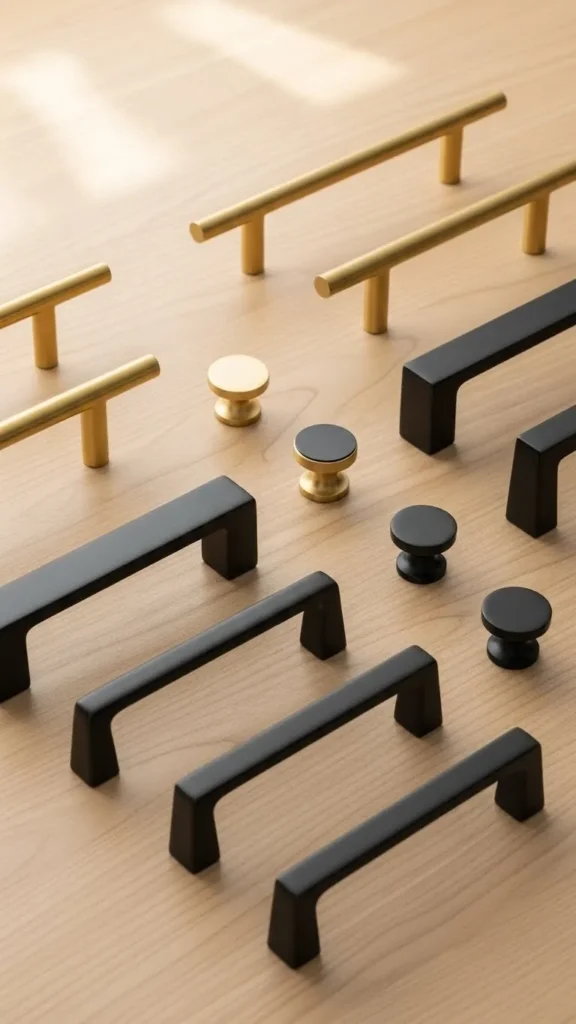
Swap Out Hardware for an Instant Upgrade
If painting feels like too much, changing cabinet hardware alone can still make a huge difference. Old knobs and pulls often date a space more than the cabinets themselves.
Try:
- Sleek black pulls for a modern look
- Brushed brass for warmth
- Simple chrome for a clean finish
Measure carefully so new hardware fits existing holes. If not, wood filler can help you adjust placement without stress.
This is one of the quickest updates with the biggest visual payoff.
Add Molding or Trim for a Custom Feel
Flat cabinet doors can look plain, but adding trim gives them a high-end, custom appearance.
You can:
- Attach thin trim to create a shaker style
- Add decorative molding around edges
- Use lightweight wood pieces for easy installation
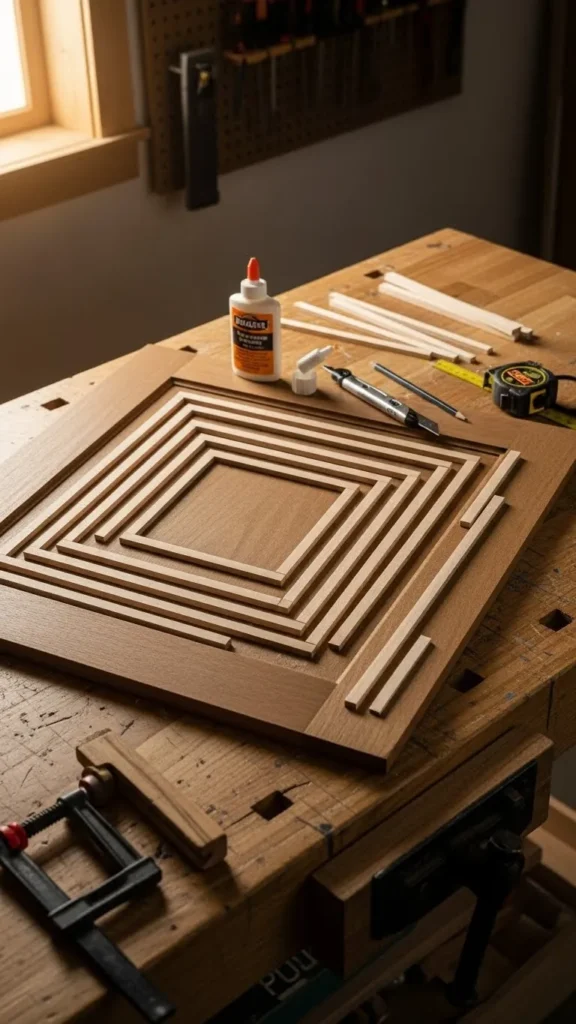
Paint everything the same color once installed. This trick makes builder-grade cabinets look far more expensive than they are.
Line Shelves for a Small But Stylish Touch
Shelf liners are an underrated DIY trick. They add personality and protect cabinet interiors at the same time.
Choose:
- Subtle patterns for a classic look
- Soft neutral tones for calm spaces
- Easy peel-and-stick options for simple removal
This works especially well for open cabinets or glass-front doors. It’s a small detail, but it makes your cabinets feel intentional and fresh.
Try Open Shelving for a Light Refresh
If your space feels heavy or dark, removing a few cabinet doors can instantly open it up.
This works best for:
- Upper cabinets
- Displaying everyday dishes
- Creating visual breathing room
Sand and paint the inside for a finished look. Keep items organized so it feels styled, not cluttered.
This option costs almost nothing and completely changes the room’s feel.
Protect Your Work With a Durable Finish
Once your cabinets look amazing, protect them so they stay that way. A clear protective coat helps resist scratches and everyday wear.
Use:
- A water-based protective finish
- A soft brush or foam roller
- Light, even coats
This step is especially important in kitchens and bathrooms where cabinets see daily use.
Final Thoughts: Small Changes, Big Results
Transforming old cabinets doesn’t require special skills or a big budget. With paint, hardware swaps, trim, and thoughtful details, you can create a space that feels new again.
Start small. Pick one trick and build from there.
Save this guide for later and give your cabinets the glow-up they deserve!

Leave a Reply