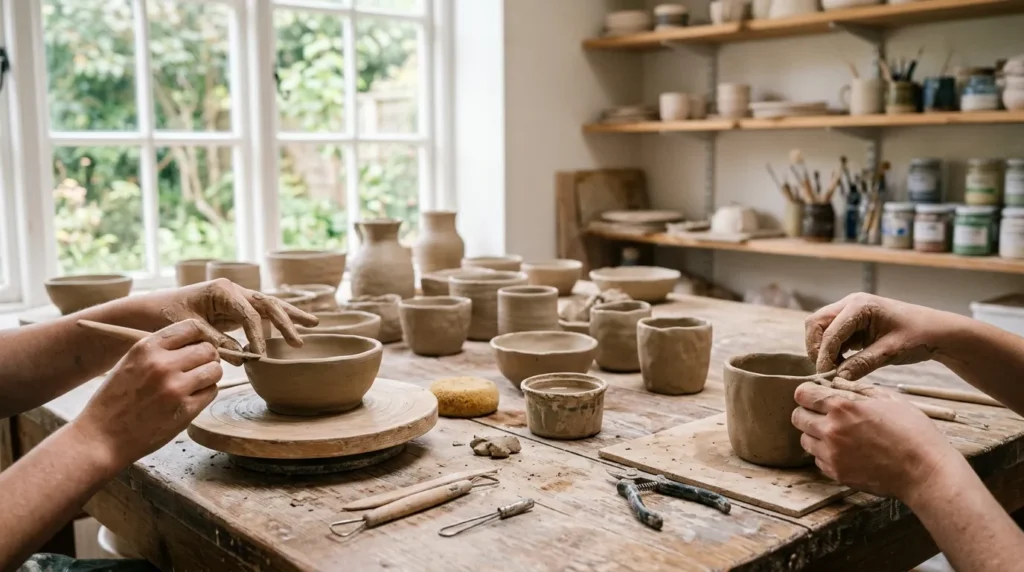
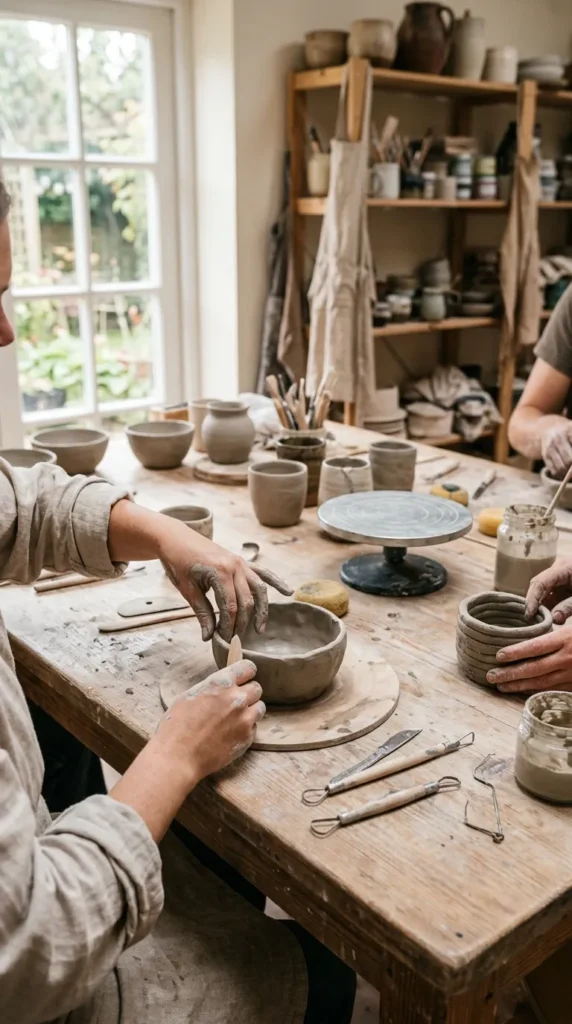
Clay is one of the simplest materials to start making handmade art. You do not need expensive tools or advanced skills to begin. A small block of air-dry clay or basic ceramic clay can turn into bowls, mugs, and decor pieces in a short time. This list gives you easy pottery ideas that beginners can try at home with low cost supplies and simple steps. Each idea is practical, beginner-friendly, and focused on helping you create something real from day one.
1. Simple Pinch Pot Bowl
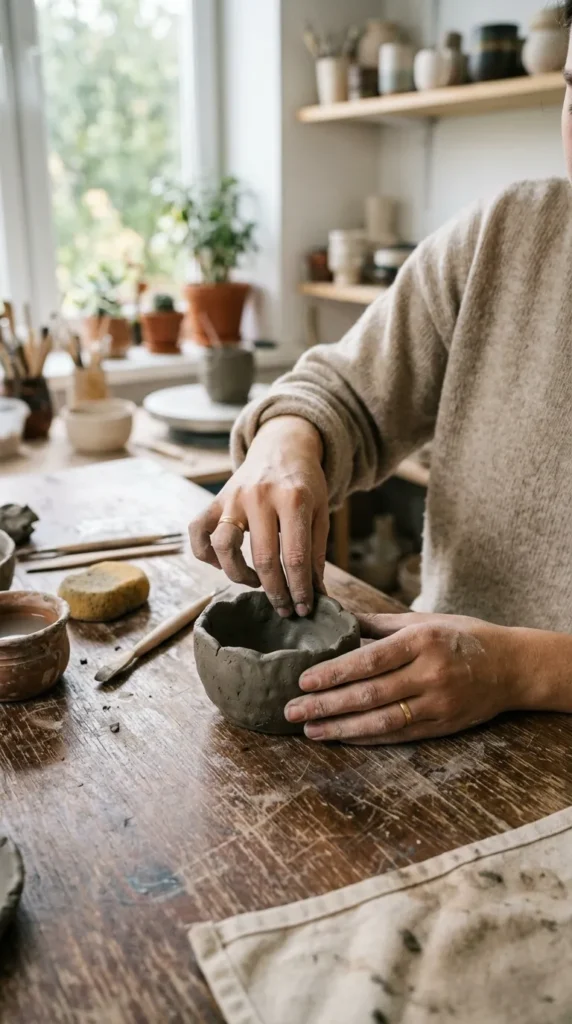
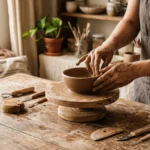
Pinch pots are one of the easiest ways to start working with clay. You only need a small ball of clay and your fingers. Press your thumb into the center, then slowly pinch the sides outward to form a small bowl shape. Keep the thickness even so it does not crack later.
This project works well with air-dry clay or low-cost pottery clay. You do not need a wheel or special tools. A small cup of water helps smooth rough edges. If you want a cleaner finish, use a spoon or a plastic card to shape the surface.
You can make a set of pinch bowls for snacks, keys, or small desk items. Try different sizes for practice. Leave them to dry fully before painting. Acrylic paint works well for decoration. Simple patterns like dots or lines can make each piece look personal without extra effort.
2. Coil Clay Cups
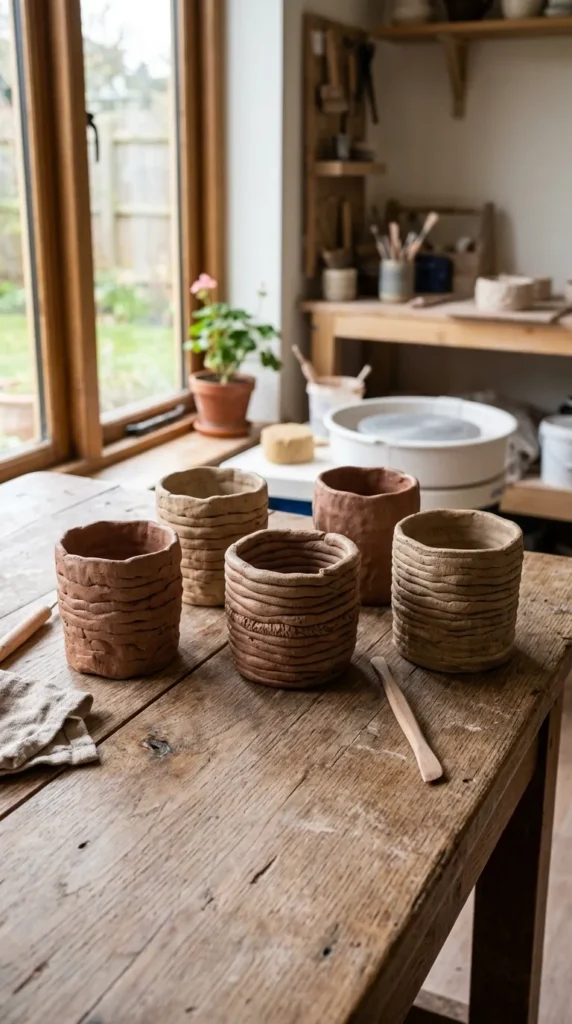
Coil cups are made by rolling clay into long rope-like shapes and stacking them in a circular form. Start with a flat base, then add coils one by one. Press gently to join each layer so the structure stays strong.
This method is slow but very beginner-friendly. It helps you understand how clay builds shape step by step. You do not need perfect lines; slight unevenness gives a handmade look.
You can make small drinking cups or pencil holders. Keep the walls similar in thickness so the cup stays balanced. A simple smoothing tool or your fingers can blend coil edges for a cleaner surface.
Once dry, you can sand lightly and paint with simple earth tones or bright colors. These cups often turn out unique because no two coil patterns are the same.
3. Flat Clay Coasters
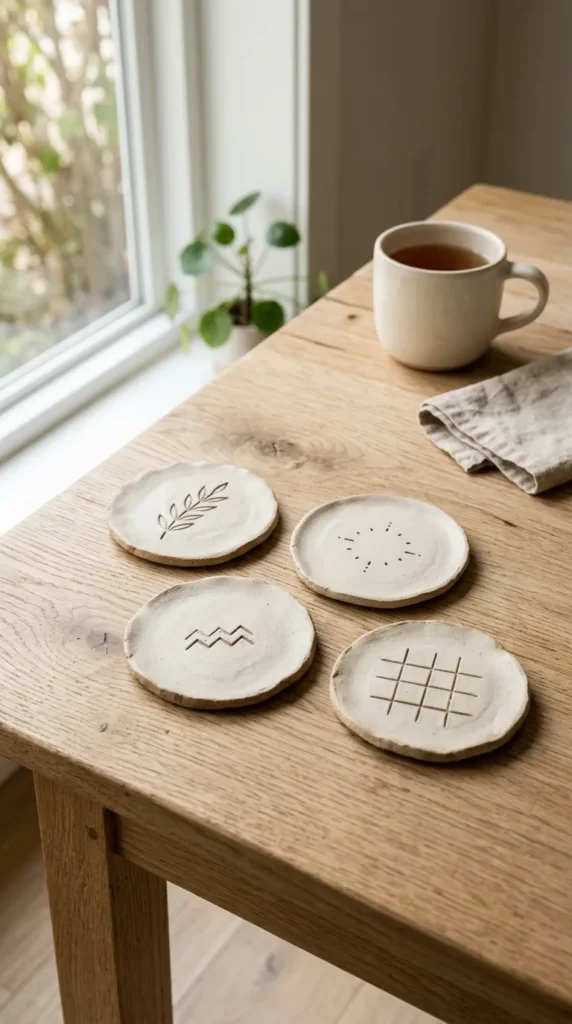
Flat coasters are a great first project for beginners. Roll out clay into an even sheet using a bottle or rolling pin. Cut circles or squares using a cup or knife.
You can press simple patterns like leaves, lines, or dots into the surface using household items. Forks, toothpicks, or bottle caps work well for texture.
Keep the thickness even so the coaster dries without bending. Let it dry fully before sanding edges lightly.
These coasters are useful for cups, candles, or small decor items. They also make good handmade gifts. You can leave them natural or paint soft patterns. Simple designs often look clean and modern.
4. Mini Clay Plant Pots
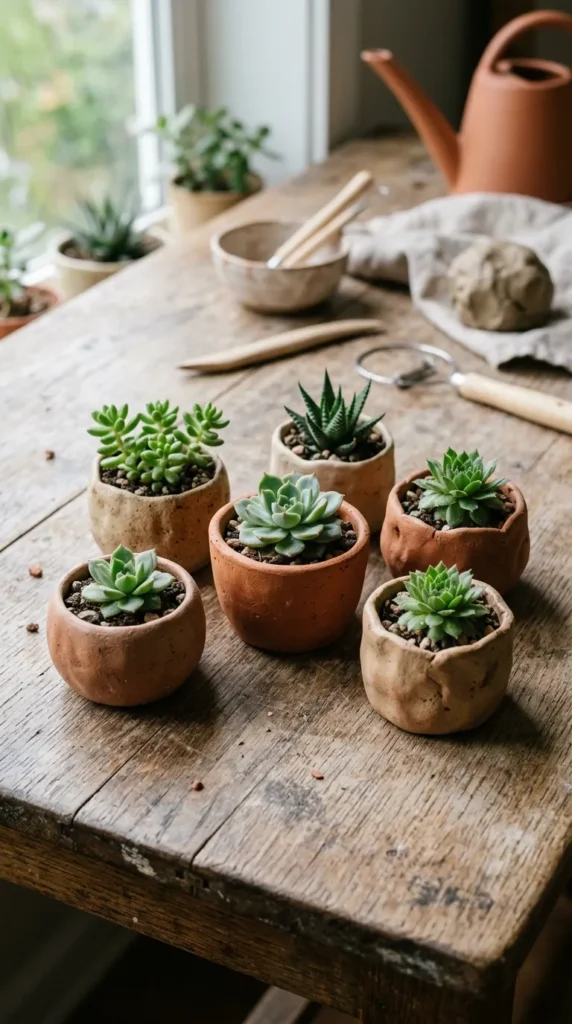
Mini plant pots are easy and useful. Shape clay into a small cylinder or bowl shape and smooth the sides with your fingers. Make sure the base is flat so it stands properly.
You can use recycled containers as molds to help keep shape consistency. A plastic cup works well for beginners.
Add small drainage holes at the bottom using a toothpick or stick. This helps real plants grow later.
After drying, paint simple colors like white, beige, or soft green. These pots look good on windowsills or desks. They also work as small gift items for friends who like plants.
5. Clay Ring Dish
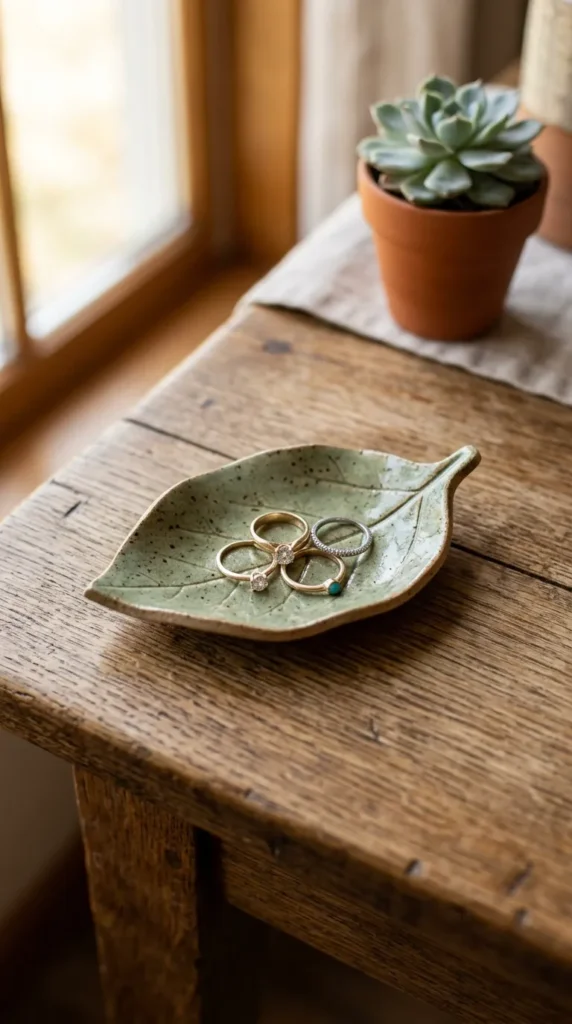
A ring dish is a small tray for jewelry. Start by shaping a small circle or leaf form using rolled clay. Press the center slightly deeper than the edges.
You can use your finger or a spoon to create a soft curve. Smooth the edges so it feels comfortable to touch.
This project is fast and uses very little clay. You can make several in one sitting.
Decorate with simple patterns like pressed flowers or lines. After drying, paint or leave it natural. It works well for rings, earrings, or small items on a bedside table.
6. Hand-Pressed Clay Plates
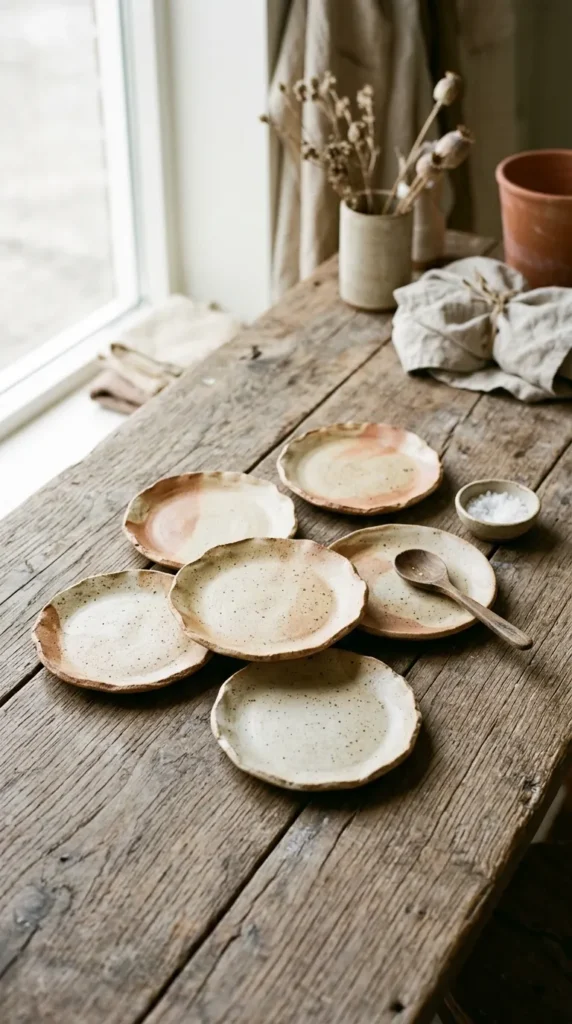
Hand-pressed plates are made by flattening clay and shaping it into round or oval forms. You can use a bowl as a guide to cut the shape.
Keep edges slightly uneven for a natural handmade look. Press gently with fingers to smooth the surface.
These plates are not for heavy use at first. They work well for dry snacks or decorative purposes.
Try adding texture using leaves or fabric pressed into the clay. This gives a unique pattern without extra tools.
Paint simple neutral colors after drying for a clean finish.
7. Clay Spoon Rest
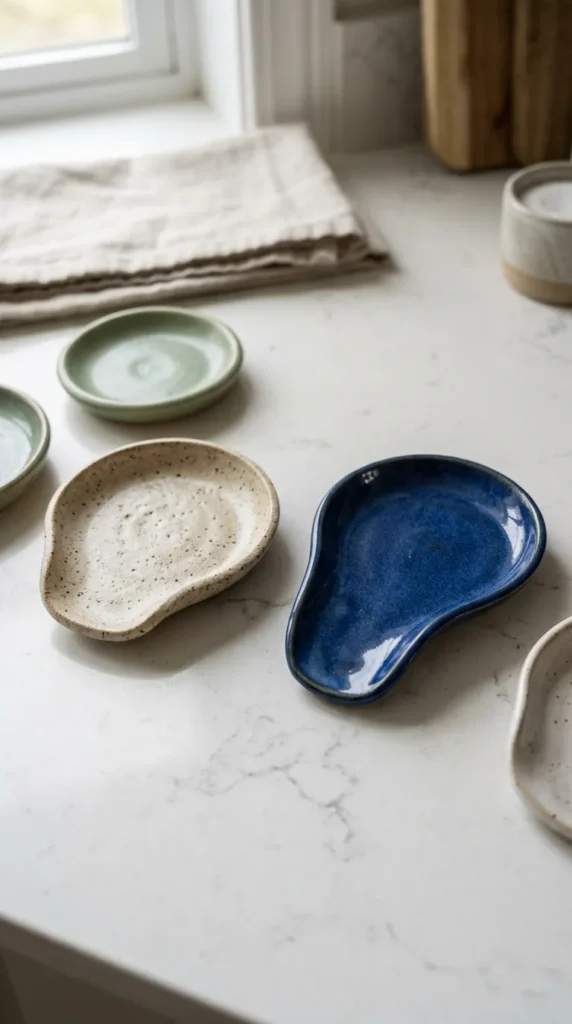
A spoon rest is a small kitchen tool that holds cooking spoons. Shape clay into a shallow oval or long dish.
Smooth the center slightly deeper than the edges so it holds utensils properly.
This project is quick and useful. You can make it in under an hour using basic clay.
Decorate with light patterns or keep it plain. After drying, it can be painted with food-safe finishes if used in cooking areas.
It is a simple way to create something practical for daily kitchen use.
8. Clay Candle Holder
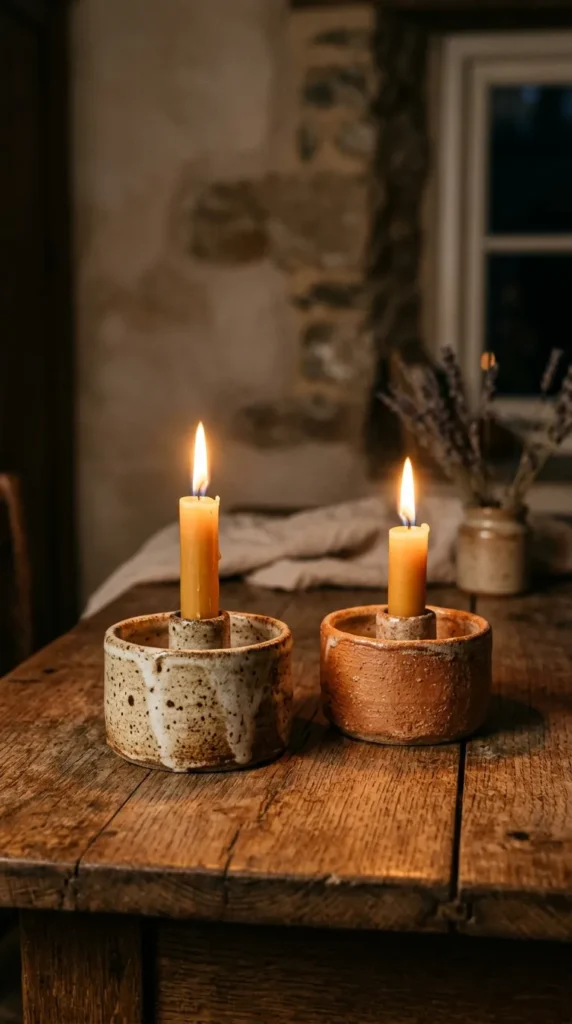
Clay candle holders are simple to make. Shape a small base and press a hole in the center for a tealight candle.
Keep the walls thick enough so it stays stable when heated.
You can add textures like lines or dots around the surface using small tools.
Once dry, test fit the candle before final decoration. Paint soft colors or leave it natural for a rustic look.
These holders work well for table decor or room ambiance.
9. Clay Button Set
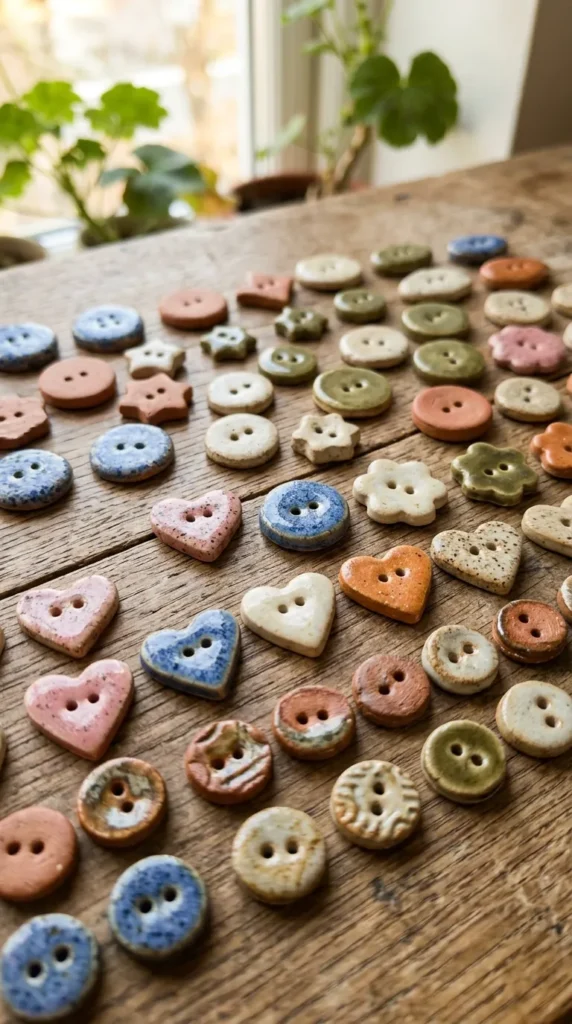
Clay buttons are tiny but fun projects. Roll clay flat and cut small shapes using bottle caps or small molds.
Make holes in the center using a toothpick.
You can create sets for sewing projects or decoration. Keep shapes simple for easier handling.
After drying, paint small patterns or leave plain. They can be used on handmade bags or fabric crafts.
10. Clay Name Tags
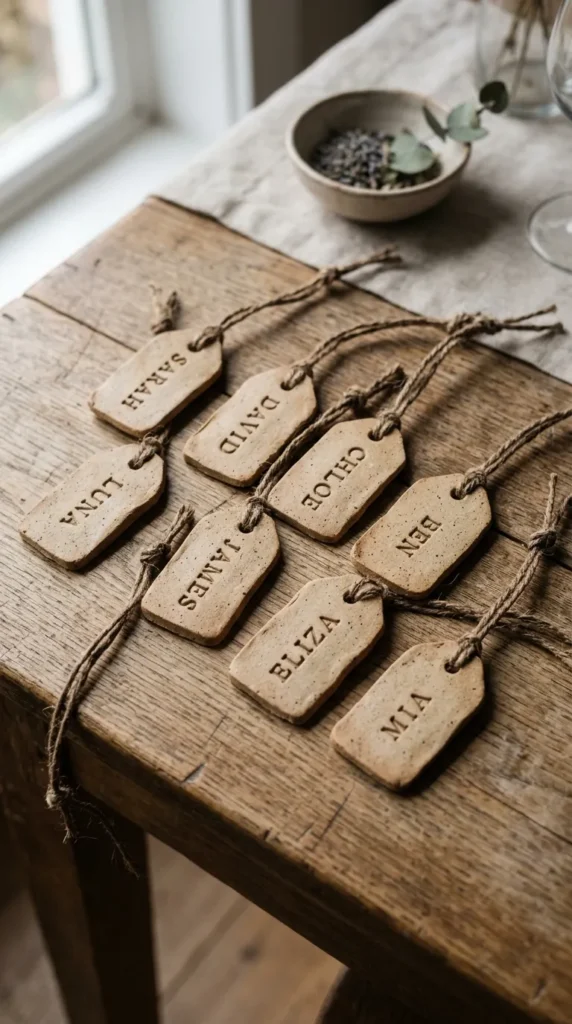
Clay name tags are small flat pieces with names or words pressed into them. Roll clay flat and cut small rectangles.
Use a stick or toothpick to write letters before drying.
Add a hole for string so it can hang on gifts or storage boxes.
These tags are useful for organizing items or decorating gifts in a handmade style.
11. Clay Wall Hangings
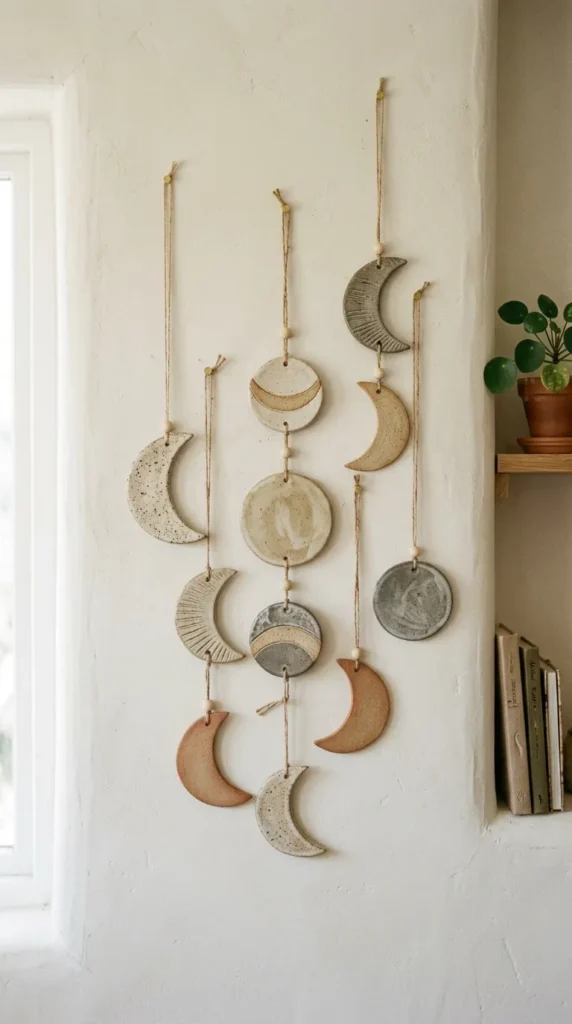
Wall hangings are simple decorative clay pieces tied with string. Shape small flat forms like circles or moons.
Add texture using pressed patterns or simple carving lines.
After drying, attach string holes and hang them in a row.
These add a soft handmade feel to room walls.
12. Clay Leaf Impressions
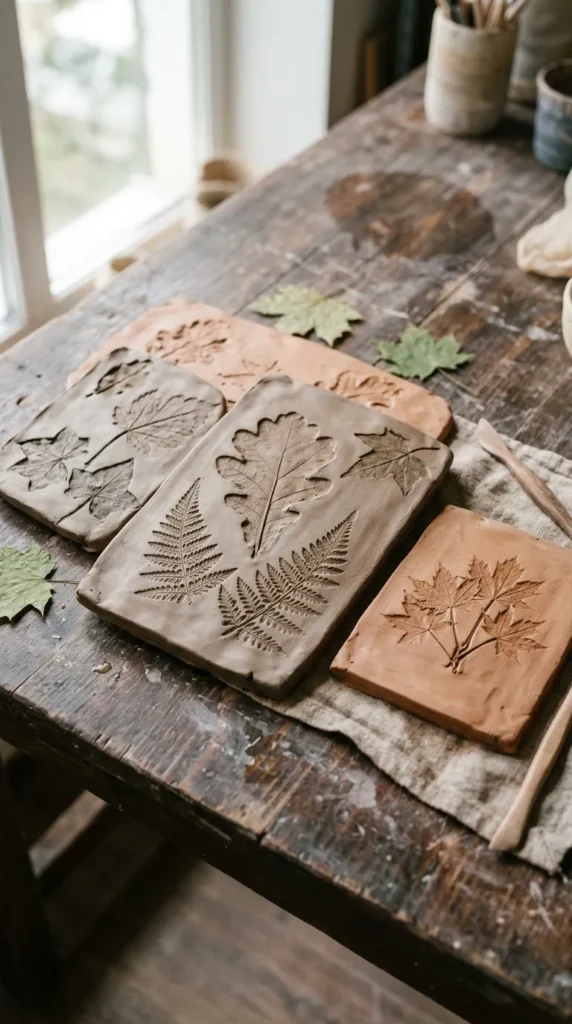
Leaf impressions are made by pressing real leaves into flat clay. Roll clay into a sheet and place leaves on top.
Press gently so veins show clearly, then remove the leaf.
Cut into shapes like coasters or plates.
This creates natural patterns with very little effort.
13. Clay Soap Dish
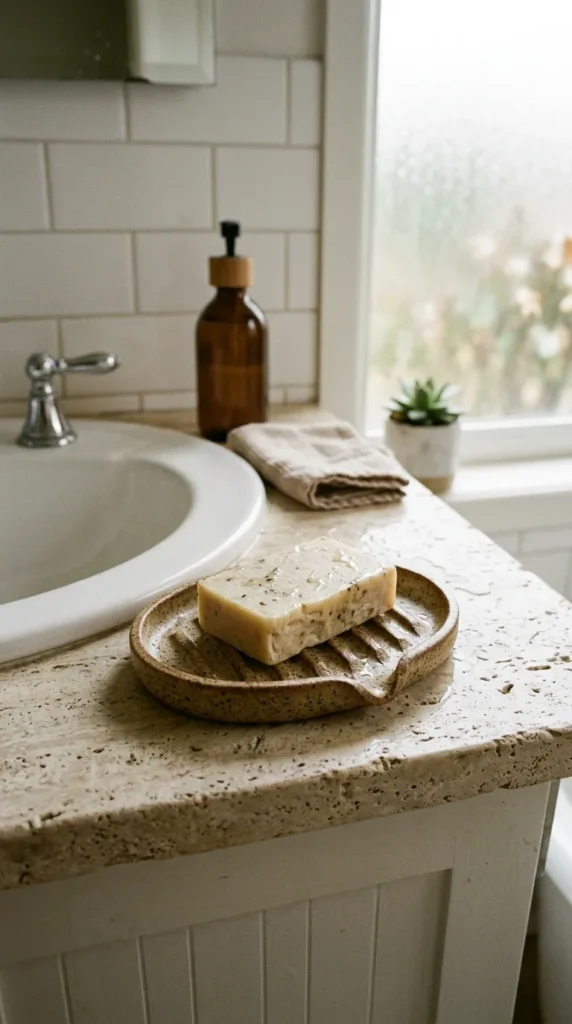
Soap dishes are small trays with grooves or holes for water drainage. Shape a flat oval base and add small ridges.
This keeps soap dry and clean.
It is a useful bathroom item that is easy to make.
Paint with simple waterproof coating after drying.
14. Clay Trinket Tray
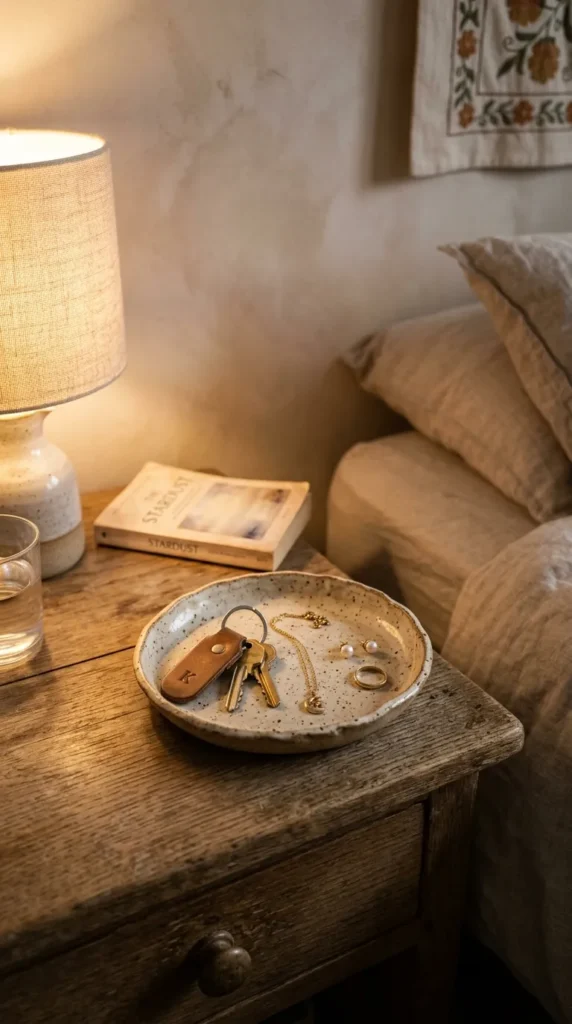
Trinket trays hold small items like keys or jewelry. Shape a shallow bowl with raised edges.
Keep it smooth and balanced.
You can decorate edges with simple pressed patterns.
It is useful for everyday organization.
15. Clay Mini Faces
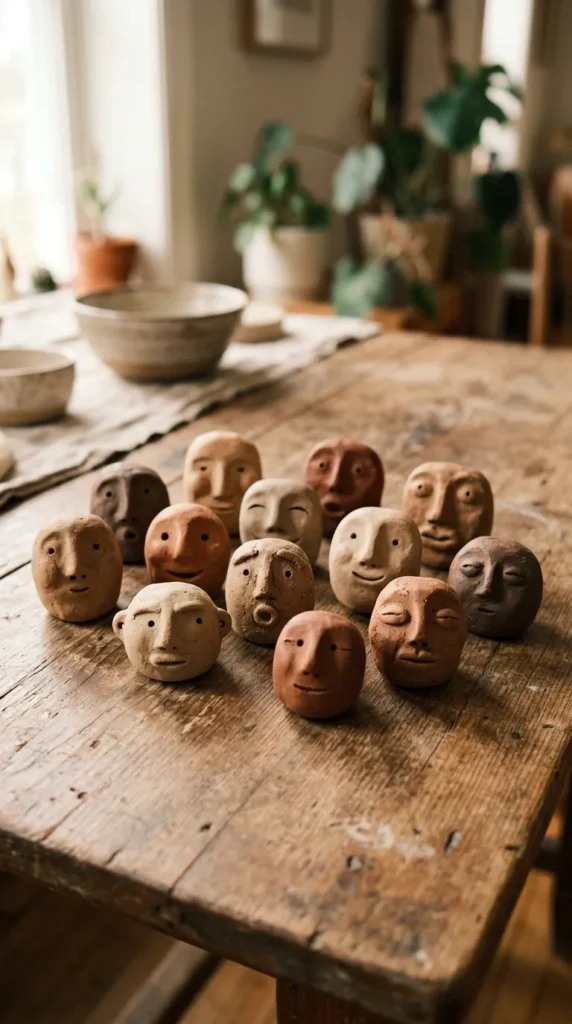
Mini clay faces are fun abstract shapes. Roll small balls and shape basic facial features.
Do not worry about perfection. Simple lines create expression.
These can be used as decor pieces or charms.
16. Clay Animal Figures
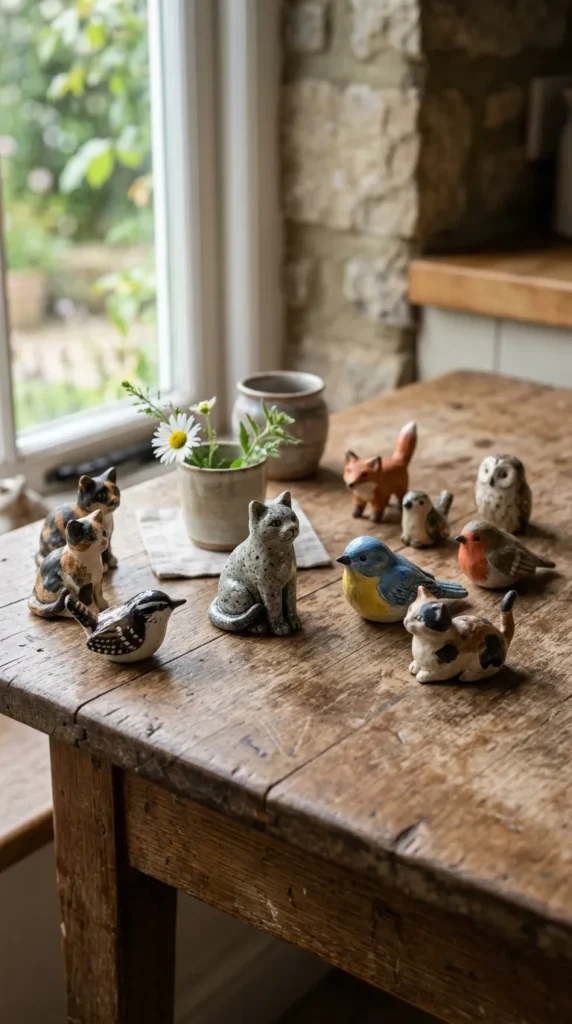
Start with simple animal shapes like cats or birds. Use basic forms like balls and cylinders.
Combine parts slowly and smooth joints.
Keep details minimal for beginners.
17. Clay Bracelet Bands
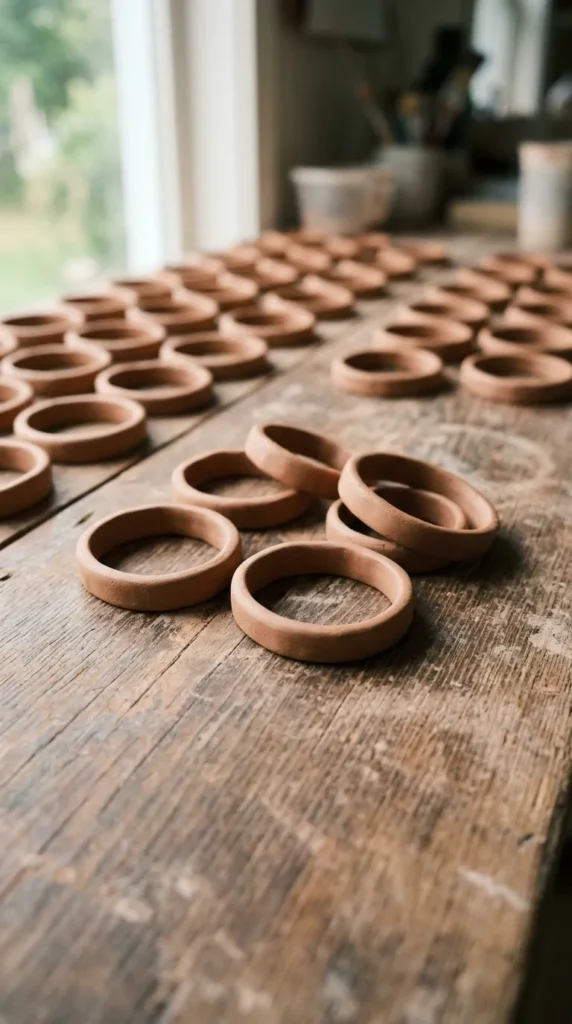
Roll clay into thin strips and shape into bracelet rings.
Keep thickness even so it holds shape.
Decorate with simple carvings or textures.
After drying, paint or seal lightly.
18. Clay Keychains
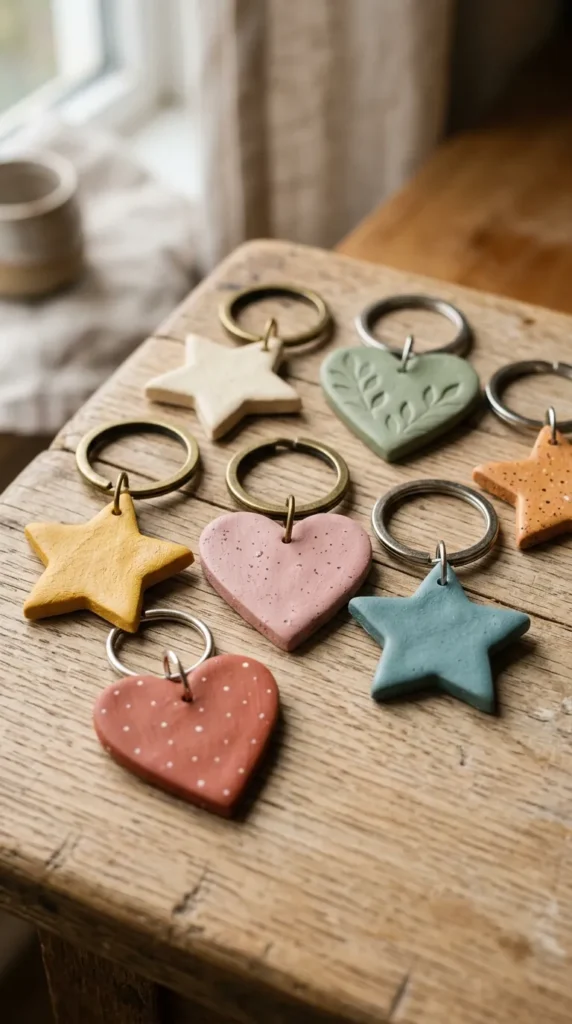
Cut small shapes and attach metal loops before drying.
These are great for gifts or personal use.
Keep designs simple for strength.
19. Clay Egg Holders
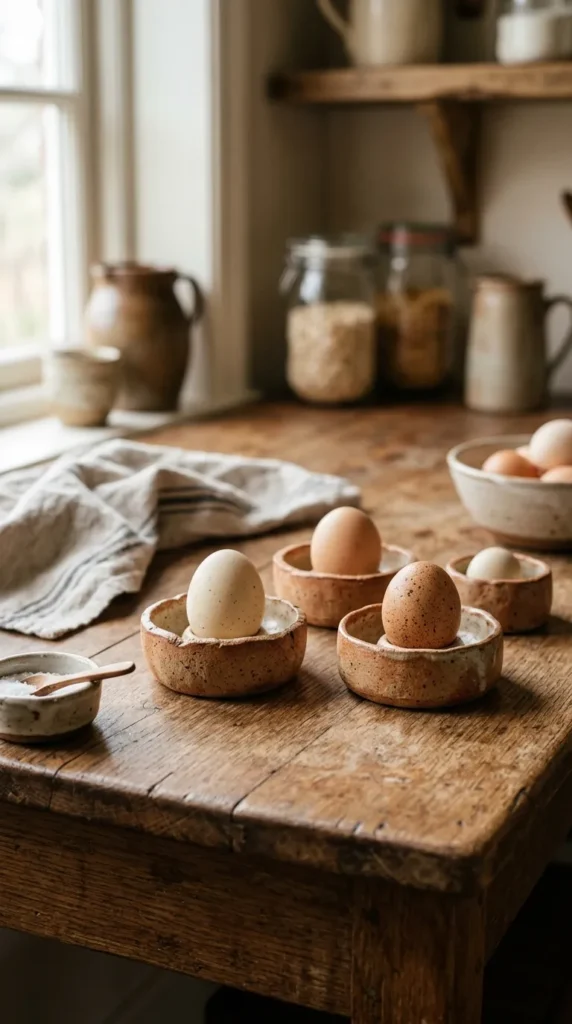
Shape small rounded cups that hold eggs.
Keep base stable and edges smooth.
These are useful for kitchen storage or display.
20. Clay Decorative Stones
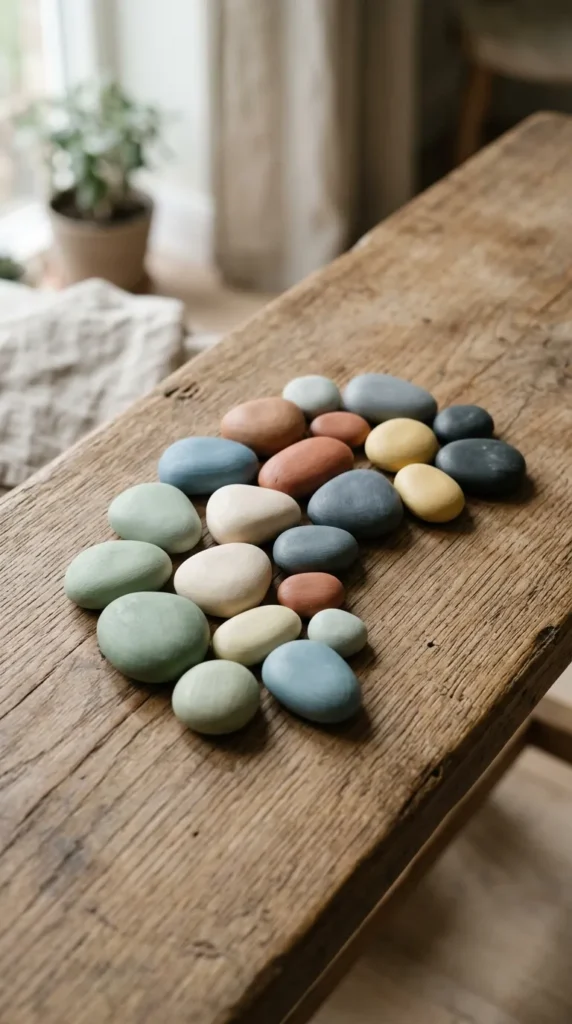
Shape small oval or round stones and paint simple patterns.
They work as desk decor or paperweights.
21. Clay Stamp Tools
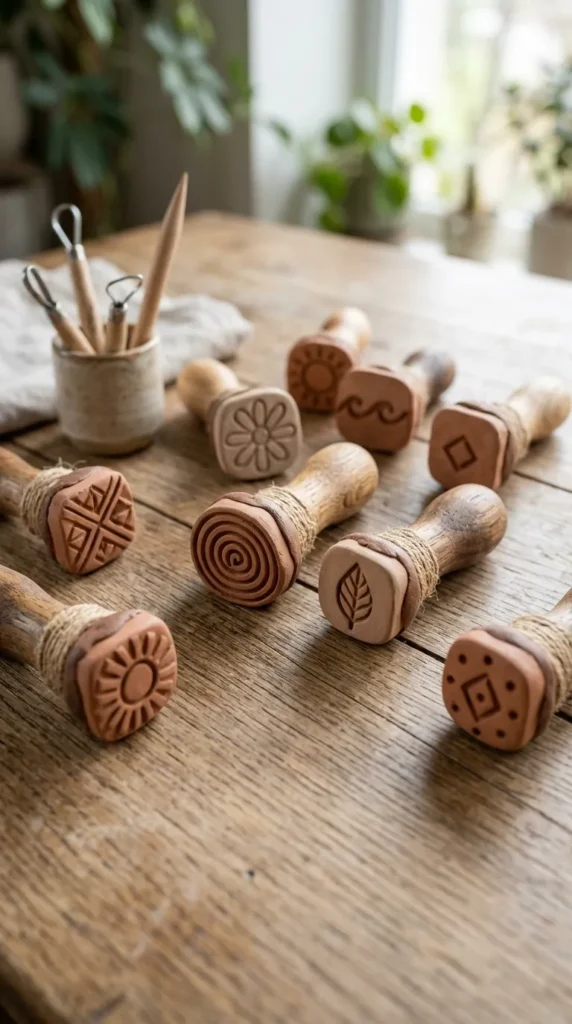
Create small stamps using clay shapes with carved patterns underneath.
Press them into other clay pieces for texture.
22. Clay Candle Plates
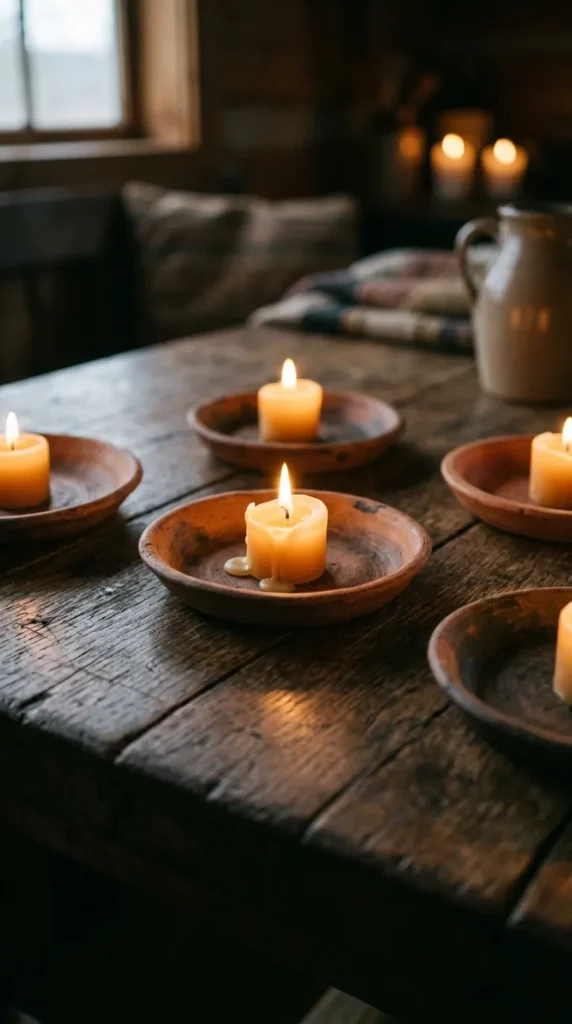
Flat plates used for candles. Keep surface smooth and edges raised slightly.
Useful for home decor setups.
23. Clay Fruit Shapes
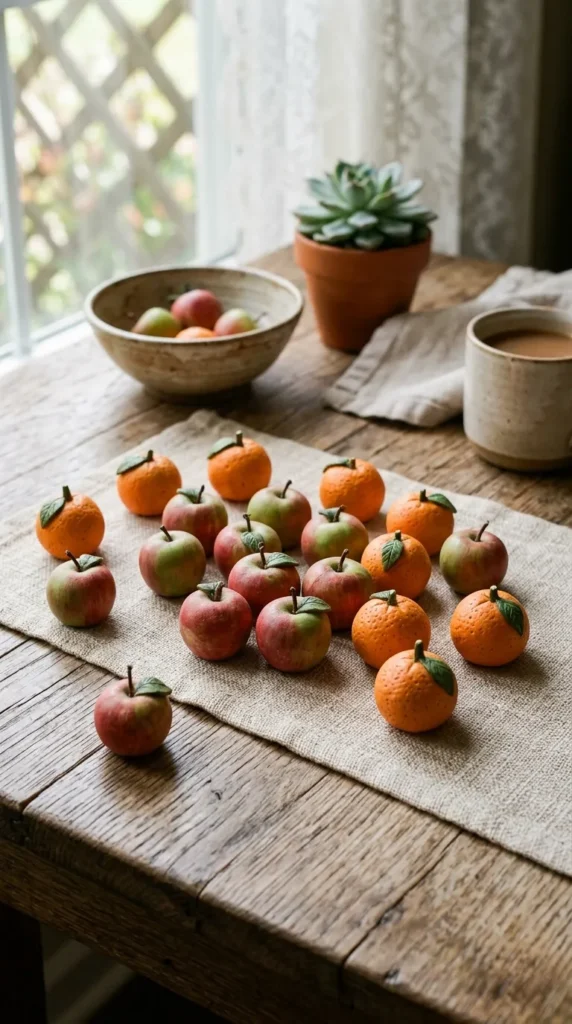
Shape simple fruit forms using basic clay shapes.
Paint bright colors after drying.
24. Clay Storage Jars
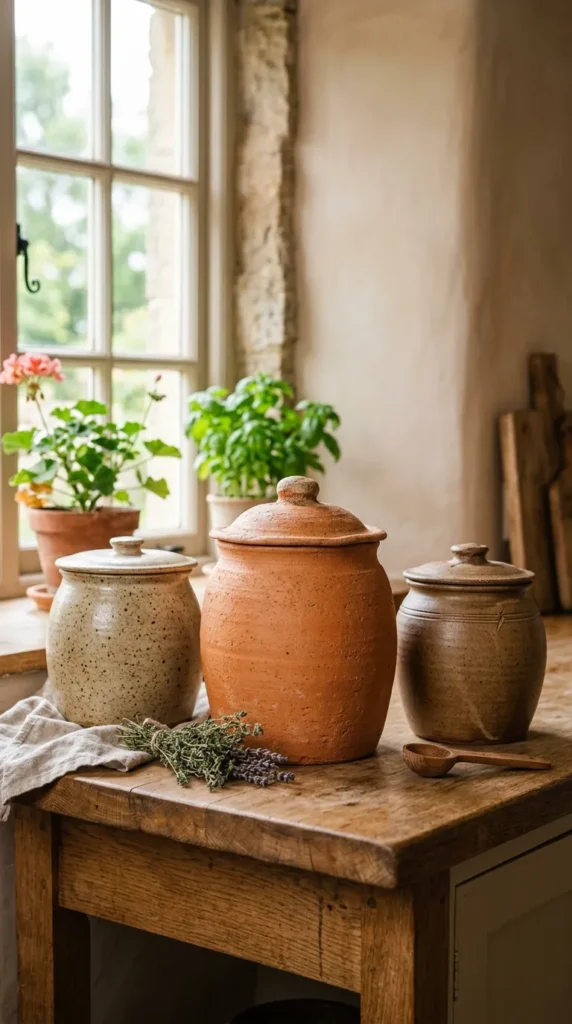
Build small jars using coil or pinch methods.
Add lids for storage use.
25. Clay Hanging Ornaments
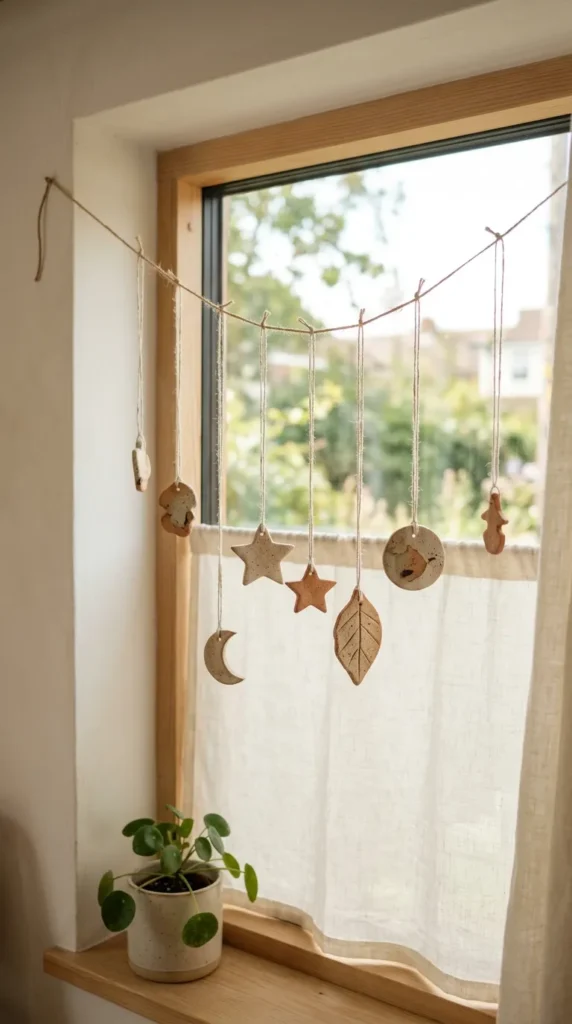
Flat shapes with holes for hanging.
Great for seasonal decor.
26. Clay Abstract Art Pieces
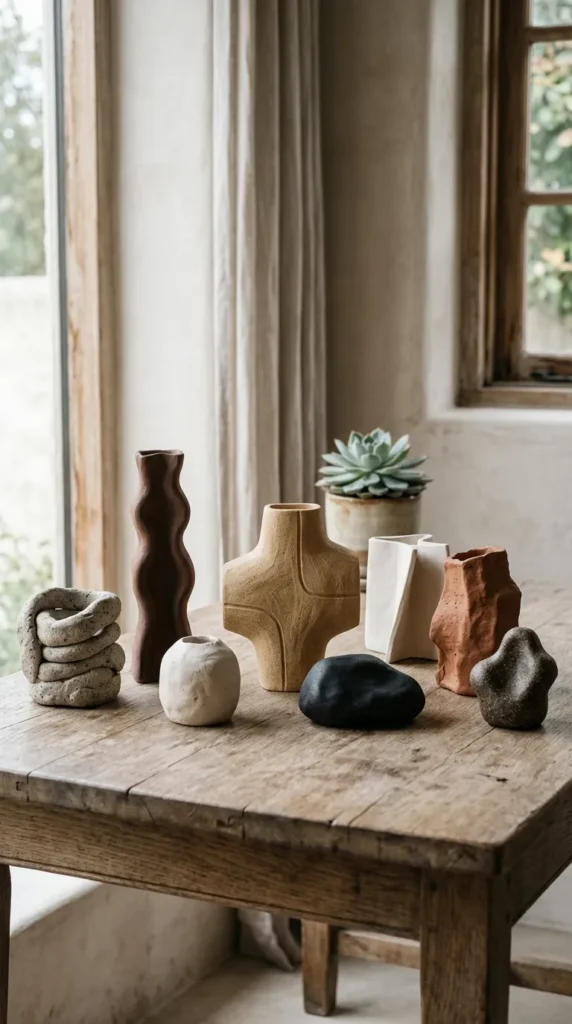
Create freeform shapes without strict rules.
Focus on texture and form.
Works as desk or shelf decor.
Conclusion
Starting with simple clay projects gives a direct way to create handmade pieces without complex tools. Each idea in this list helps you practice shaping, smoothing, and forming basic pottery items at home. Small steps like pinch pots or coasters build confidence and help you understand how clay behaves. With regular practice, simple materials turn into useful and decorative pieces for daily life.