
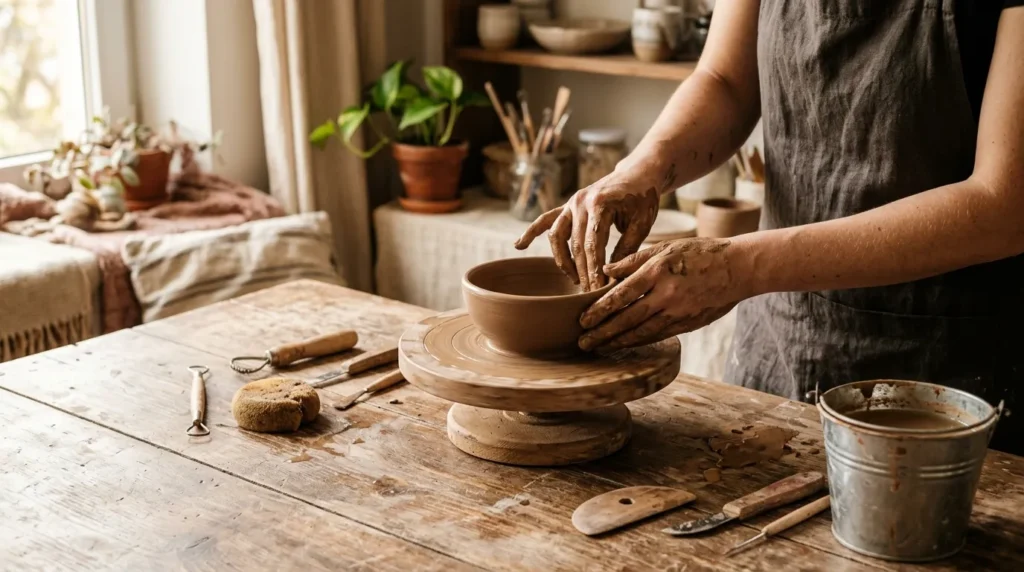
Pottery has a special kind of magic—turning a simple lump of clay into something beautiful, useful, and completely handmade. The best part? You don’t need a fancy studio to start. You can begin right at home with just a few basic tools, a little patience, and your creativity.
Imagine sitting at a table, hands covered in soft clay, slowly shaping a bowl or mug that no one else in the world owns. It’s calming, satisfying, and surprisingly easy to learn. Even beginners can create stunning pieces with simple techniques.
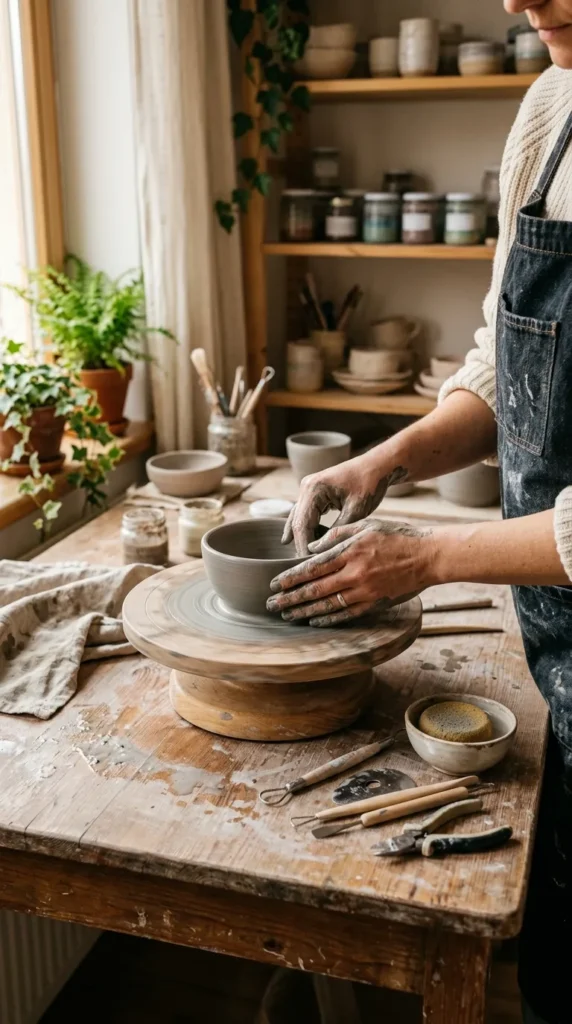
Let’s walk through how you can start your pottery journey step by step, even if you’ve never touched clay before.
Getting Started: Why Try Pottery at Home?
Pottery isn’t just a craft—it’s a relaxing hobby that helps you slow down and focus. Working with clay improves creativity, patience, and hand coordination.
Here’s why beginners love it:
- It’s affordable to start
- You can work at your own pace
- No special studio required for basic projects
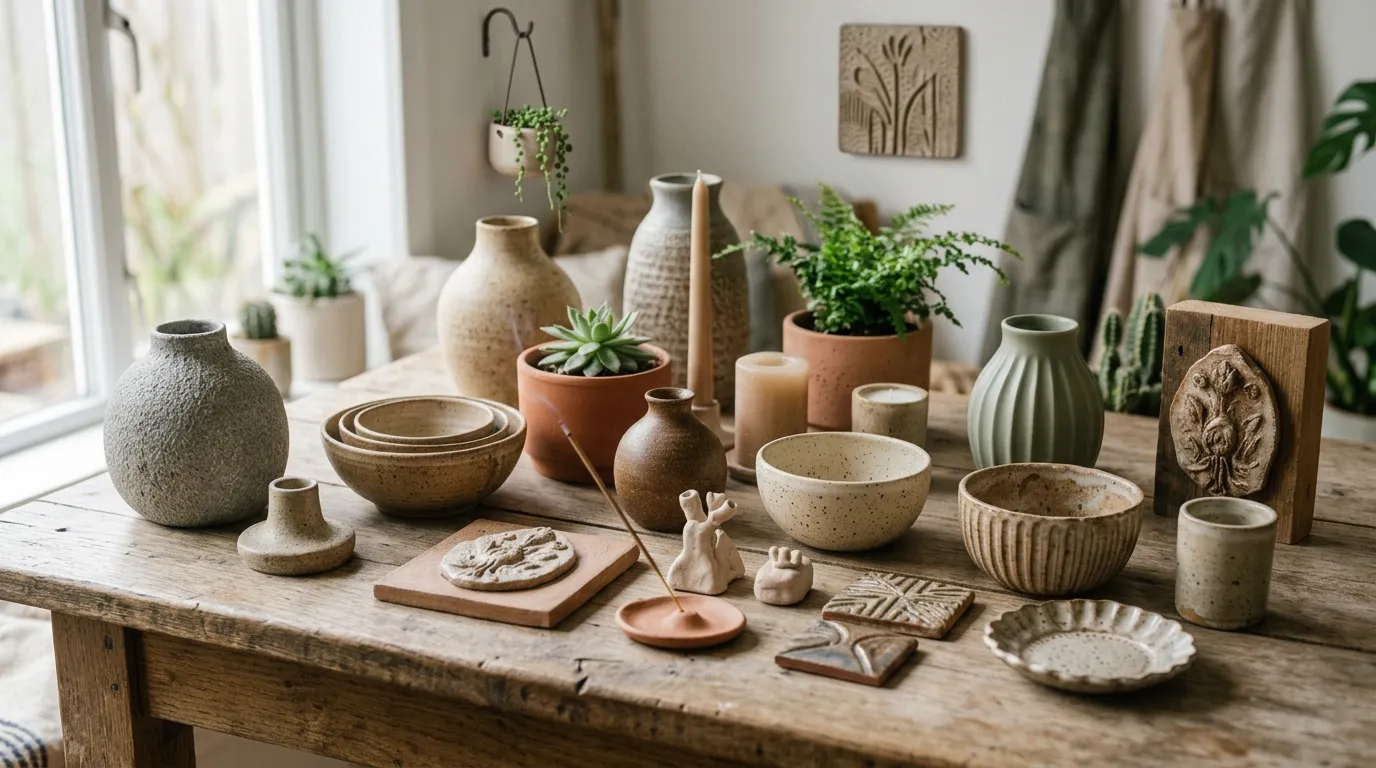
- You get handmade items for your home or gifts
Even simple pieces like cups, plates, or mini planters can feel incredibly rewarding.
Materials You Need to Begin
Before you start shaping anything, gather a few basic tools. Don’t worry—you don’t need anything complicated.
- Air-dry clay or beginner pottery clay
- A smooth work surface (wooden board or table)
- Small bowl of water
- Basic shaping tools (or even household items like spoons)
- Sponge or soft cloth
- Rolling pin (optional but helpful)
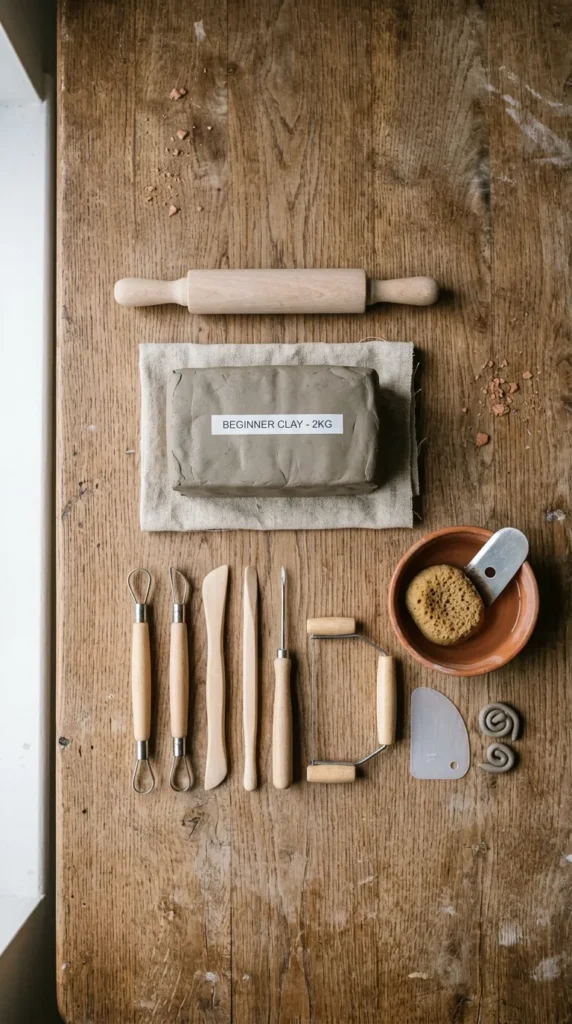
Once you have these ready, you’re all set to start creating your first piece.
Step-by-Step: Creating Your First Pottery Piece
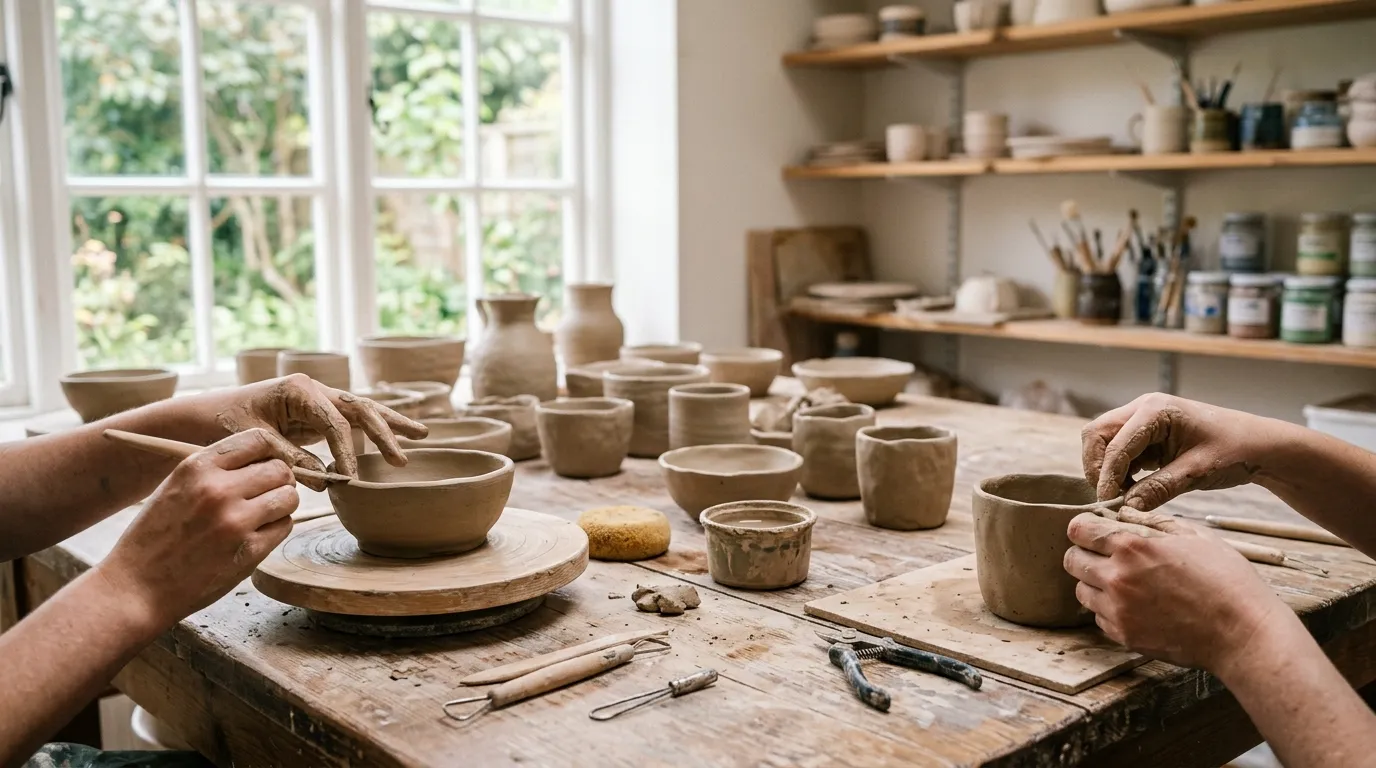
Now comes the fun part—actually working with clay. One of the easiest beginner methods is hand-building.
Step 1: Prepare the Clay
Knead the clay until it feels soft and smooth. This removes air bubbles and makes shaping easier.
Step 2: Choose a Simple Shape
Start with something basic like:
- A small bowl
- A mini planter
- A simple cup shape
Step 3: Shape Your Base
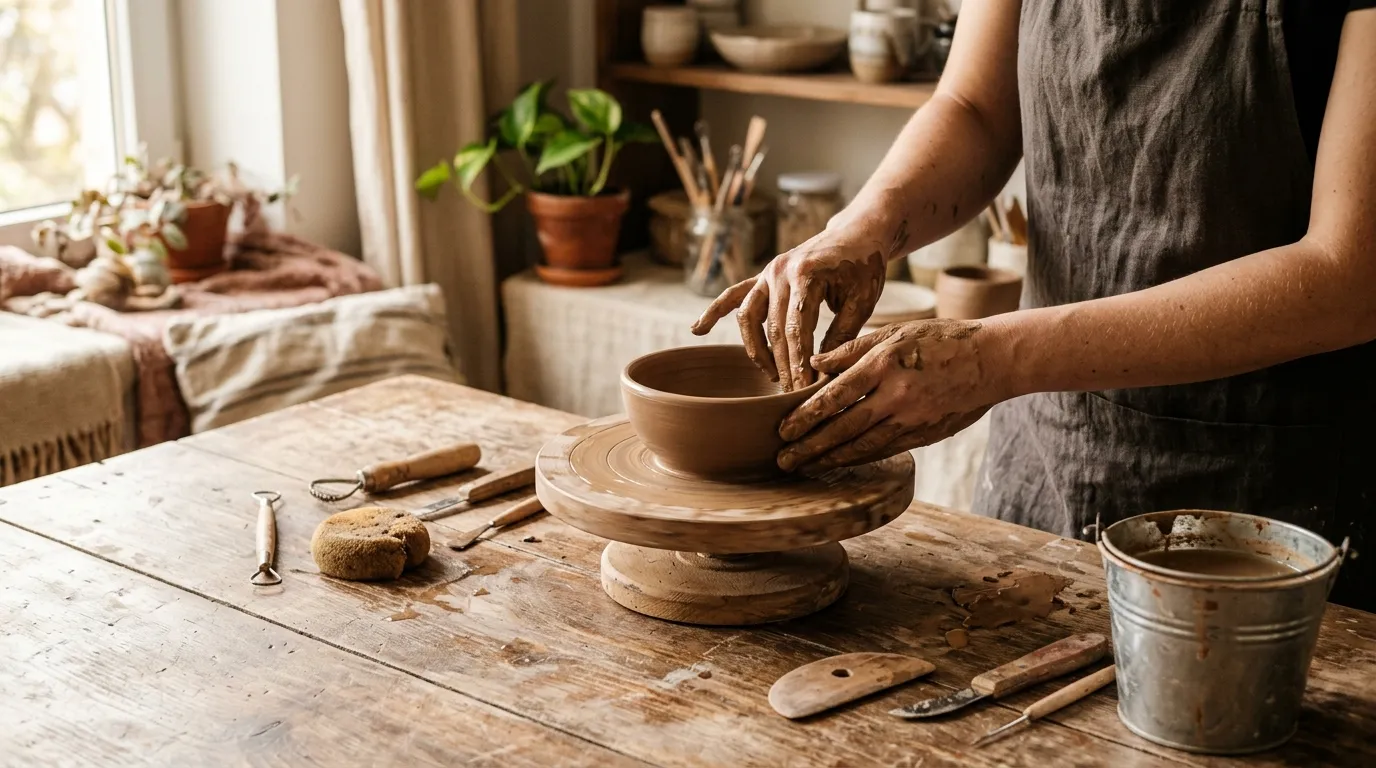
Roll the clay into a ball, then gently press it into a flat base. Slowly pinch and shape the sides upward.
Step 4: Smooth the Surface
Dip your fingers in water and gently smooth out cracks or rough areas.
Step 5: Refine the Form
Adjust thickness and shape until it looks balanced and stable.
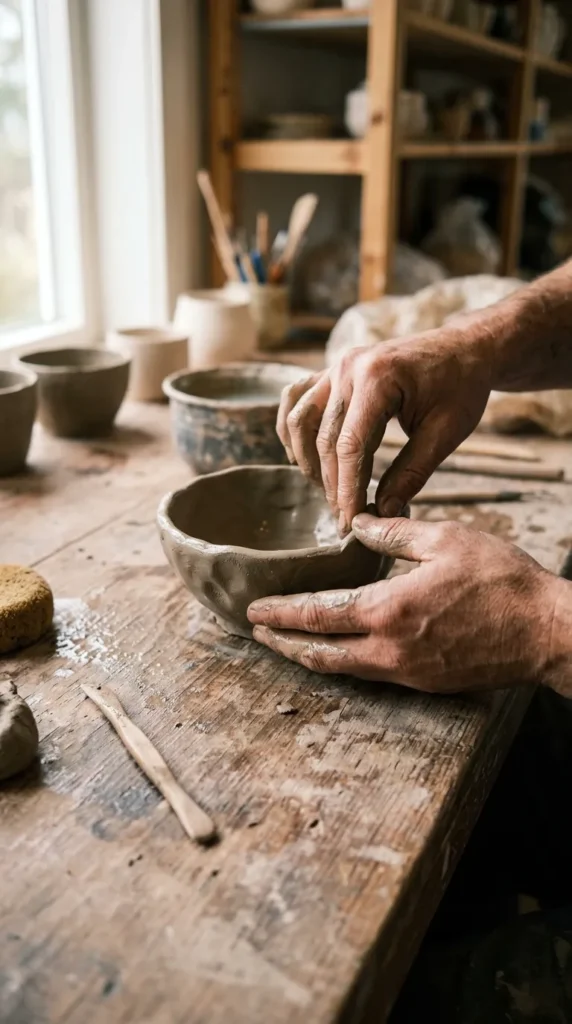
Take your time here—this is where your piece starts to come alive.
Shaping and Decorating Your Pottery
Once your basic shape is ready, you can add personality and detail. This is the creative part where your piece becomes unique.
Try these beginner-friendly ideas:
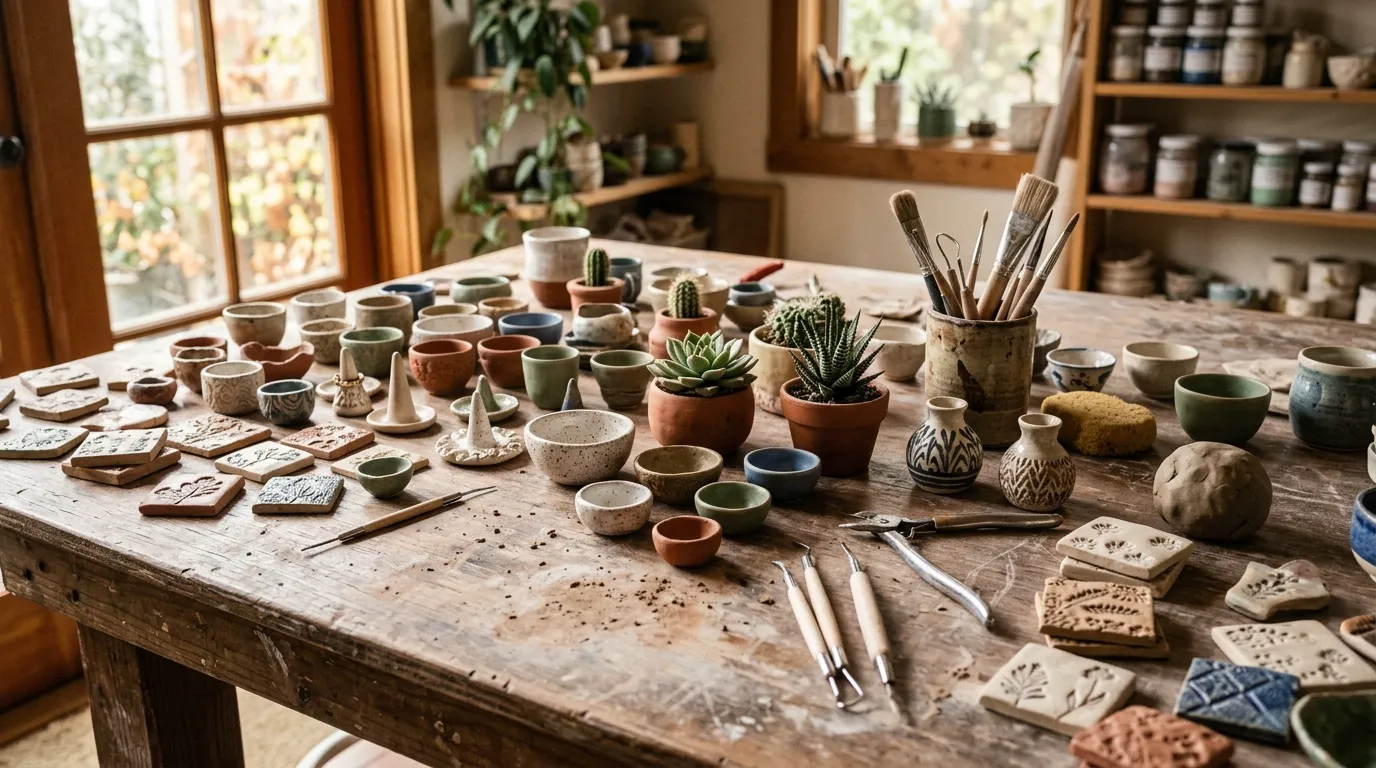
- Press patterns using forks or leaves
- Carve simple lines or textures
- Add small clay handles or decorations
- Use stamps or textured fabric for designs
If your clay starts drying too quickly, lightly dampen it with a sponge to keep it workable.
Remember, imperfections actually make handmade pottery more beautiful and authentic.
Drying, Finishing, and Displaying Your Work
After shaping and decorating, your pottery needs time to dry completely. This step is important for durability and final appearance.
Air-Drying Process:
- Leave your piece in a dry, cool area
- Avoid direct sunlight to prevent cracking
- Let it dry for 24–72 hours depending on thickness
Once fully dry, you can:
- Sand rough edges gently
- Paint it with acrylic colors
- Apply a simple matte or glossy finish (optional)
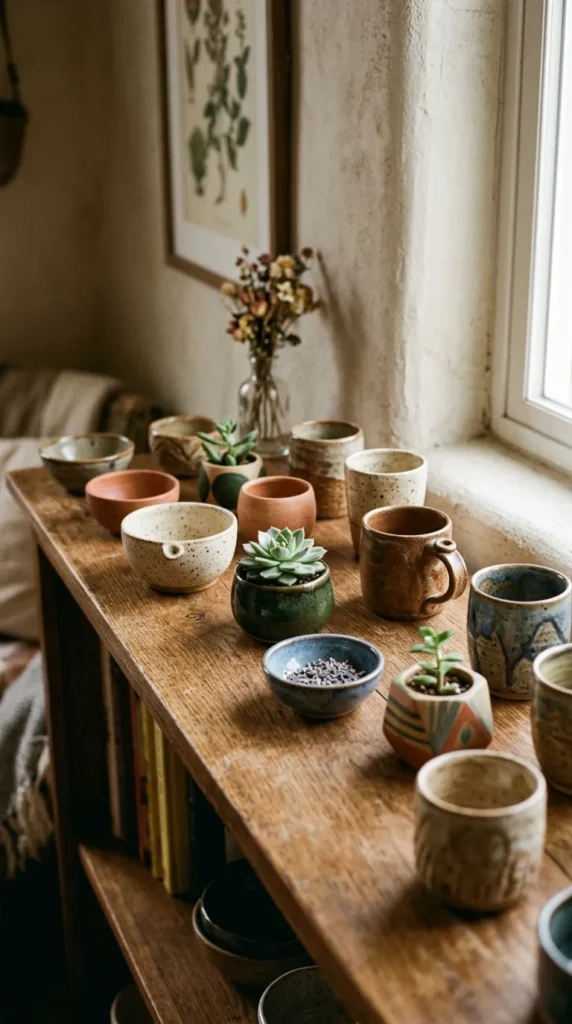
Seeing your finished work is incredibly satisfying—it’s a reminder of what you created with your own hands.
Beginner Tips for Better Results
If you’re just starting out, a few small tips can make a big difference:
- Start small—don’t rush into large pieces
- Keep your hands slightly wet to avoid cracks
- Work slowly and enjoy the process
- Practice simple shapes before complex designs
- Don’t worry about mistakes—they’re part of learning
The more you practice, the more natural it becomes.
Final Thoughts
Making pottery at home is one of the most relaxing and creative hobbies you can try. With just clay, your hands, and a bit of imagination, you can create beautiful pieces that feel personal and meaningful.
It’s not about perfection—it’s about expression. Every bowl, cup, or sculpture tells your story.
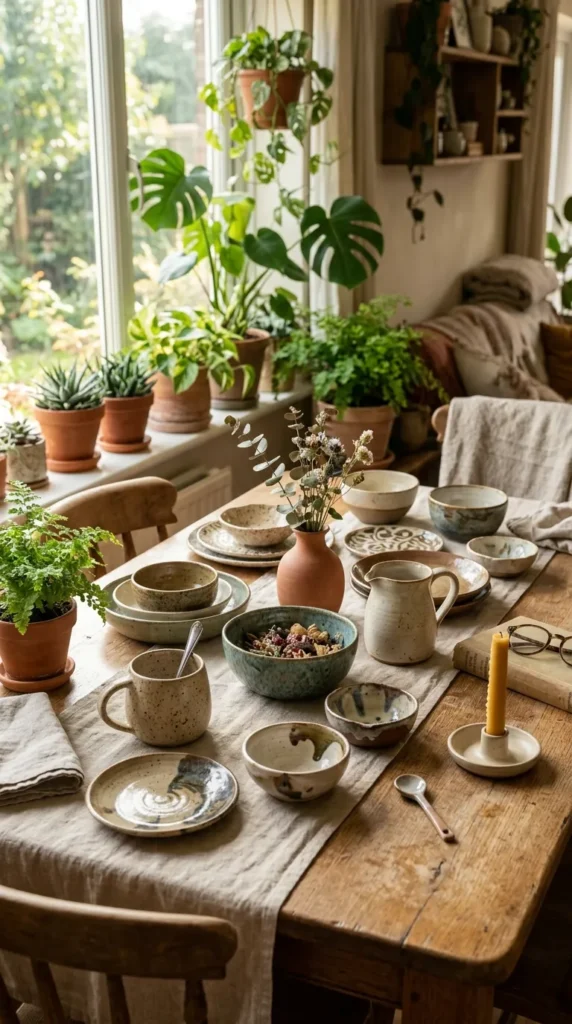
Start small, enjoy the process, and let your creativity grow with every piece you make. Save this guide for later and begin your pottery journey whenever you’re ready!