
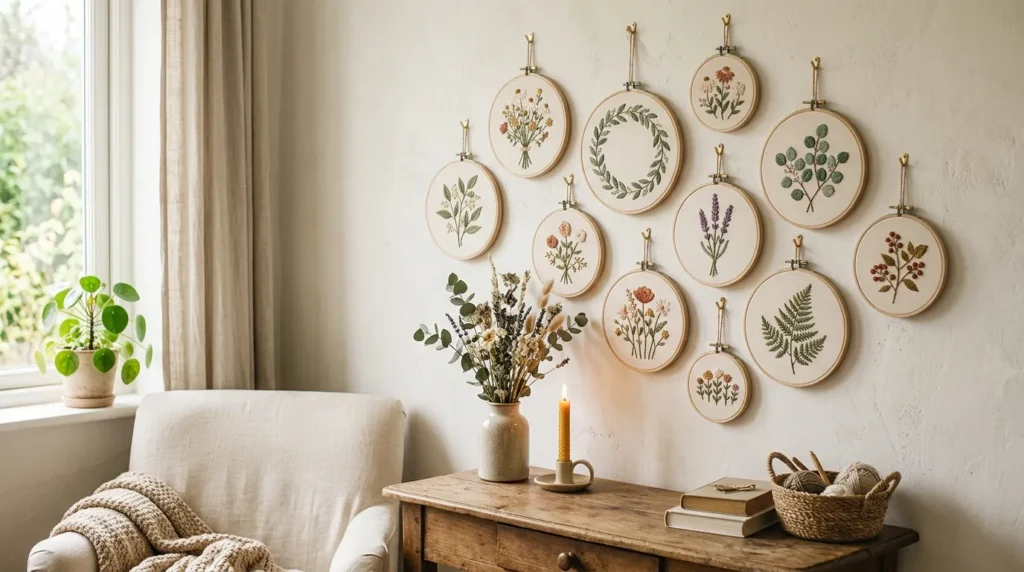
There’s something incredibly calming about turning a simple piece of fabric into a work of art with just a needle, thread, and a little patience. Embroidery hoop wall art has become a favorite in DIY home decor because it feels personal, cozy, and beautifully timeless. Whether you’re decorating a bedroom, living room, or even a small creative corner, these handmade hoops instantly add warmth and personality.
Imagine soft floral stitches, delicate leaves, or minimalist line art framed in a wooden hoop hanging on your wall like tiny windows into creativity.
Let’s walk through how you can create your own embroidery hoop wall art step by step—even if you’re a beginner.
Choosing Your Design and Materials
Before you start stitching, the first step is deciding what you want to create. Simple designs often look the most elegant when displayed in hoops.
Popular beginner-friendly ideas include:
- Small floral bouquets
- Minimal leaves and branches
- Simple line art faces
- Geometric patterns
- Inspirational nature-inspired shapes
For materials, you’ll need:
- Embroidery hoop (wooden or bamboo)
- Cotton or linen fabric
- Embroidery needles
- Embroidery floss (threads in your chosen colors)
- Fabric scissors
- Pencil or water-soluble pen for tracing
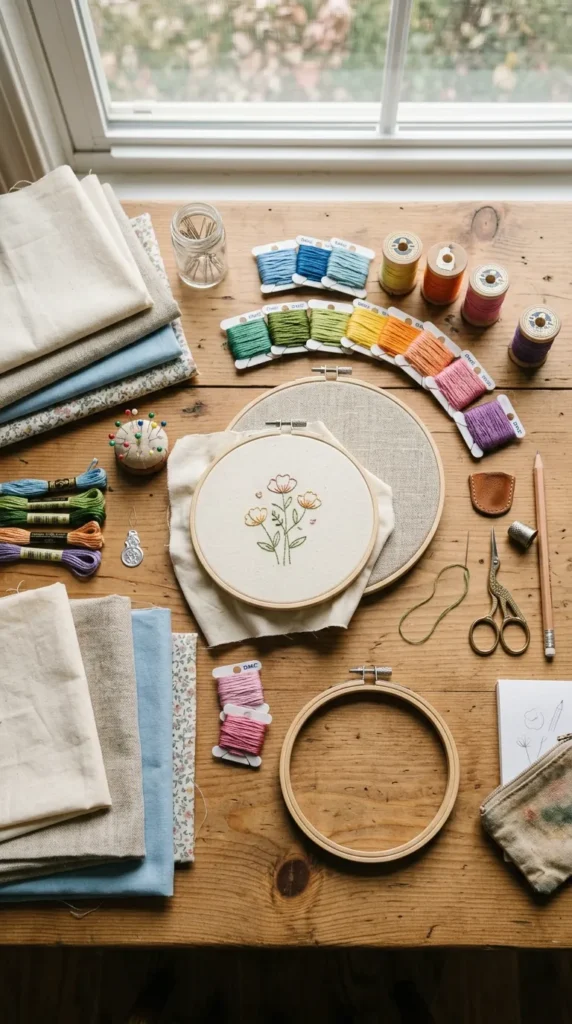
Choose soft, neutral fabric tones if you want a modern aesthetic, or go bold with darker backgrounds for contrast and drama.
Transferring Your Design onto Fabric
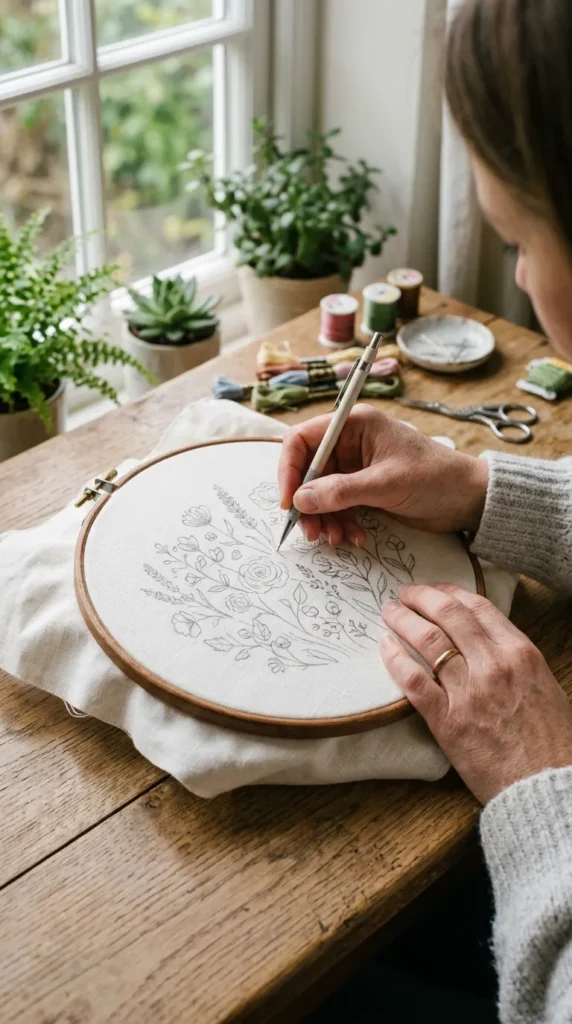
Once you’ve picked your design, it’s time to bring it onto fabric. This step helps guide your stitching and keeps your artwork clean and balanced.
Here’s how:
- Stretch your fabric lightly over the hoop (don’t tighten fully yet)
- Place your design underneath or use tracing paper
- Lightly sketch the outline using a pencil or water-soluble pen
- Adjust the fabric tension so it stays smooth and wrinkle-free
Take your time here—clean outlines make a big difference in the final result.
Starting the Embroidery: Simple Stitches for Beginners
Now comes the relaxing part—stitching! If you’re new, don’t worry. Embroidery is more about rhythm than perfection.
Begin with these easy stitches:
- Backstitch: Great for outlines and clean lines
- Satin stitch: Perfect for filling petals or leaves
- French knots: Ideal for tiny floral details or texture
- Running stitch: Simple dotted lines for minimal designs
Start from the center of your design and work outward. This helps keep the fabric balanced and prevents distortion.
Keep your thread length manageable (about arm’s length) to avoid tangling.
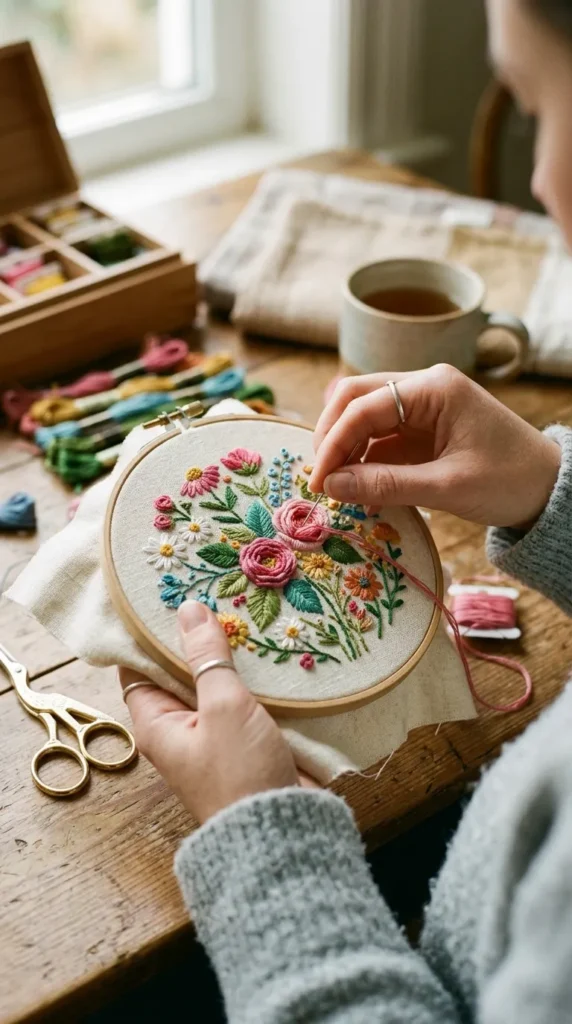
Don’t rush the process—embroidery is meant to be slow, calming, and meditative.
Adding Depth and Personality to Your Design
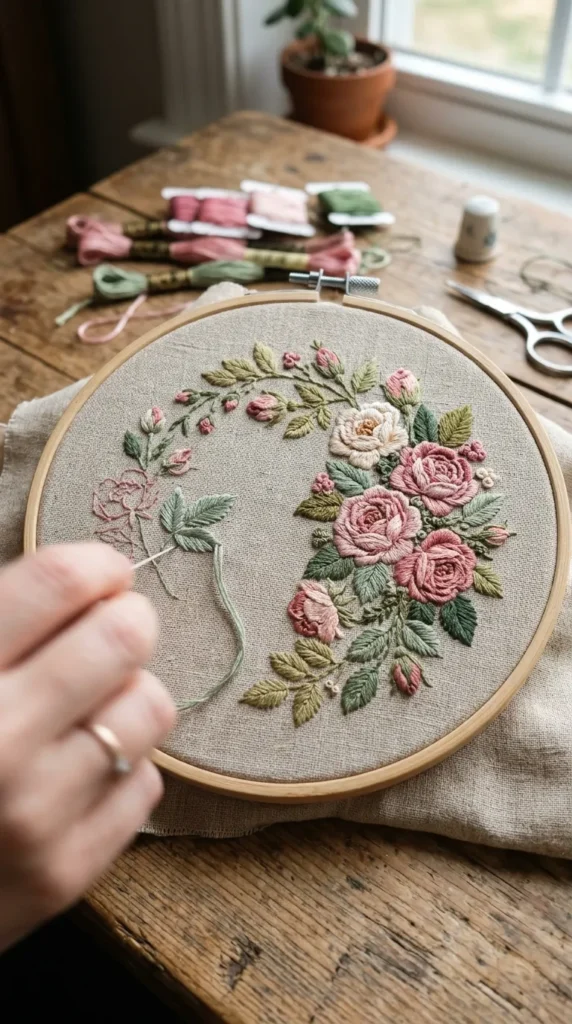
Once your main outlines are complete, it’s time to add personality and depth. This is where your embroidery really comes alive.
You can enhance your design by:
- Layering different thread shades for a 3D effect
- Mixing thick and thin stitches for texture
- Adding tiny accents like dots, buds, or lines
- Using contrasting colors for highlights
If your design is floral, try blending light pinks, greens, and soft yellows to create a natural, realistic feel.
Small imperfections actually make your piece more charming and handmade-looking.
Finishing and Displaying Your Embroidery Hoop Art
Once you’ve finished stitching, it’s time to turn your work into wall-ready decor.
Follow these finishing steps:
- Tighten the fabric inside the hoop securely
- Trim excess fabric around the back, leaving about 1–2 cm
- Glue or stitch the edges neatly to keep them hidden
- Attach a small loop of thread or ribbon for hanging
Now comes the fun part—displaying your artwork!
You can:
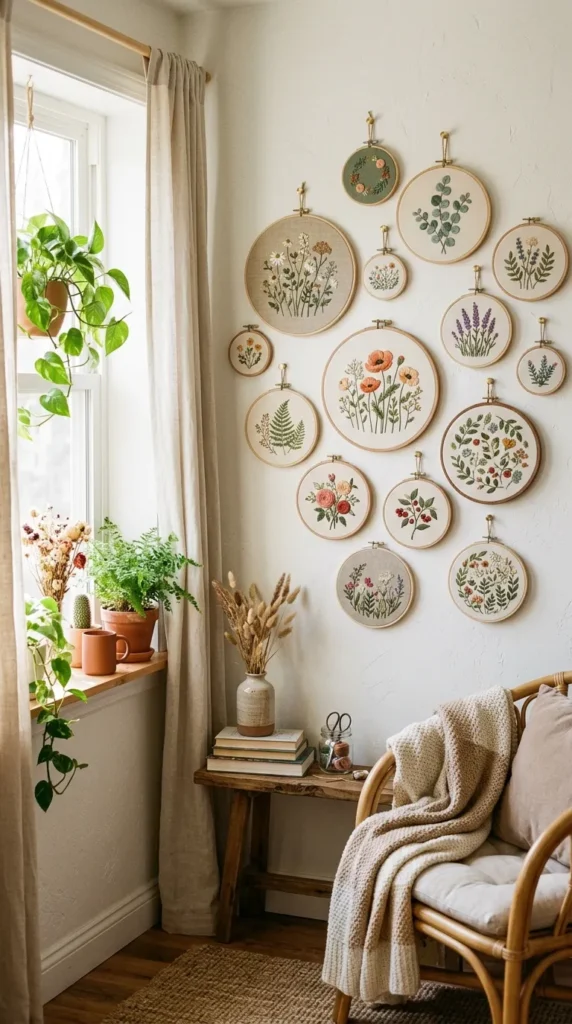
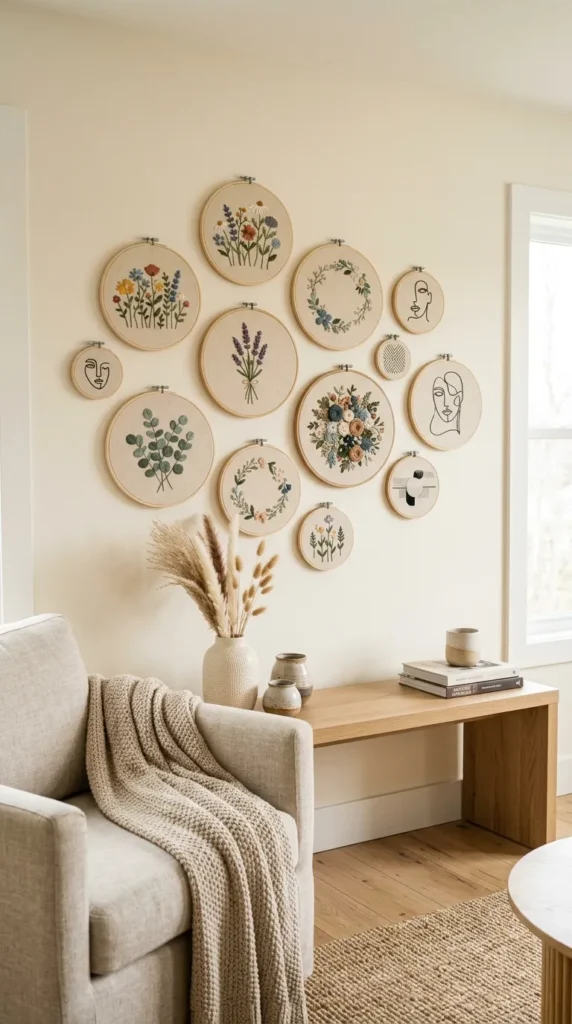
- Create a gallery wall with multiple hoops
- Hang a single statement piece above your desk
- Mix embroidery hoops with framed prints for contrast
- Arrange different sizes for a layered aesthetic look
Final Thoughts
Making embroidery hoop wall art is more than just a craft—it’s a peaceful creative escape that turns simple materials into something meaningful. Each stitch carries your personal touch, making every piece completely unique.
The best part? You don’t need to be an expert. With a little patience and creativity, you can create stunning handmade decor that makes your space feel warm, artistic, and truly yours.
So grab your hoop, choose your favorite design, and start stitching your own little masterpiece.
Save this idea for later and start your first embroidery hoop wall art today!