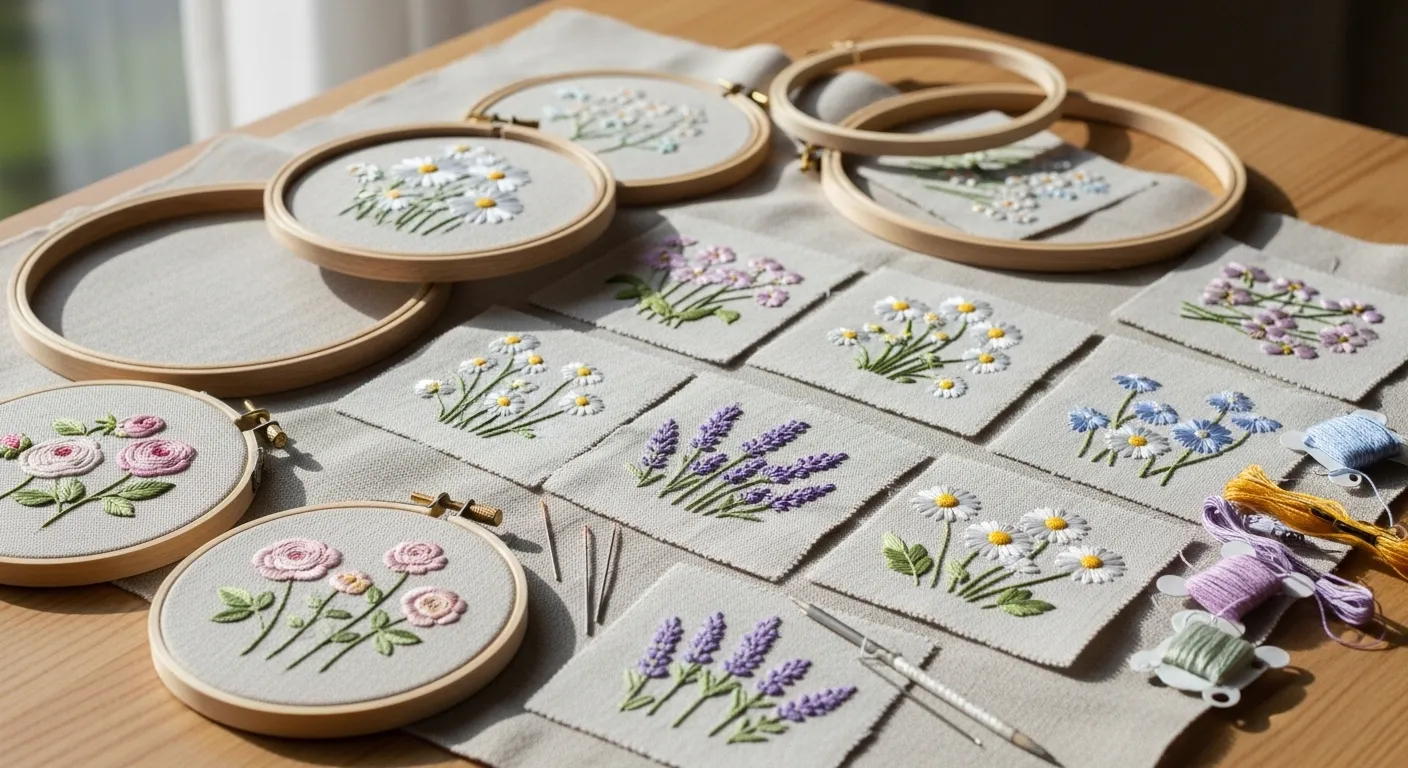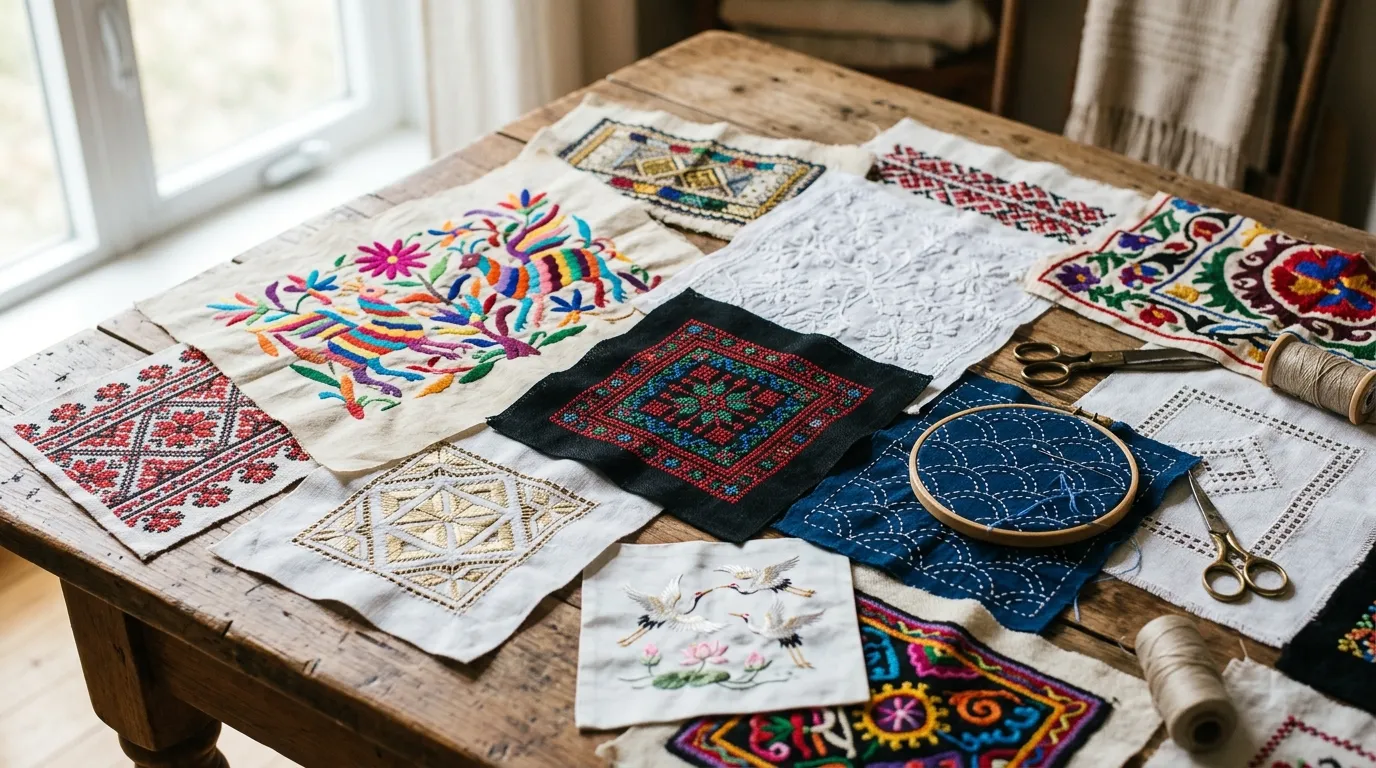

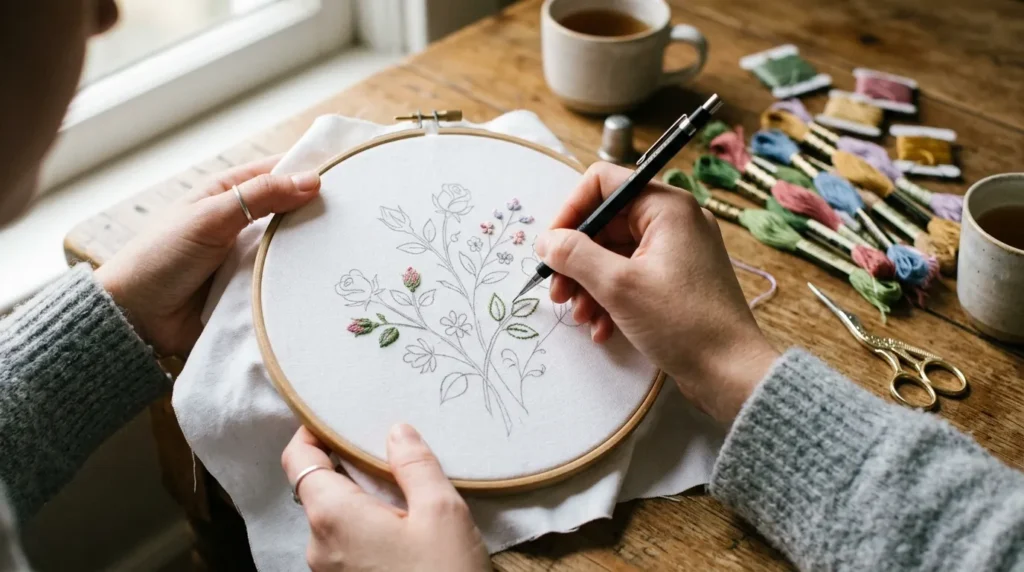
If you’ve ever tried freehand embroidery and ended up with uneven petals, crooked outlines, or a design that just “didn’t sit right,” you’re not alone. The secret behind those perfectly stitched floral hoops and aesthetic tote bags isn’t just skill—it’s proper design transfer.
Getting your pattern onto fabric cleanly is the real game-changer. Once your design is neat and visible, stitching becomes smoother, faster, and way more enjoyable.
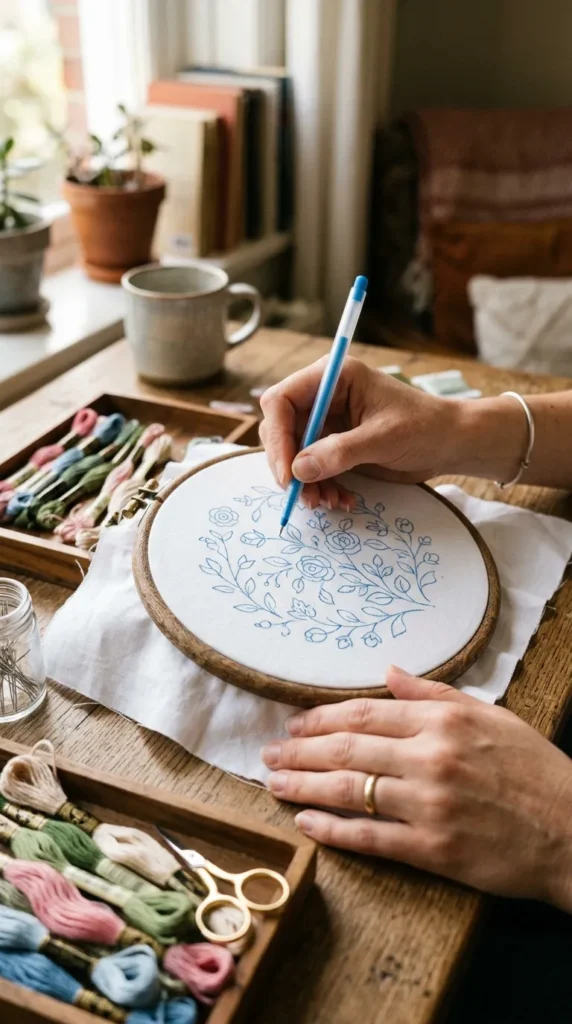
Let’s walk through the easiest, most effective ways to transfer embroidery designs so your stitching always looks polished and professional.
1. Tracing Method (Simple, Classic, and Beginner-Friendly)
The tracing method is one of the most popular techniques, especially if your fabric is slightly sheer or light-colored.
Here’s how to do it:
- Print or draw your design on paper
- Tape it onto a bright window or use a lightbox
- Place your fabric on top
- Carefully trace the design using a pencil or fabric pen
This method is perfect for beginners because you can clearly see the design underneath, making it easy to follow every curve and detail.
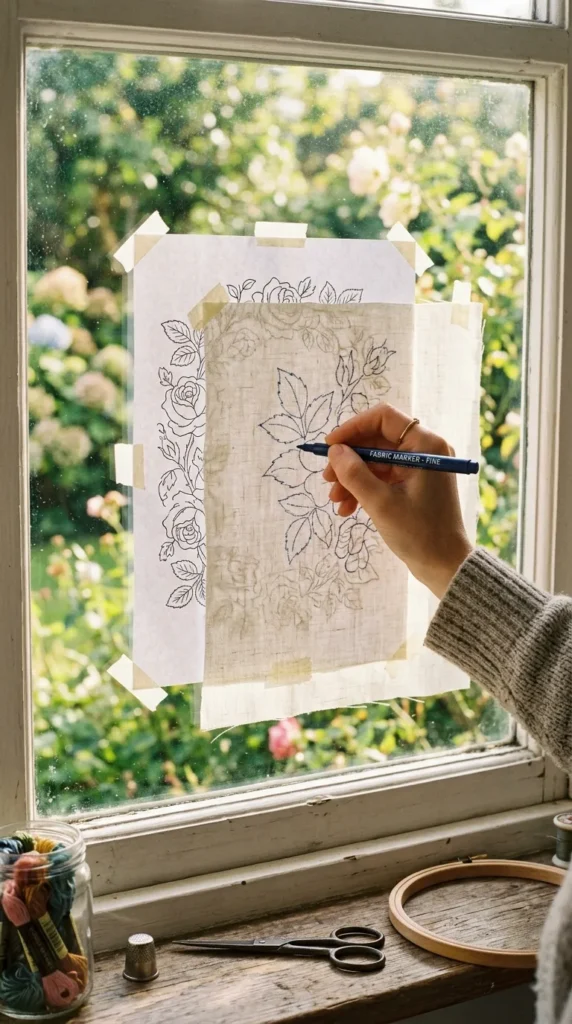
Pro tip: Use a washable fabric pen so any visible marks disappear after stitching.
2. Carbon or Transfer Paper Method (Clean and Precise)
If you’re working with thicker fabrics like denim, canvas, or tote bags, tracing might not work well. That’s where transfer paper comes in.
Steps:
- Place carbon or embroidery transfer paper between your fabric and printed design
- Pin or tape everything in place
- Trace over the design with a pen or stylus
- Remove layers to reveal a clean outline on fabric
This method gives you sharp, visible lines that make stitching much easier.
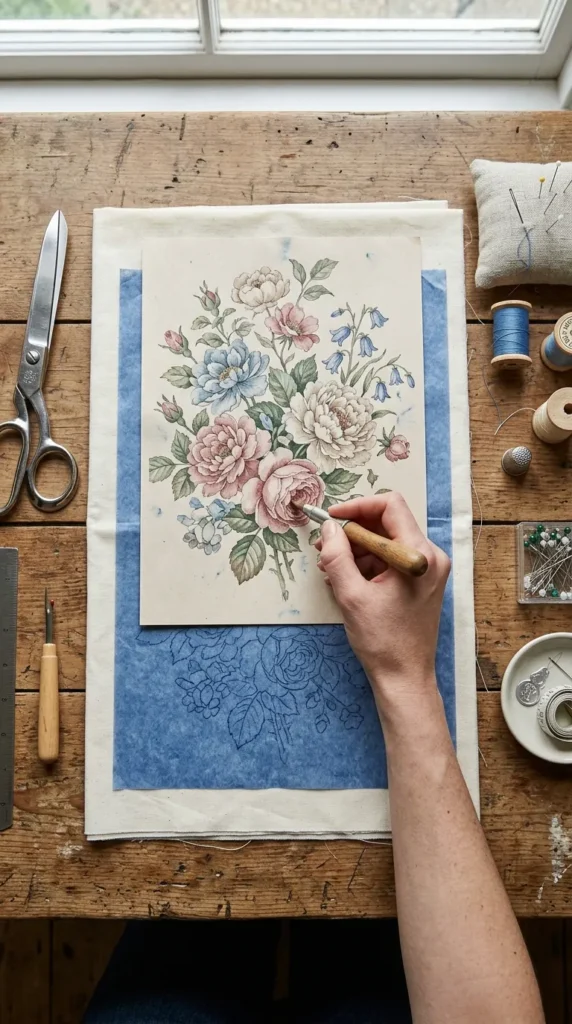
Pro tip: Go slowly while tracing to avoid smudges or double lines.
3. Water-Soluble Stabilizer (Best for Detailed Designs)
If you love intricate floral or mandala-style embroidery, this method is a lifesaver.
Here’s how it works:
- Print your design directly onto water-soluble stabilizer sheets
- Stick it onto your fabric like a sticker
- Stitch directly over the printed design
- Rinse the fabric in water after finishing to dissolve the stabilizer
It leaves you with perfectly clean stitches and zero leftover marks.
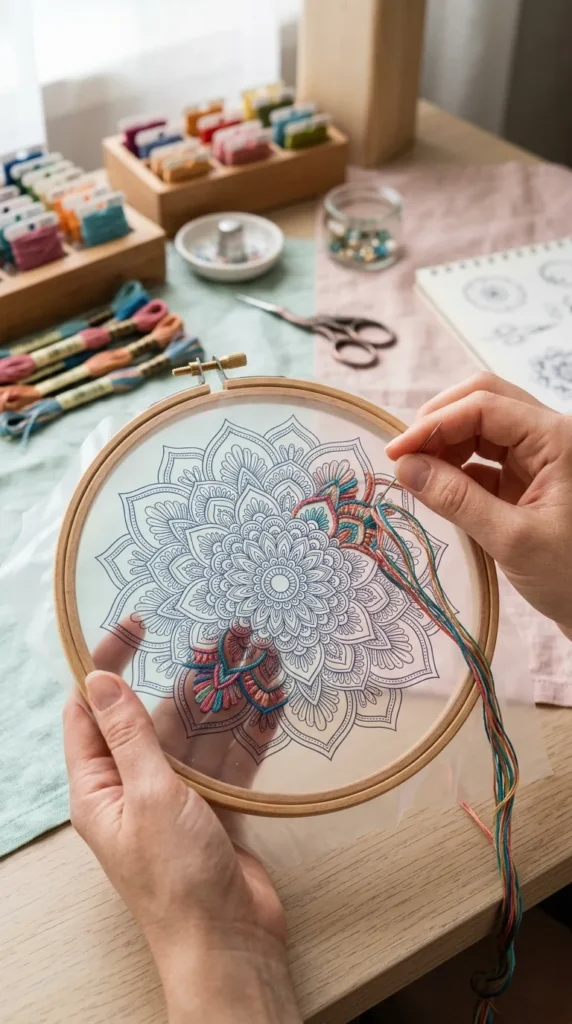
Pro tip: This method is especially great for dark fabrics where other transfer methods may not show clearly.
4. Heat Transfer Method (Quick and Convenient)
If you want something fast and fuss-free, heat transfer is a great option.
Steps:
- Print your design on heat transfer paper
- Place it face down on fabric
- Press with a hot iron according to instructions
- Peel carefully to reveal the transferred design
This method is especially helpful for tote bags, shirts, or any flat fabric surface.
Important: Always test on scrap fabric first to avoid mistakes.
5. Freehand Drawing (For Creative Control)
Sometimes, the best designs come from your own hand. Freehand drawing gives you full creative freedom.
You can:
- Sketch directly onto fabric using a washable pen
- Adjust shapes as you go
- Create organic, imperfect, artistic designs
This method works beautifully for boho-style embroidery or nature-inspired patterns.
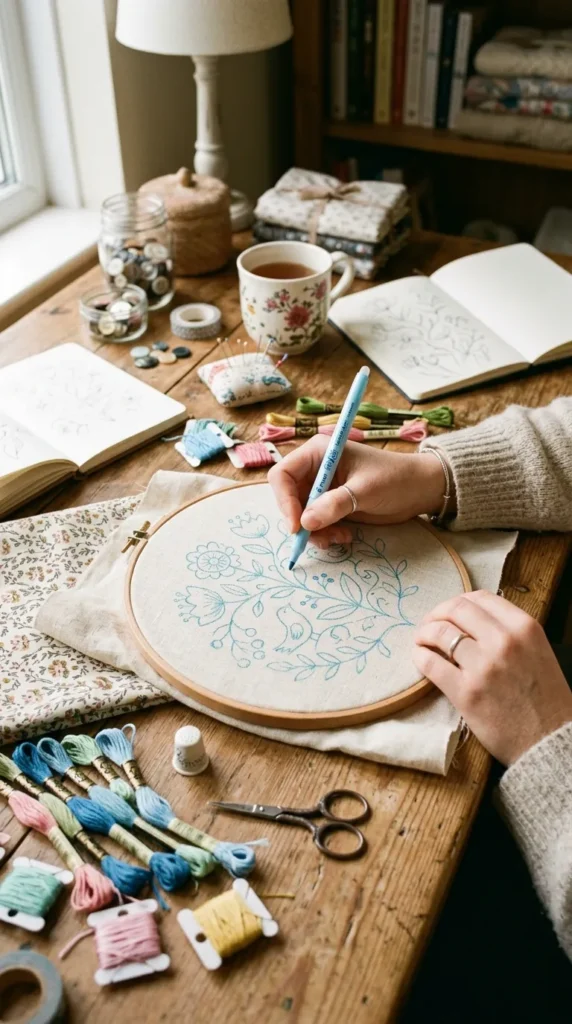
Pro tip: Light pencil outlines work best if you want subtle guidelines before stitching.
Tips for Cleaner Embroidery Transfers
No matter which method you choose, a few simple habits can make a big difference:
- Always iron your fabric first to remove wrinkles
- Secure your fabric tightly in an embroidery hoop
- Use light-colored pens for dark fabrics and dark pens for light fabrics
- Test your transfer method on a small scrap piece first
- Keep your design simple if you’re a beginner
Clean outlines = smoother stitching = better final results.
Choosing the Right Method for Your Project
Not every transfer method works for every fabric. Here’s a quick guide:
- Light cotton or linen → Tracing method
- Thick fabric or tote bags → Carbon paper or heat transfer
- Detailed designs → Water-soluble stabilizer
- Creative, artistic work → Freehand drawing
Once you understand what works best for your project, embroidery becomes much more enjoyable and less stressful.
Final Thoughts
Transferring embroidery designs might seem like a small step, but it’s actually the foundation of beautiful stitching. A clean outline helps you focus on creativity instead of correcting mistakes, and it makes even complex designs feel manageable.
Whether you love floral hoops, personalized gifts, or decorative fabric art, choosing the right transfer method will instantly level up your results.
So grab your fabric, pick your favorite technique, and start creating something beautiful today.
Save this guide for your next embroidery project—you’ll thank yourself later!