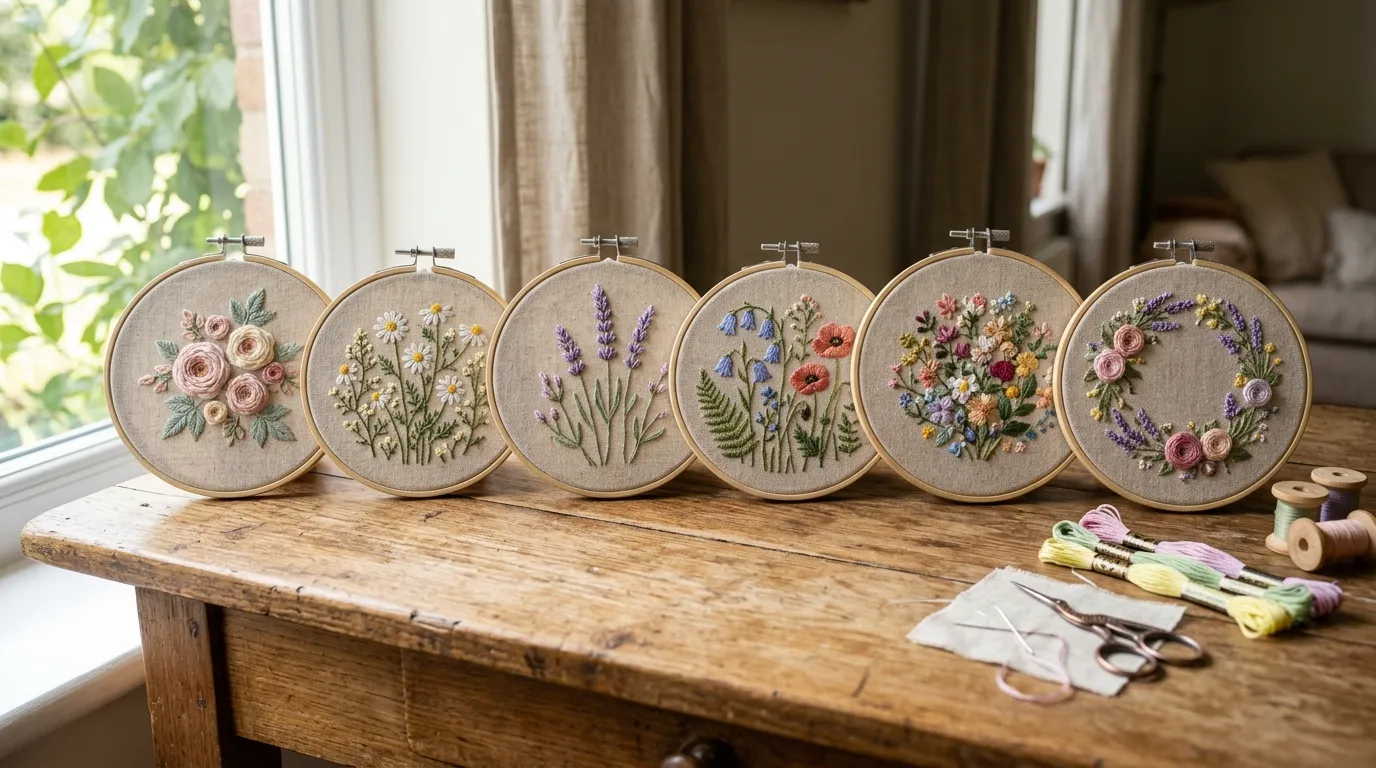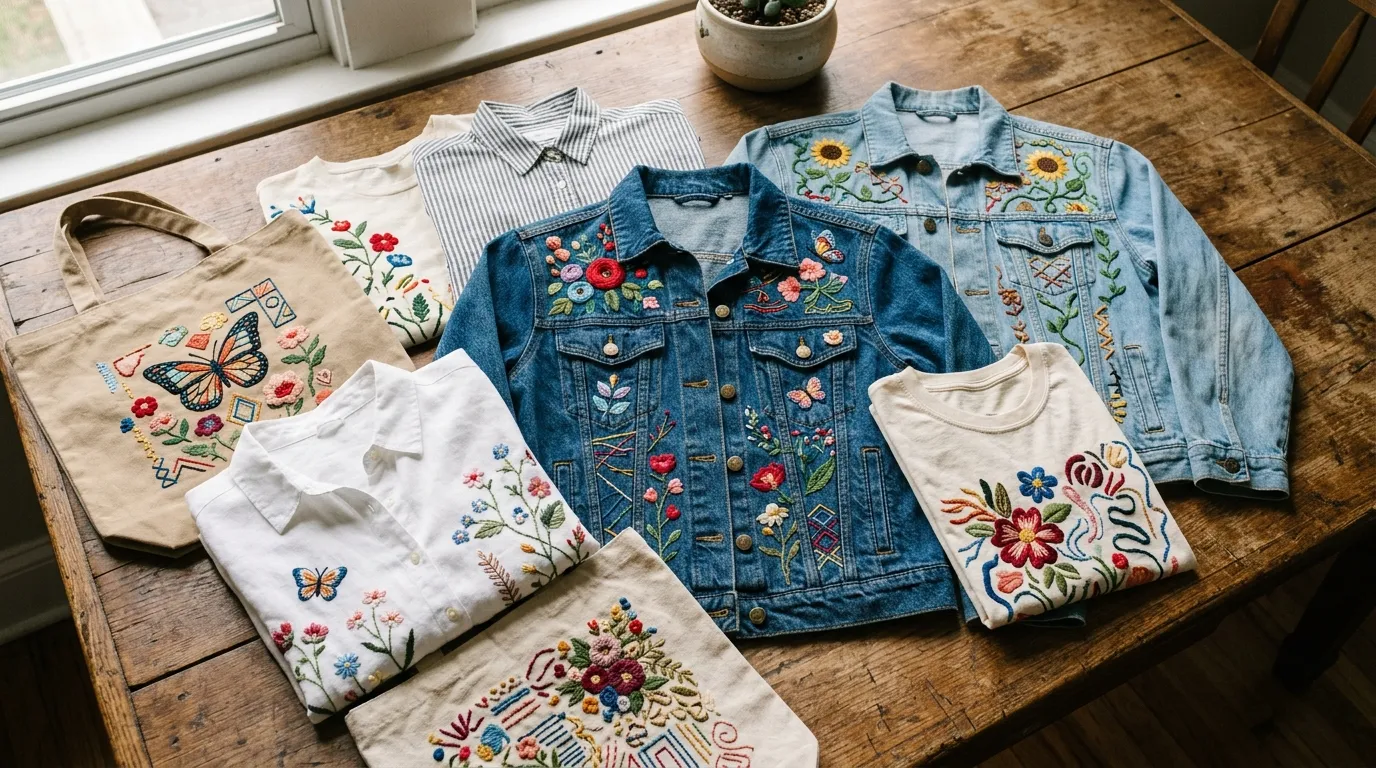

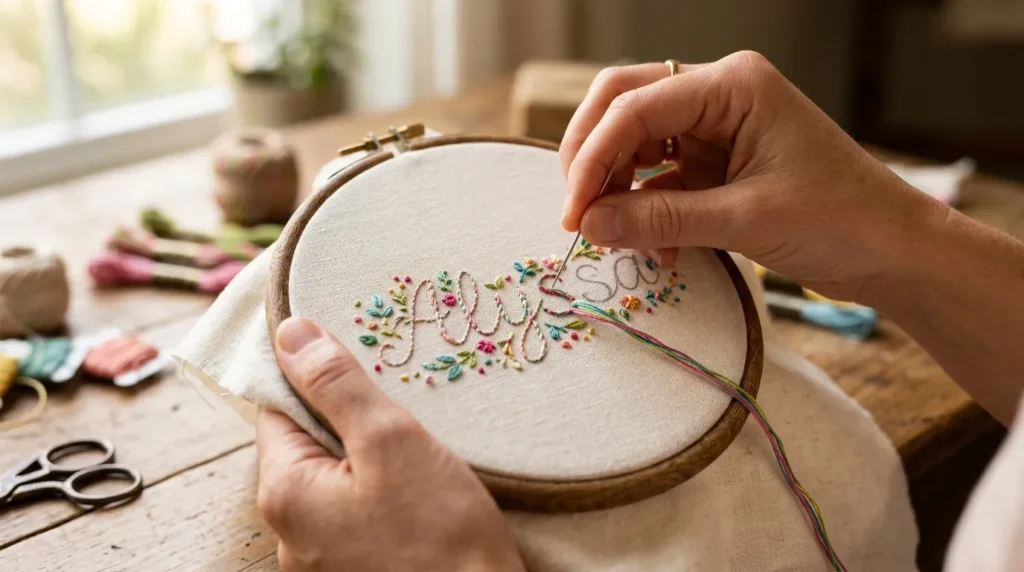
There’s something quietly magical about stitching someone’s name into fabric. It turns a simple item into a story—something personal, thoughtful, and lasting. Whether it’s a baby’s first blanket, a custom tote bag, or a heartfelt gift, hand-embroidered names add a timeless charm you just can’t replicate with machines.
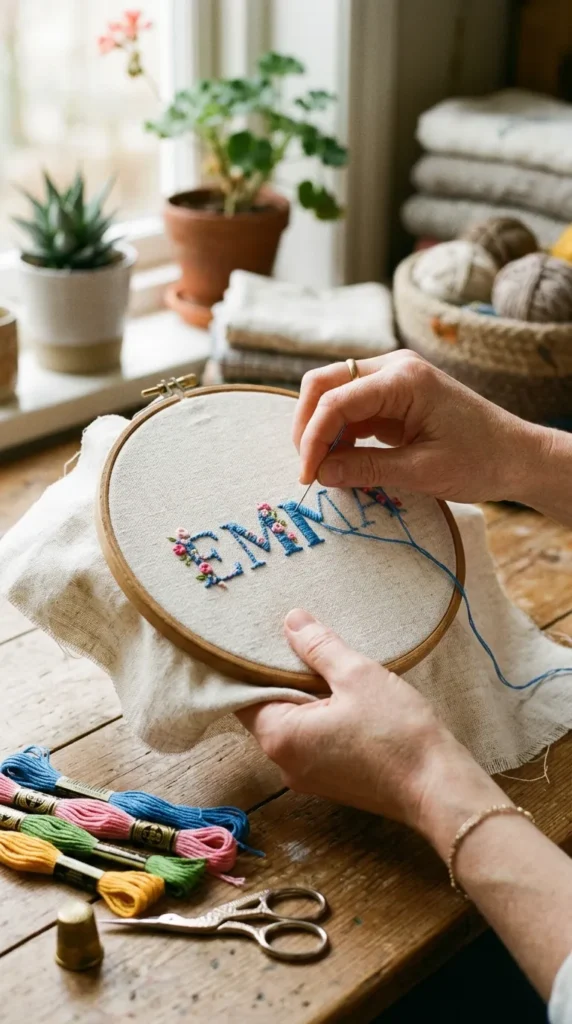
If you’ve ever wanted to try it yourself, you’re in the right place. Let’s walk through the process step by step—simple, relaxing, and incredibly rewarding.
Why Hand-Embroidered Names Feel So Special
Before we dive in, it helps to understand why this craft is so loved:
- Adds a personal, handmade touch
- Perfect for meaningful gifts
- Easy to learn, even for beginners
- Creates keepsakes that last for years
You don’t need fancy tools—just patience, creativity, and a little practice.
Tools and Materials You’ll Need
Getting started is easier than you think. Here’s what to gather:
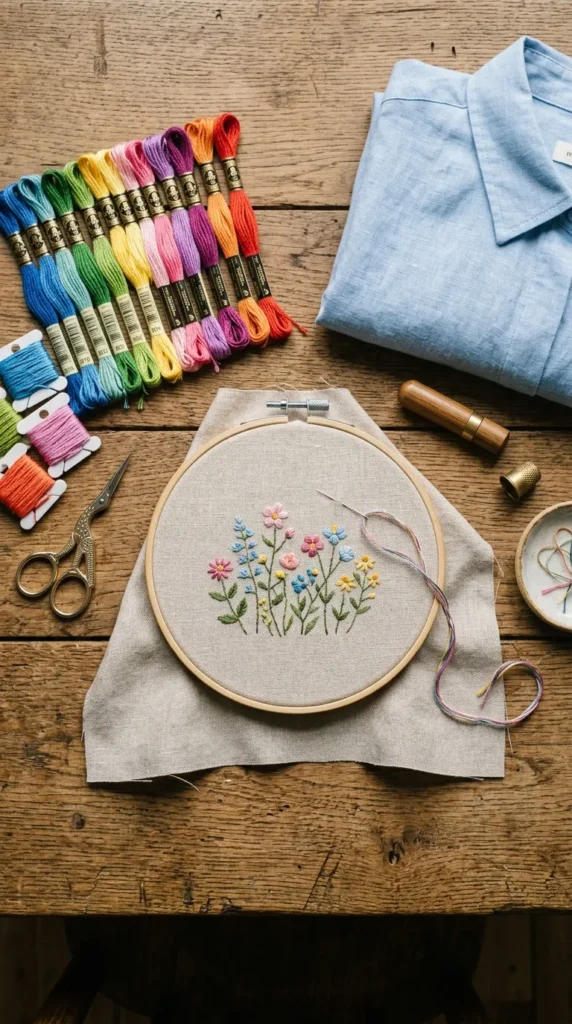
- Embroidery hoop
- Cotton or linen fabric
- Embroidery floss (choose your favorite colors)
- Embroidery needle
- Fabric marker or pencil
- Scissors
- Printed or handwritten name template (optional)
Tip: Light-colored fabric works best for beginners—it makes your stitches easier to see.
Step 1: Choose and Transfer Your Name Design
Start by deciding how you want the name to look. You can go for:
- Elegant cursive
- Simple block letters
- Playful handwritten styles
Once you’ve picked a font:
- Write or print the name on paper
- Place it under your fabric (if thin enough)
- Trace it lightly using a fabric pen
Alternatively, you can use transfer paper for darker fabrics.
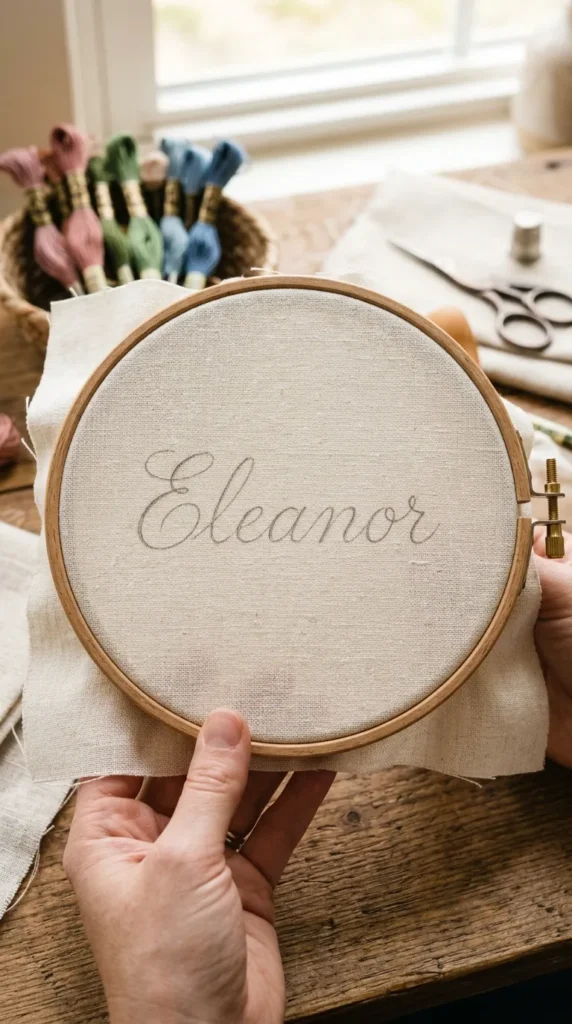
Keep it light: You want the lines visible, but not too dark to show through your stitches.
Step 2: Secure Your Fabric in the Hoop
Place your fabric tightly in the embroidery hoop. This step matters more than people realize.
- The fabric should feel firm, like a drum
- Avoid wrinkles or slack
- Tighten the screw securely
This helps your stitches stay neat and even.
Step 3: Pick the Right Stitch for Lettering
For names, a few stitches work especially well:
Backstitch (Best for beginners)
- Clean, simple, and easy to control
- Perfect for neat outlines
Split Stitch
- Slightly textured and elegant
- Great for cursive writing
Satin Stitch
- Fills in letters completely
- Ideal for bold, thicker fonts
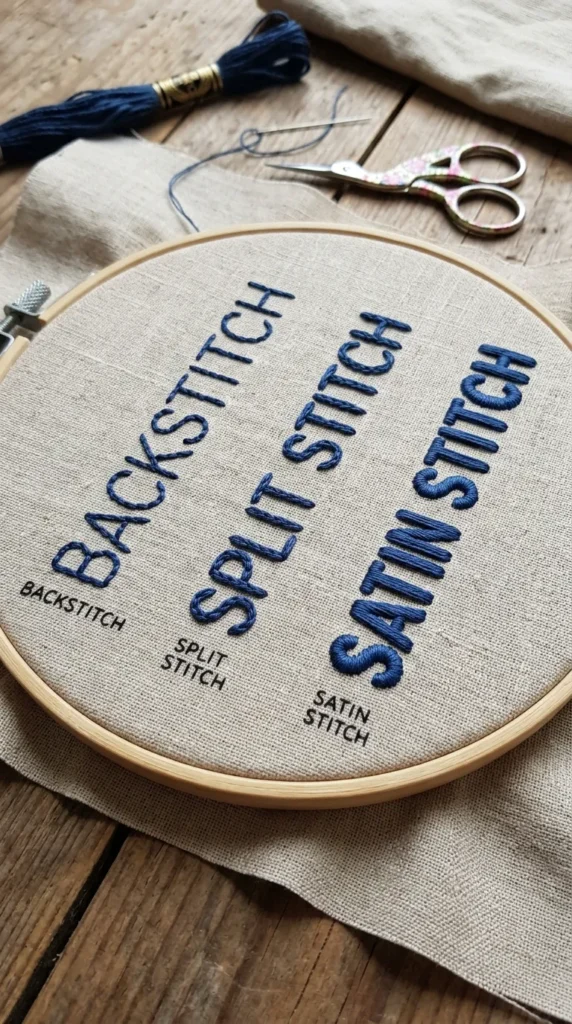
Pro tip: Start with backstitch if you’re new—it’s the easiest to master.
Step 4: Start Stitching the Name
Now the fun begins!
- Thread your needle (use 2–3 strands for neat lettering)
- Knot the end of your thread
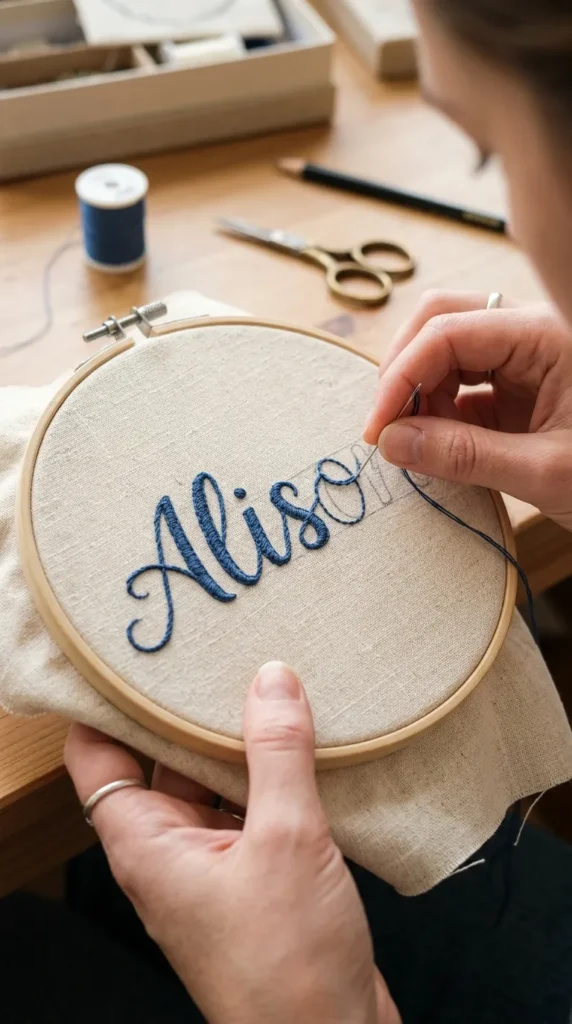
- Begin stitching along the traced lines
Take your time and follow the shape carefully. Keep stitches:
- Even in length
- Close together
- Smooth along curves
For curves: Use shorter stitches to maintain a clean look.
Step 5: Finish and Secure Your Work
Once you’ve completed the name:
- Turn the fabric over
- Tie a small knot to secure the thread
- Trim any excess
Gently remove the fabric from the hoop or leave it in for display—it looks beautiful either way.
Creative Ideas for Personalized Embroidery
Once you’ve mastered names, try adding a little extra flair:
- Small floral accents around the name
- Tiny stars or hearts
- Embroidered borders for baby gifts
- Names on tote bags or handkerchiefs
These small details can turn a simple name into a stunning piece of art.
Common Mistakes to Avoid
Even simple projects can go wrong—here’s what to watch for:
- Pulling thread too tight (causes puckering)
- Skipping the hoop (leads to uneven stitches)
- Using too many thread strands (looks bulky)
- Rushing curves (creates jagged lines)
Take it slow. Embroidery is meant to be relaxing, not rushed.
Final Thoughts
Hand-embroidering names isn’t just a craft—it’s a way to create something meaningful with your own hands. Every stitch carries intention, making your gift feel truly one-of-a-kind.
Whether you’re making a keepsake for a loved one or just experimenting with a new hobby, this is a skill that grows with you—and brings joy every step of the way.
Save this guide for later and start your first personalized embroidery project today!