
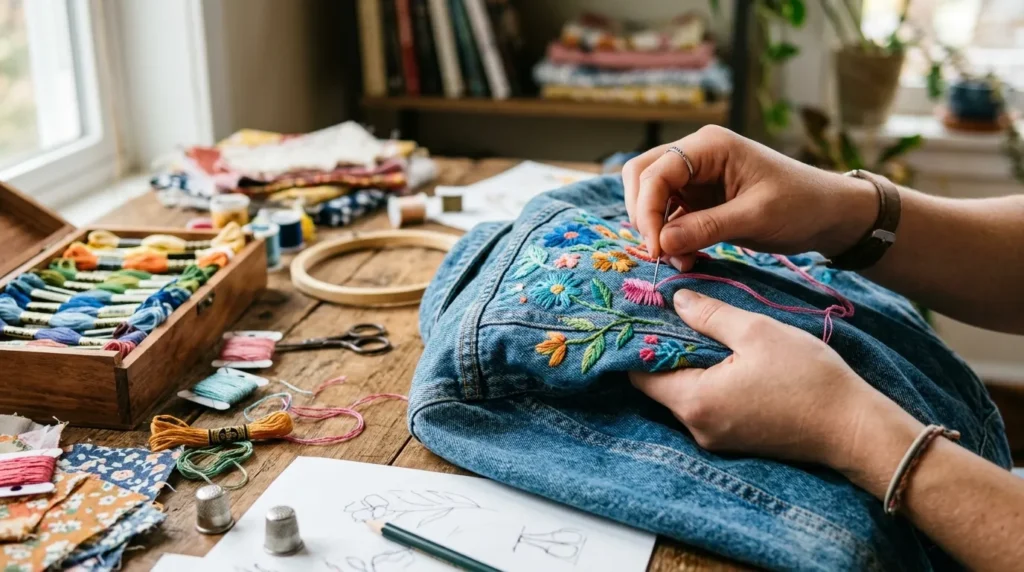
There’s something incredibly satisfying about turning a plain piece of clothing into a one-of-a-kind statement. Hand embroidery lets you add personality, color, and creativity to your wardrobe—no expensive tools or machines required. Whether you want delicate floral details or bold, trendy designs, this timeless craft makes it all possible.
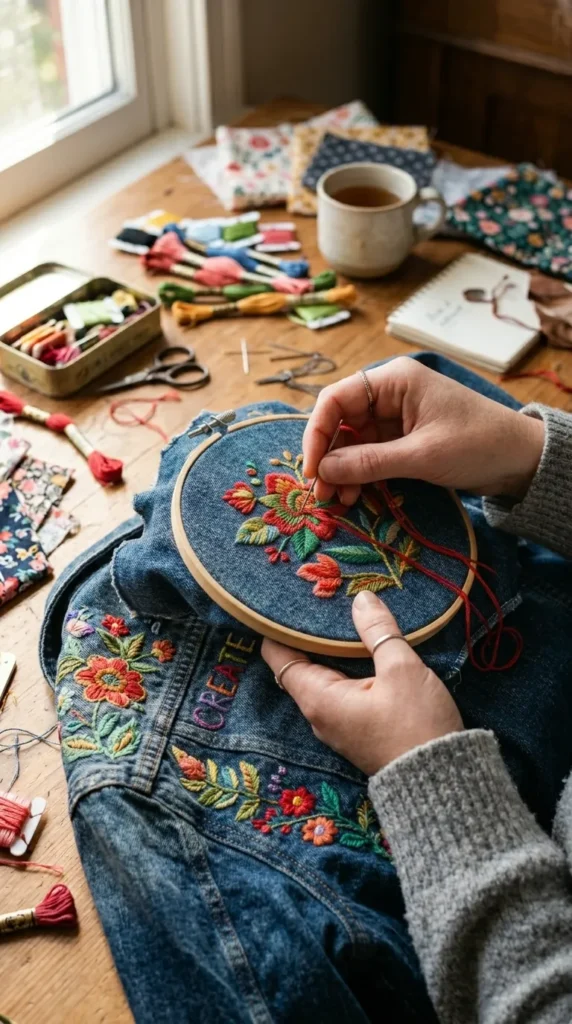
Let’s walk through how you can embroider on clothes by hand and create stylish DIY fashion pieces you’ll actually want to wear.
Why Hand Embroidery on Clothes Is So Popular
Hand embroidery is making a big comeback—and it’s easy to see why. It combines creativity with mindfulness while giving your clothes a completely unique touch.
Here’s why people love it:
- Personalizes basic clothing instantly
- Saves money compared to buying designer pieces
- Encourages sustainable fashion by reusing old clothes
- Lets you express your creativity freely
Even beginners can achieve beautiful results with just a few simple stitches.
Tools and Materials You’ll Need
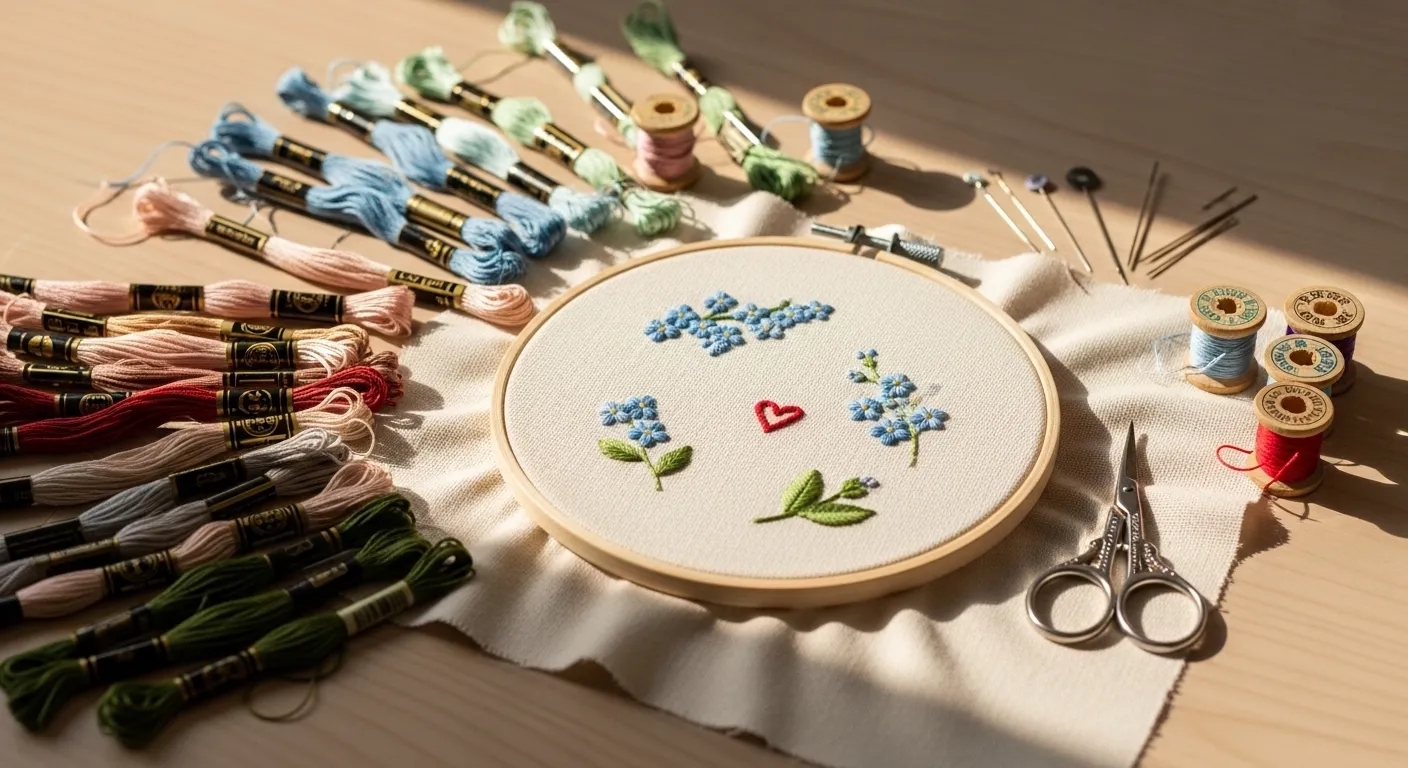
Before you start stitching, gather a few basic supplies. The good news? You probably won’t need much.
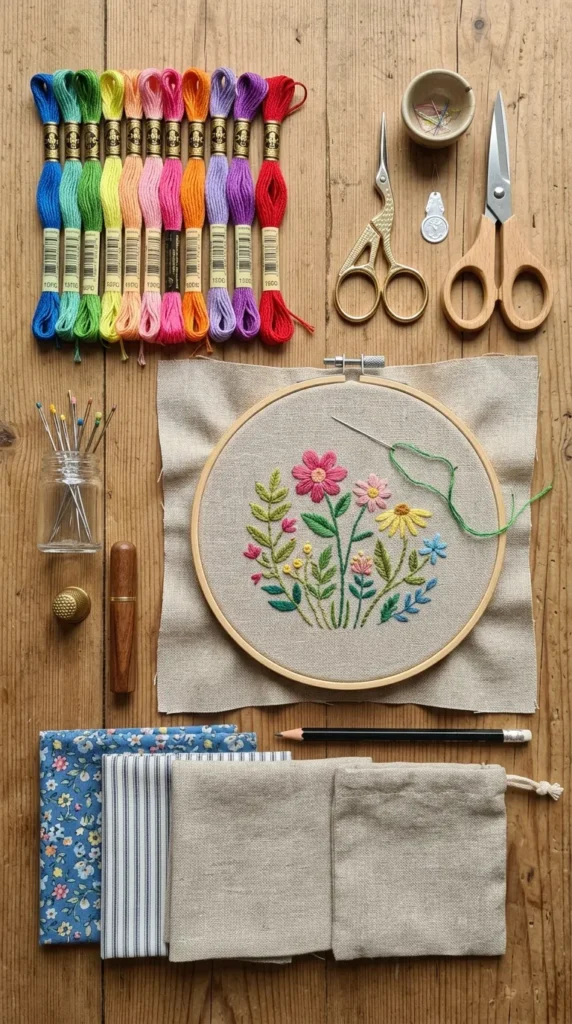
- Embroidery needle (medium size with a sharp tip)
- Embroidery floss (choose your favorite colors)
- Embroidery hoop (to keep fabric tight)
- Fabric marker or chalk
- Scissors
- Clothing item (denim, cotton, or linen works best)
Tip: Avoid very stretchy fabrics at first—they can be tricky for beginners.
Choosing the Right Design for Your Clothes
Start simple. You don’t need an elaborate pattern to make your clothes look amazing.
Popular beginner-friendly ideas include:
- Small flowers or leaves
- Initials or short words
- Stars, hearts, or minimalist shapes
- Simple line art designs
You can either:
- Draw directly onto the fabric
- Trace a printed design
- Use stick-and-peel embroidery patterns
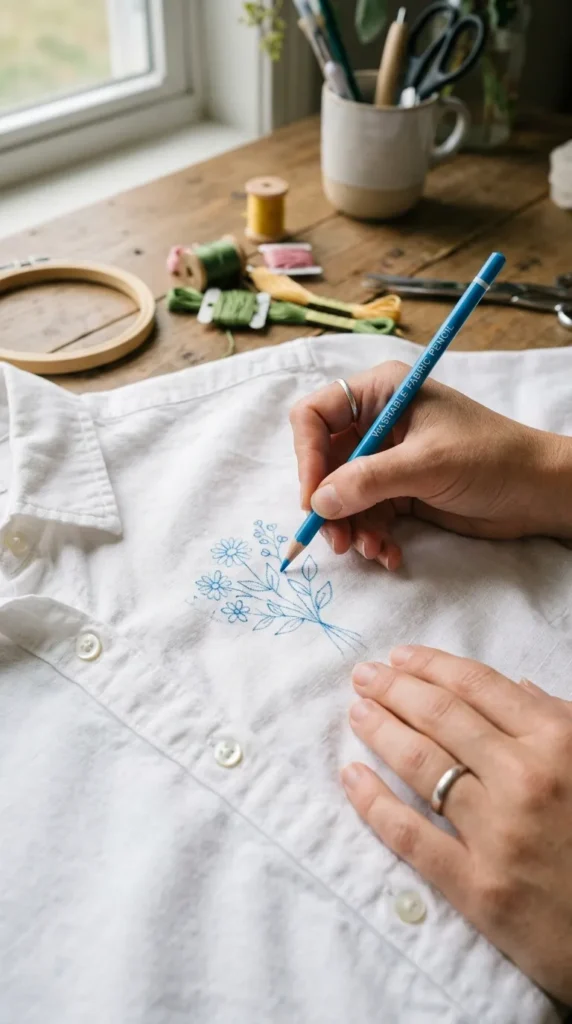
Keep your design small at first—it’s easier to manage and helps build confidence.
Preparing Your Fabric the Right Way
Prepping your fabric properly makes a huge difference in the final result.
Follow these steps:
- Wash and dry your clothing to prevent shrinkage later
- Iron the fabric so it’s smooth and wrinkle-free
- Place the embroidery hoop around the design area
- Tighten the hoop until the fabric feels firm like a drum
A tight surface helps your stitches stay neat and even.
Basic Stitches You Should Learn First
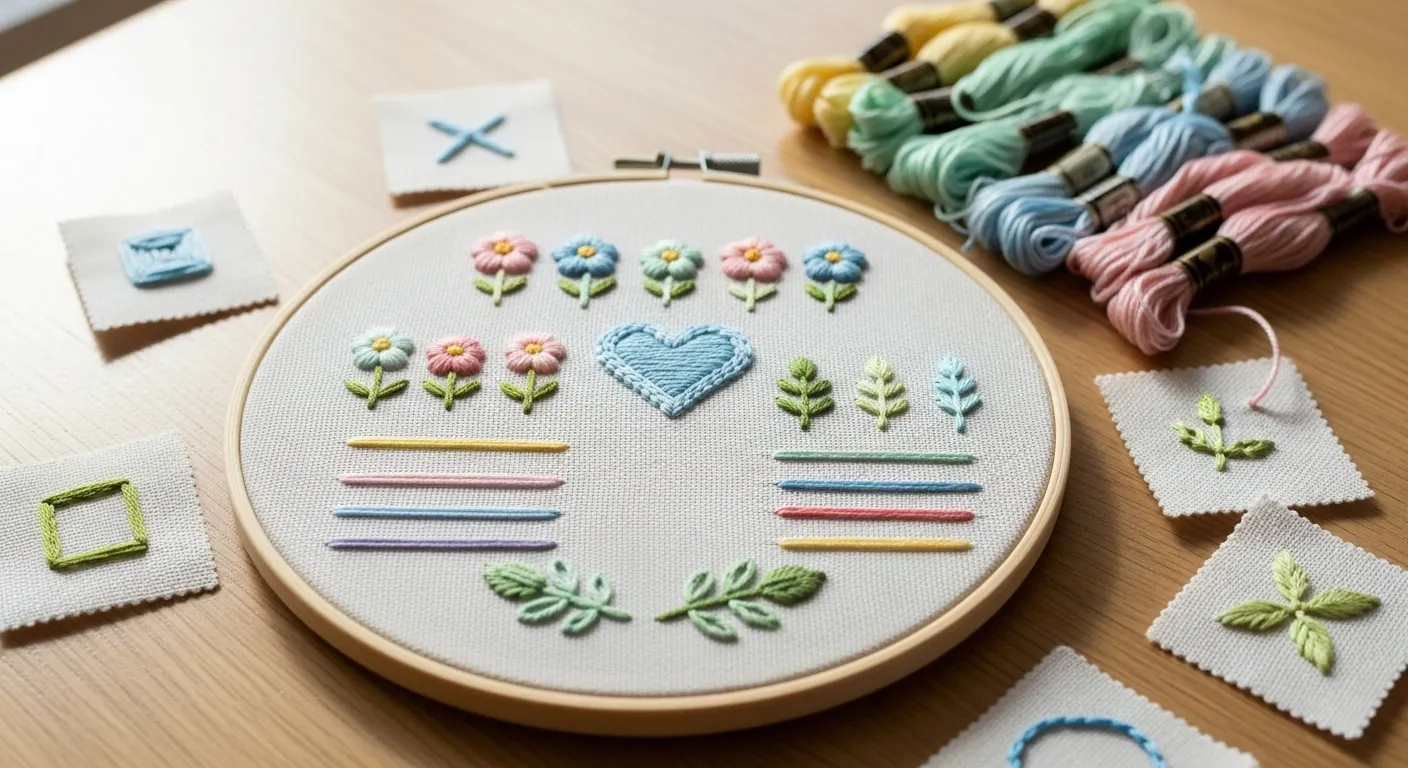
You don’t need to master dozens of stitches. Just a few basics can create stunning designs.
Start with these:
- Running stitch – perfect for outlines
- Backstitch – stronger and great for lettering
- Satin stitch – fills shapes with smooth color
- Lazy daisy stitch – ideal for petals and leaves
Practice these on scrap fabric before working on your clothes.
Step-by-Step: How to Embroider on Clothes
Now comes the fun part—actually stitching your design!
- Thread your needle
Cut about 18 inches of thread and knot the end. - Start from the back
Push the needle up through the fabric so the knot stays hidden. - Follow your design
Stitch slowly along your drawn lines using your chosen stitch. - Keep tension even
Don’t pull too tight or leave stitches too loose. - Finish neatly
Tie a small knot at the back when done and trim excess thread.
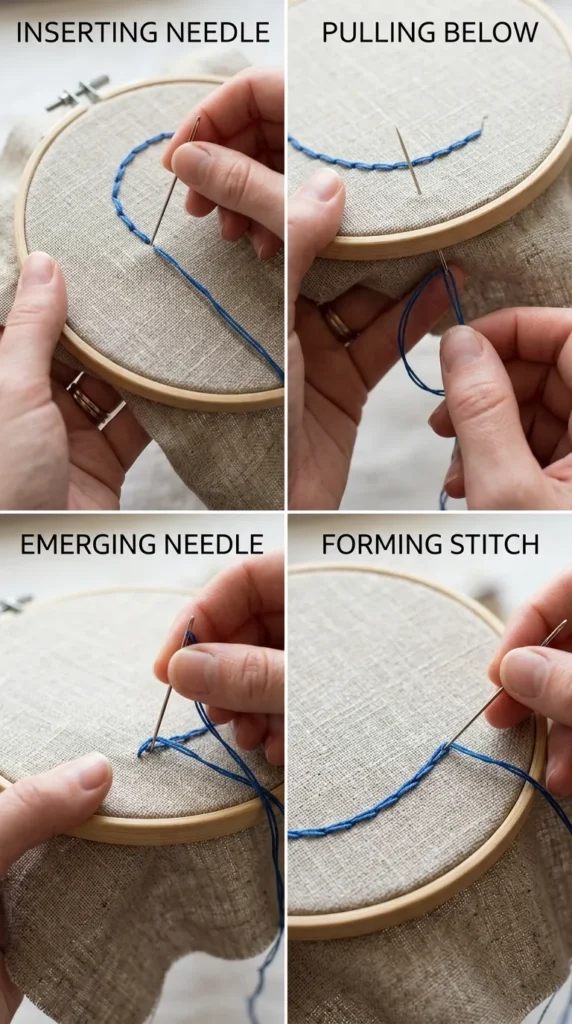
Take your time—embroidery isn’t a race. The slower you go, the better your results will look.
Tips for Making Your Embroidery Look Professional
Want your DIY fashion to look polished? These tips will help:
- Use fewer strands of thread for finer details
- Keep stitches consistent in size
- Avoid overcrowding your design
- Stick to a color palette for a cohesive look
- Always secure threads properly at the back
Pro tip: Flip your fabric occasionally to check the back—it should look tidy, not tangled.
Where to Embroider on Clothes for Maximum Style
Placement matters just as much as the design itself.
Try these trendy spots:
- Collar edges
- Shirt pockets
- Sleeve cuffs
- Back of jackets
- Along hemlines
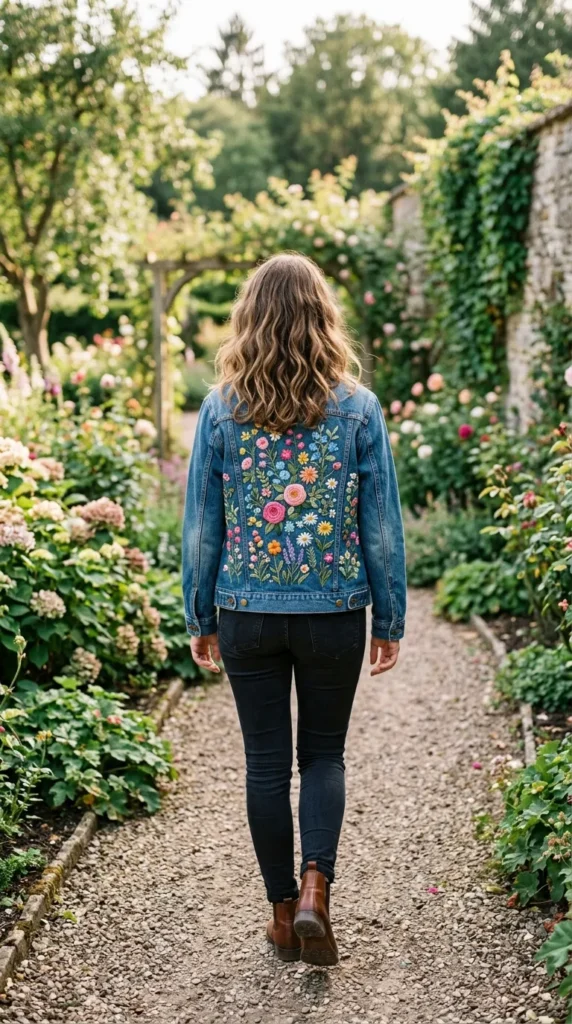
Small details in the right place can transform a simple outfit into something eye-catching.
Caring for Your Embroidered Clothes
Once you’ve created your masterpiece, you’ll want it to last.
- Wash gently (preferably by hand or on delicate cycle)
- Turn clothes inside out before washing
- Avoid harsh detergents
- Air dry instead of using high heat
Taking care of your embroidered items keeps them looking fresh and vibrant.
Final Thoughts
Hand embroidery on clothes is more than just a craft—it’s a way to tell your story through fashion. With a needle, thread, and a little patience, you can turn everyday pieces into wearable art.
Start simple, enjoy the process, and don’t worry about perfection—every stitch adds character.
Ready to give it a try? Grab your favorite shirt and start stitching your style today. And don’t forget to save this guide for later!