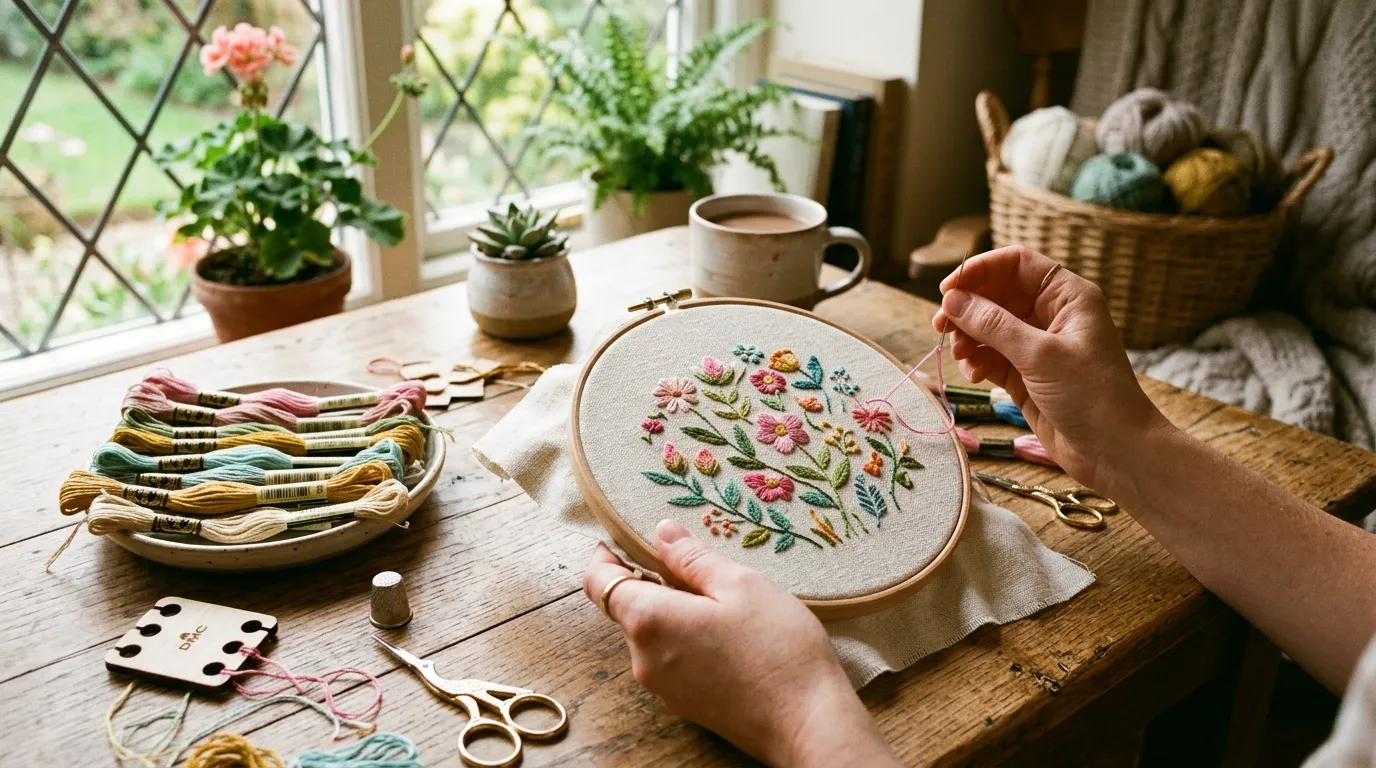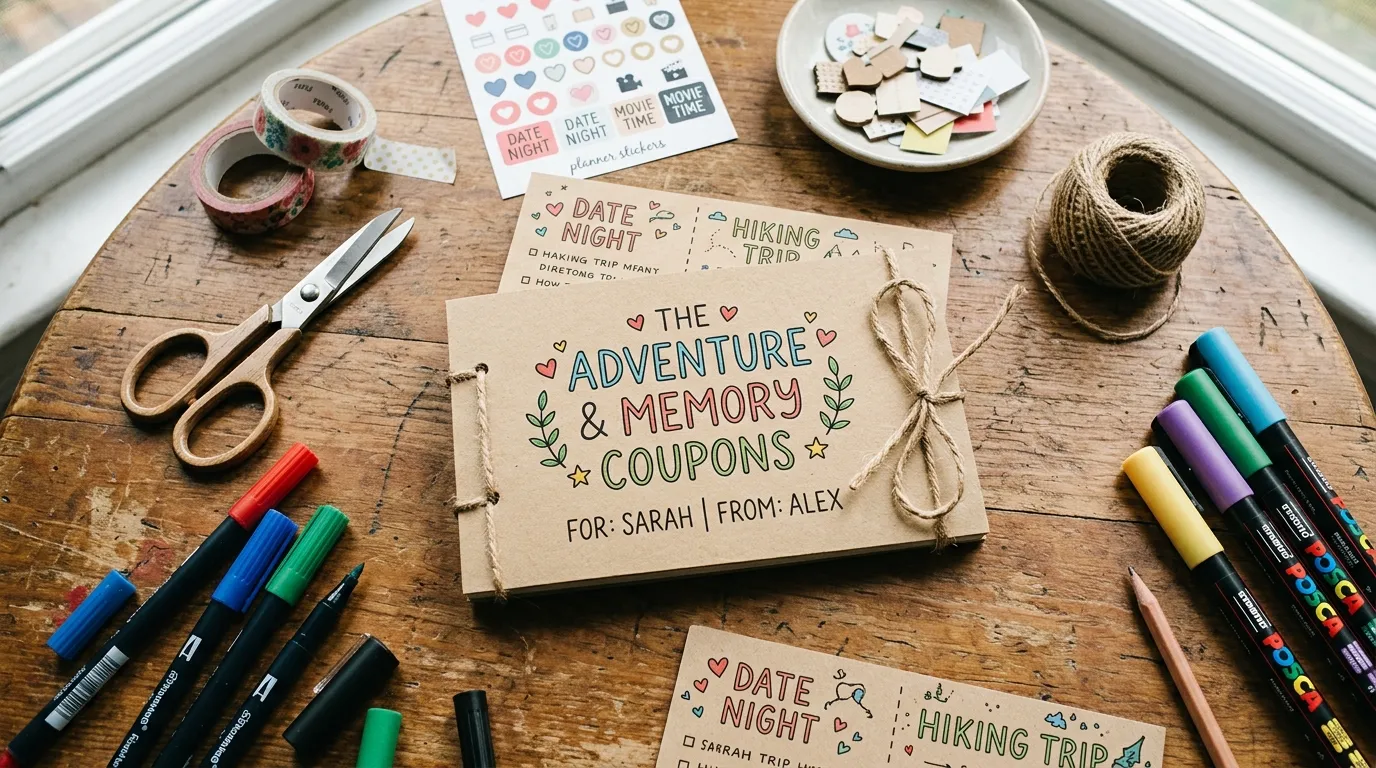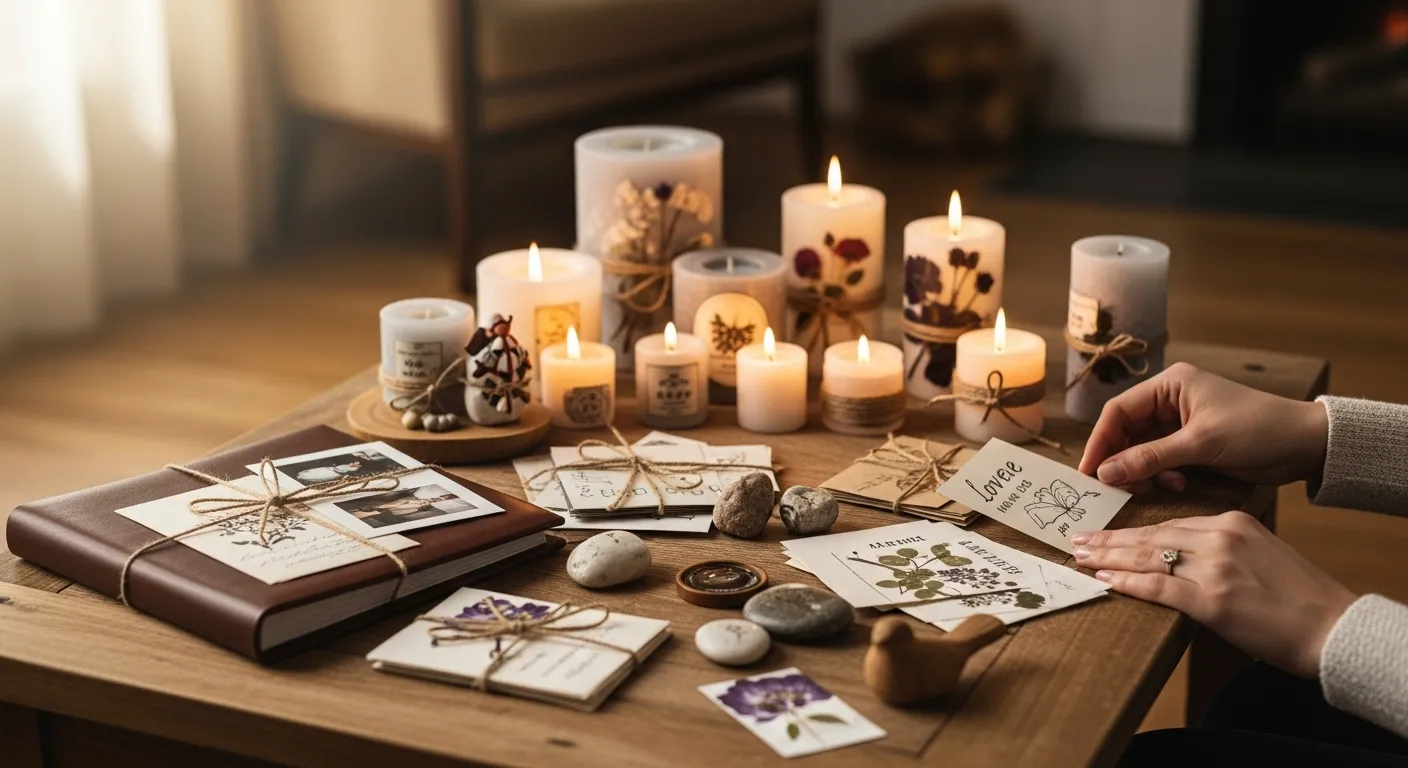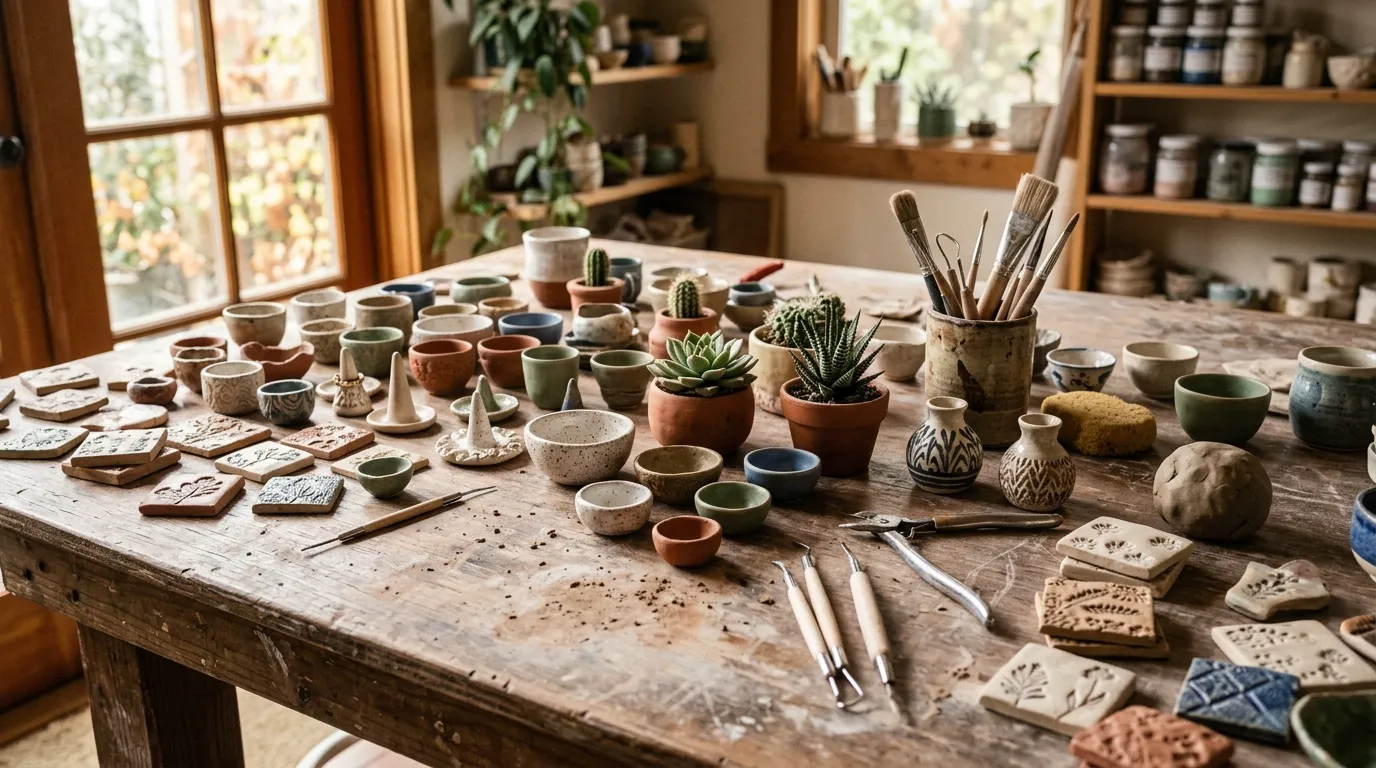

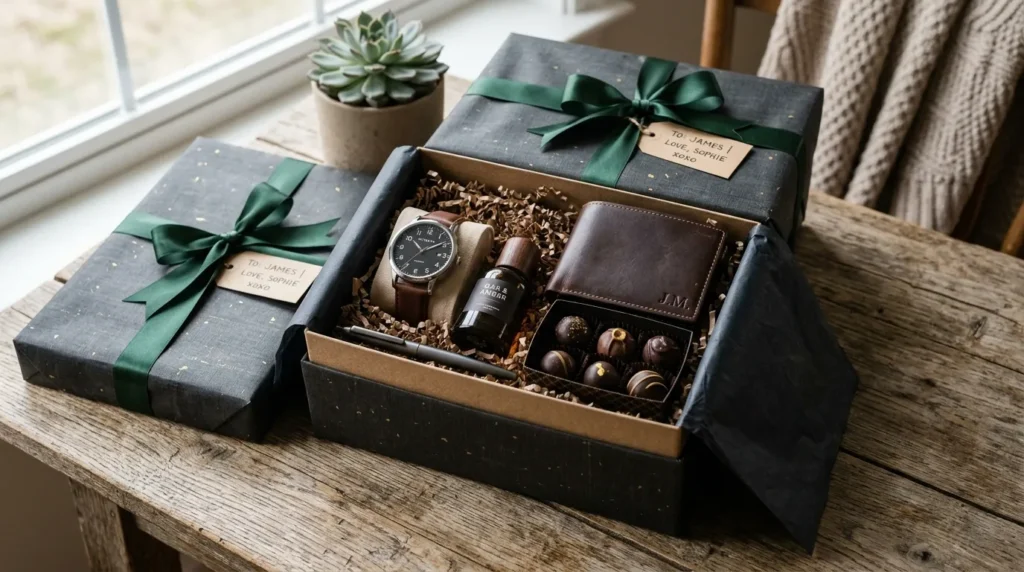
There’s something undeniably special about receiving a gift that feels handpicked, personal, and beautifully presented. A DIY gift box does exactly that—it turns simple items into a memorable experience. Whether it’s for a birthday, anniversary, or just because, you can create something that looks high-end without spending a fortune.
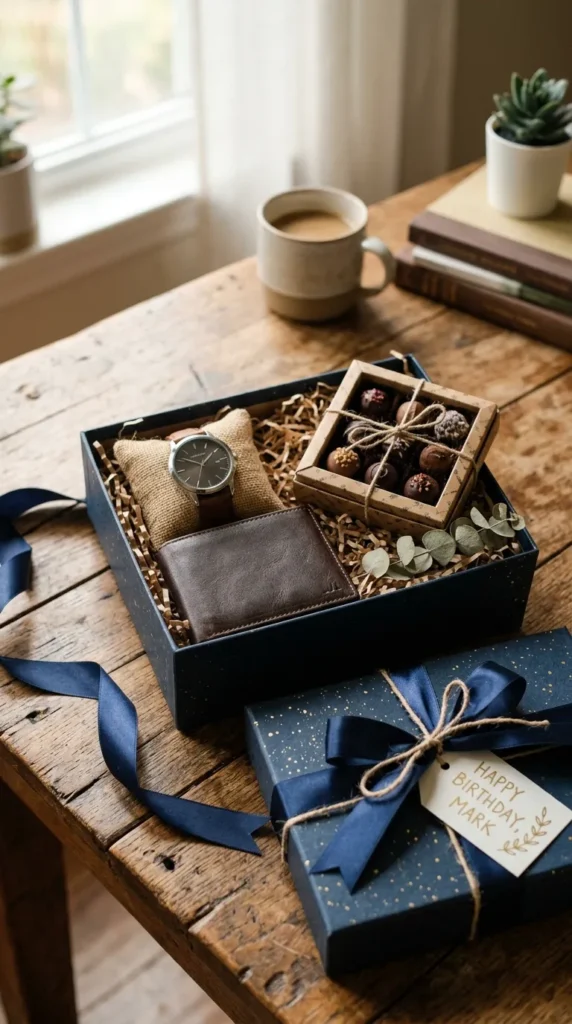
Let’s walk through how to create a gift box that feels premium, intentional, and genuinely thoughtful.
Step 1: Choose a Theme That Feels Personal
Before buying anything, think about him—his hobbies, style, and daily routine. A cohesive theme instantly makes your gift box look more polished.
Popular theme ideas:
- Self-care box: grooming kit, face wash, scented candle
- Tech lover box: gadgets, cables, phone accessories
- Relaxation box: cozy socks, snacks, notebook
- Fitness box: protein bars, water bottle, resistance bands
The key is consistency. When everything fits together, your box feels curated instead of random.
Step 2: Pick a High-Quality Box
Your packaging sets the tone. A sturdy, well-designed box instantly elevates everything inside.
What to look for:
- Rigid cardboard or magnetic lid boxes
- Neutral or dark tones (black, navy, kraft brown)
- Matte or textured finishes for a premium feel
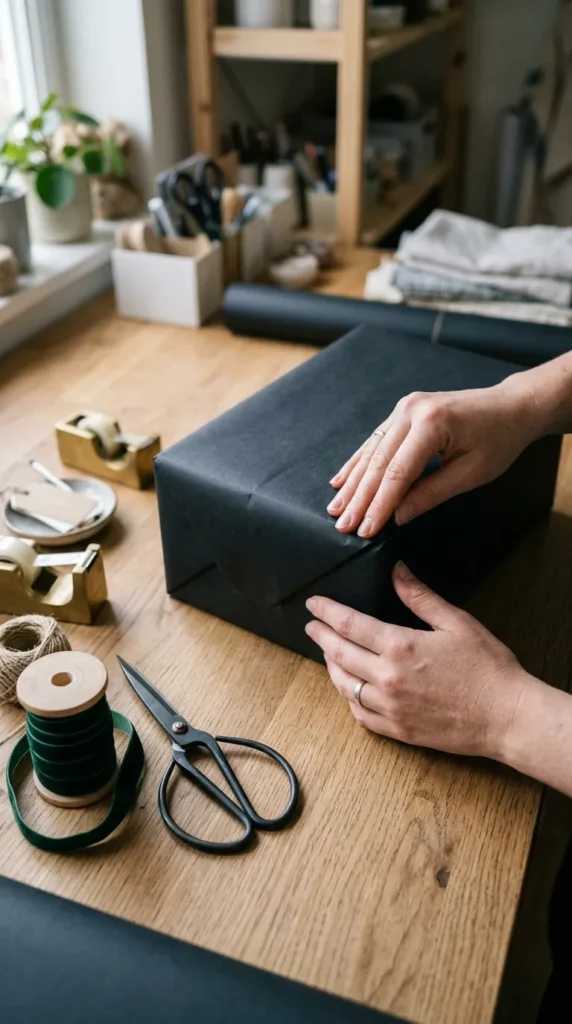
If you’re on a budget, you can upgrade a simple box using wrapping paper, fabric, or even paint.
Step 3: Select 4–7 Thoughtful Items
Less is more. Instead of stuffing the box, choose a few meaningful items that feel intentional.
Great item ideas:
- A sleek wallet or cardholder
- His favorite snacks or chocolates
- A handwritten letter or note
- A small fragrance or deodorant
- A watch or bracelet
- A book or journal
Try to mix:
- Practical items (he’ll use daily)
- Personal items (that reflect your relationship)
- A surprise element (something he wouldn’t expect)
Step 4: Create a Clean, Organized Layout
Presentation is where your box transforms from “nice” to wow.
How to arrange it:
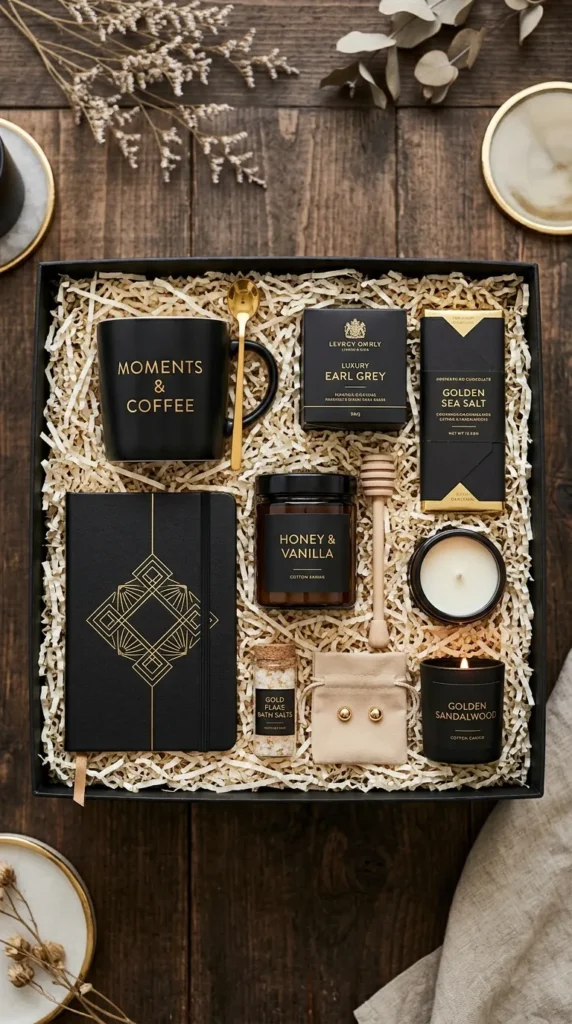
- Use shredded paper, fabric, or tissue as a base
- Place larger items first, then fill gaps with smaller ones
- Keep spacing even—avoid clutter
- Stick to a color palette (e.g., black + gold, brown + cream)
Think of it like designing a mini display. Everything should feel balanced and easy on the eyes.
Step 5: Add Premium Details
This is where the magic happens. Small touches can completely change the feel of your gift.
Easy upgrades:
- Wrap individual items in tissue paper
- Tie a ribbon around the box (velvet or satin works beautifully)
- Add a wax seal or minimalist tag
- Include a dried flower or small decorative element
Even something as simple as a well-folded note can make a big impact.
Step 6: Write a Meaningful Note
Don’t skip this part. The message is what makes your gift unforgettable.
What to include:
- A short appreciation message
- A shared memory
- A reason why you chose the items
Keep it simple and genuine. It doesn’t have to be perfect—it just has to be real.
Step 7: Final Presentation Matters
Before giving the box, do a quick final check:
- Are all items clean and aligned?
- Does the box close neatly?
- Does it feel balanced and not overcrowded?
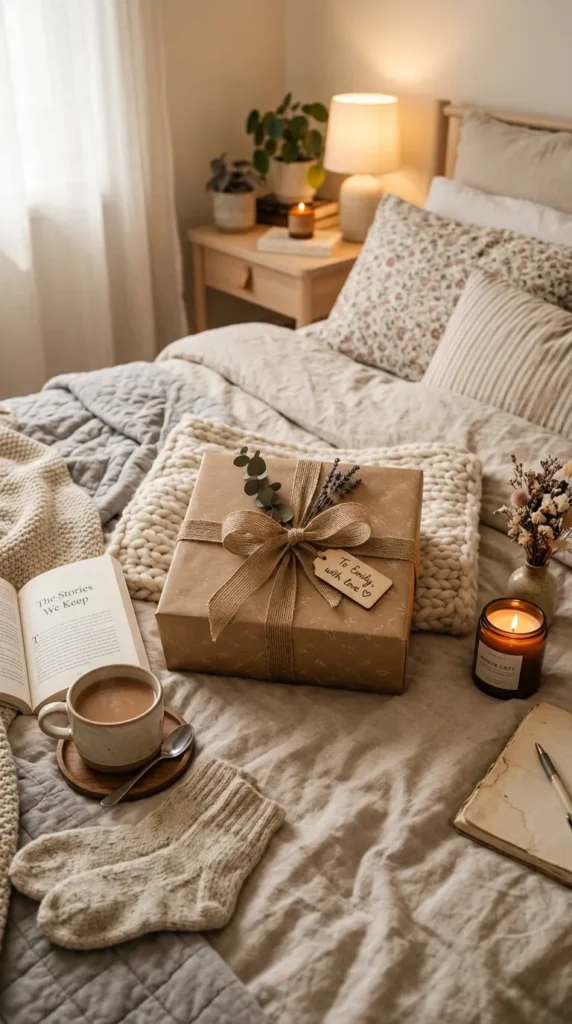
You can also present it in a creative way—on a tray, with soft lighting, or even as a surprise setup.
Pro Tips to Make It Look Extra Premium
- Stick to 2–3 colors max for a clean aesthetic
- Avoid overfilling—empty space looks elegant
- Use textures (paper, fabric, wood) for depth
- Match packaging with the theme (rustic, modern, minimal)
Final Thoughts
A DIY gift box isn’t about how much you spend—it’s about how much thought you put into it. With the right theme, clean presentation, and a few personal touches, you can create something that feels luxurious and meaningful at the same time.
The best part? It’s completely customizable, so no two boxes will ever be the same.
Save this idea for your next special occasion—and start building a gift that truly stands out.