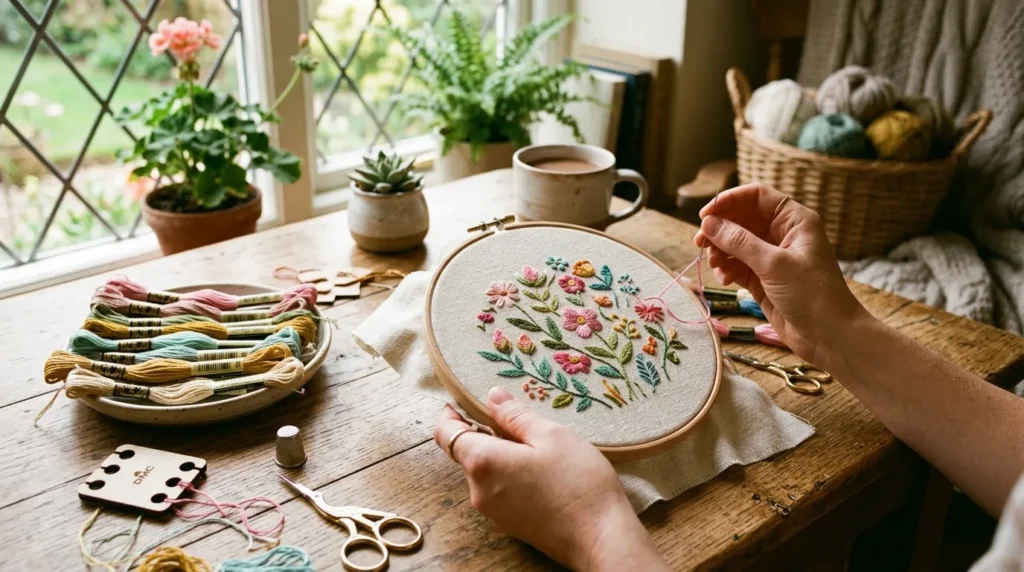
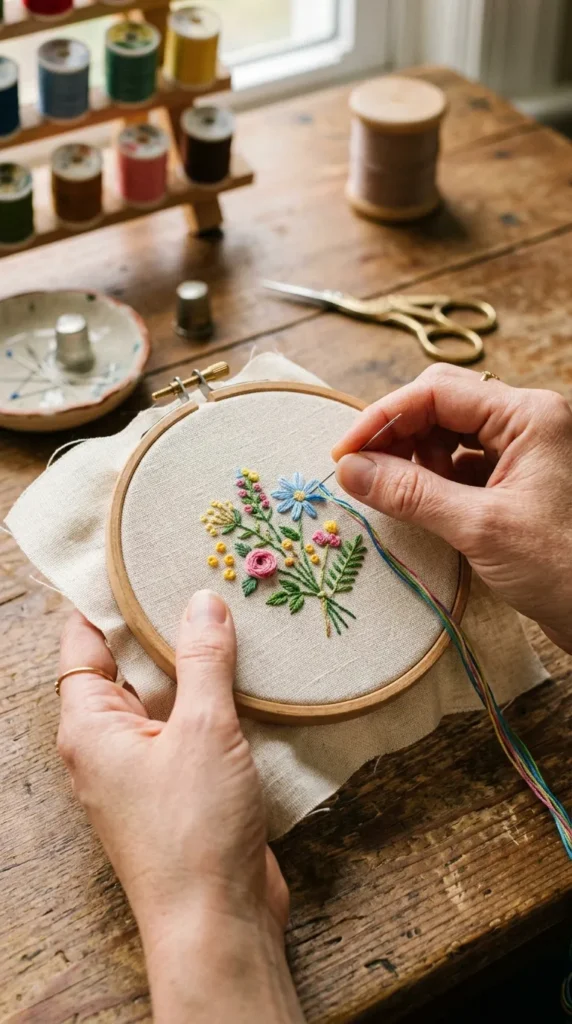
Hand embroidery is one of those calming, creative hobbies that feels almost magical once you get started. With just a needle, thread, and fabric, you can turn simple cloth into beautiful art pieces that look handmade with love. The best part? You don’t need to be “artistic” to begin—just a little patience and the right guidance.
If you’ve ever admired embroidered flowers on clothing or cute hoop art on Pinterest and thought, “I wish I could do that,” you absolutely can.
Let’s walk through everything step by step so you can start your embroidery journey with confidence and ease.
What You Need to Start Hand Embroidery
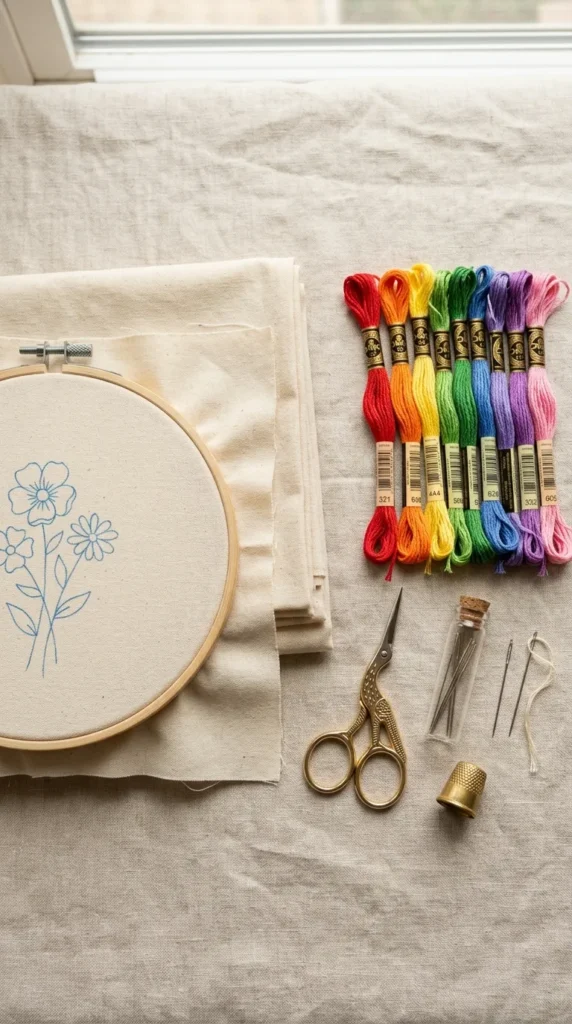
Before you begin stitching, gather a few basic tools. Don’t worry—this hobby is very beginner-friendly and doesn’t require expensive supplies.
Here’s what you’ll need:
- Embroidery hoop (wooden or plastic)
- Cotton fabric (plain cotton or linen works best)
- Embroidery needles (slightly larger eye for thread)
- Embroidery floss (colorful thread bundles)
- Small scissors
- Pencil or washable fabric marker
Once you have these basics, you’re ready to start creating your first design.
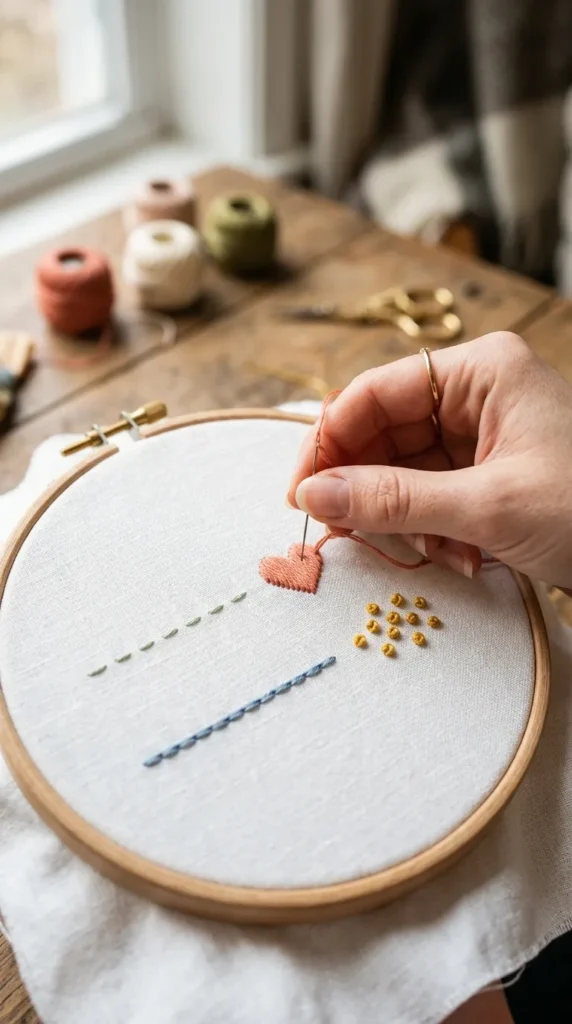
Basic Stitches Every Beginner Should Learn
You don’t need to learn dozens of stitches to begin. Just a few simple ones can create stunning designs when combined creatively.
1. Running Stitch
This is the easiest stitch and perfect for outlines.
- Push the needle up and down through fabric in even spacing
- Creates a dashed line effect
2. Back Stitch
Great for clean outlines and lettering.
- Stitch backward into the previous stitch hole
- Gives a solid continuous line
3. Satin Stitch
Used to fill shapes like leaves or petals.
- Make closely packed straight stitches
- Keep them smooth and aligned
4. French Knot
Perfect for tiny flower centers or decorative dots.
- Wrap thread around the needle and pull through carefully
Practice each stitch on a scrap fabric before moving to a full design. This will help your hands get used to the motion.
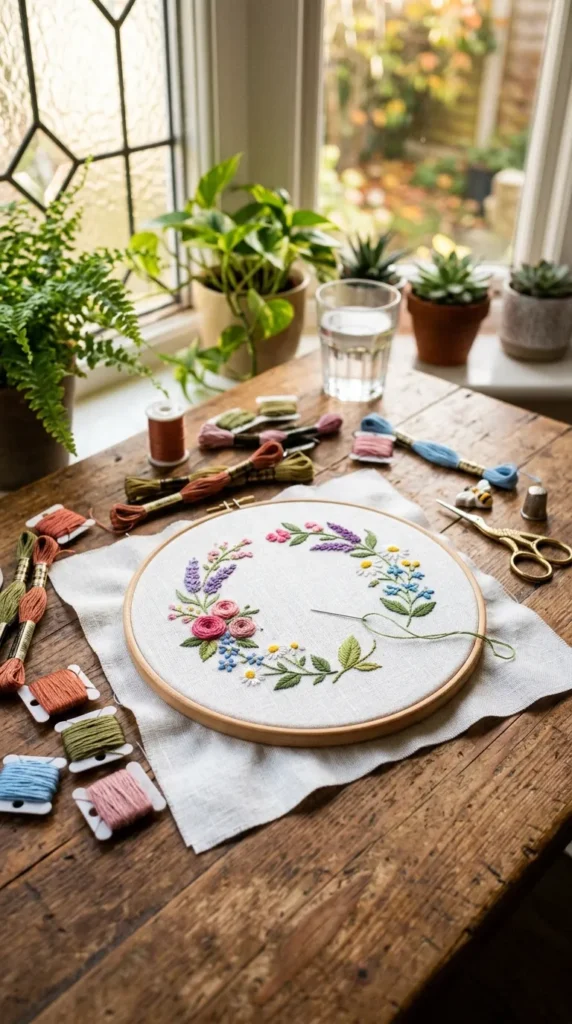
Step-by-Step: Your First Simple Embroidery Project
Let’s create a beginner-friendly floral design. Flowers are perfect because they use simple shapes and forgiving lines.
Step 1: Sketch Your Design
Lightly draw a small flower or leaf pattern using a pencil or fabric marker.
Step 2: Secure Fabric in Hoop
Place fabric in the hoop and tighten it so it feels firm like a drum.
Step 3: Start Outlining
Use a back stitch or running stitch to outline petals and stems.
Step 4: Add Fill and Details
Use satin stitches for petals and French knots for flower centers.
Step 5: Finish Neatly
Tie off thread at the back and trim excess carefully.
Take your time—embroidery is not about speed but about enjoying each stitch.
Common Mistakes & Easy Fixes
Every beginner makes a few mistakes, and that’s completely normal. Here are some easy fixes:
- Fabric puckering: Don’t pull thread too tight
- Uneven stitches: Mark guide lines lightly before stitching
- Knots in thread: Use shorter thread lengths (about arm’s length)
- Loose hoop fabric: Re-tighten fabric regularly as you work
The more you practice, the smoother your stitches will become.
Tips to Make Your Embroidery Look Neat & Professional
Want your work to look clean and polished? Try these simple tips:
- Use good lighting while stitching
- Keep thread lengths short to avoid tangles
- Match stitch direction for a smoother finish
- Practice consistency rather than perfection
- Start with simple designs before moving to complex patterns
Embroidery improves naturally with repetition, so don’t rush the process.
Hand embroidery is more than just a craft—it’s a relaxing, mindful activity that lets you slow down and create something beautiful with your own hands. Even simple stitches can turn into stunning artwork when combined thoughtfully.
Start small, stay patient, and enjoy every stitch you make.
Save this guide for later and start your first embroidery project today!


