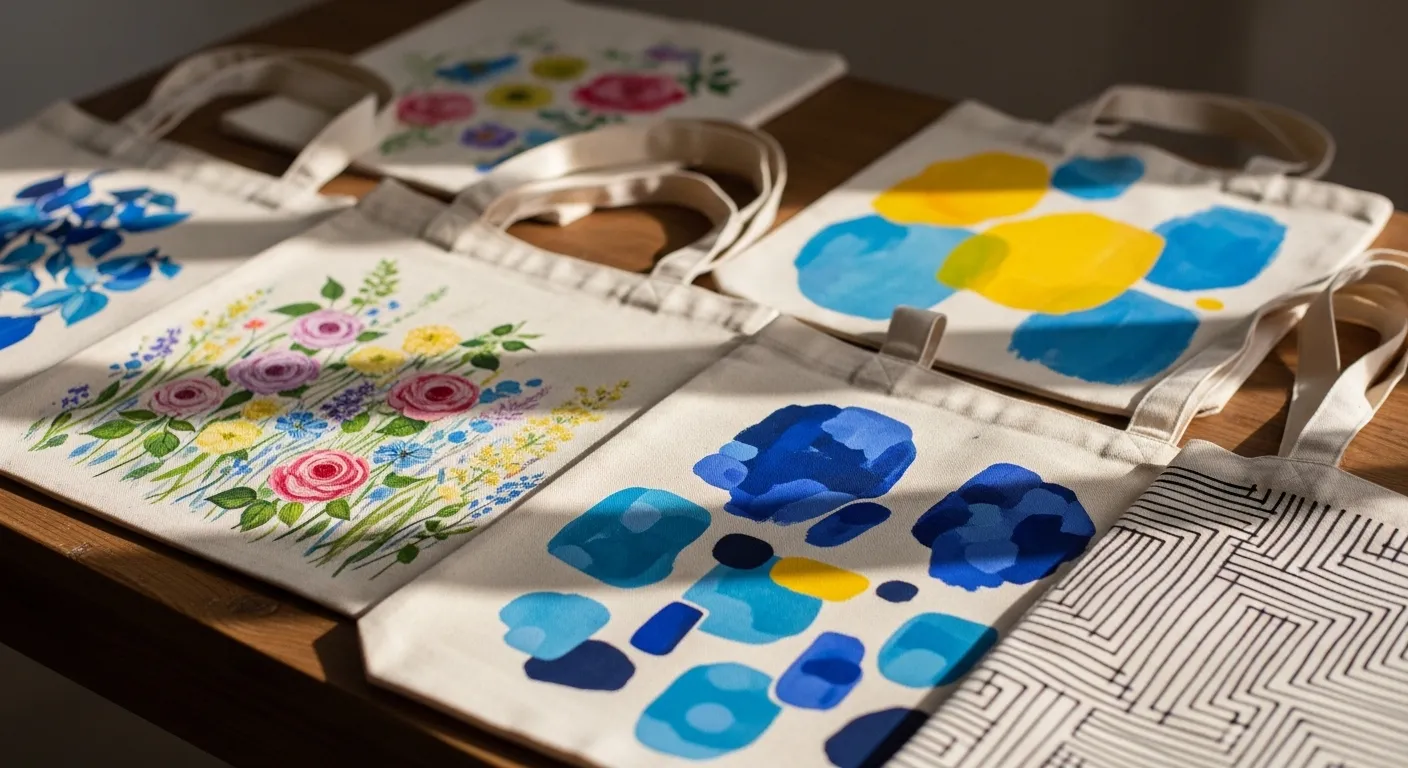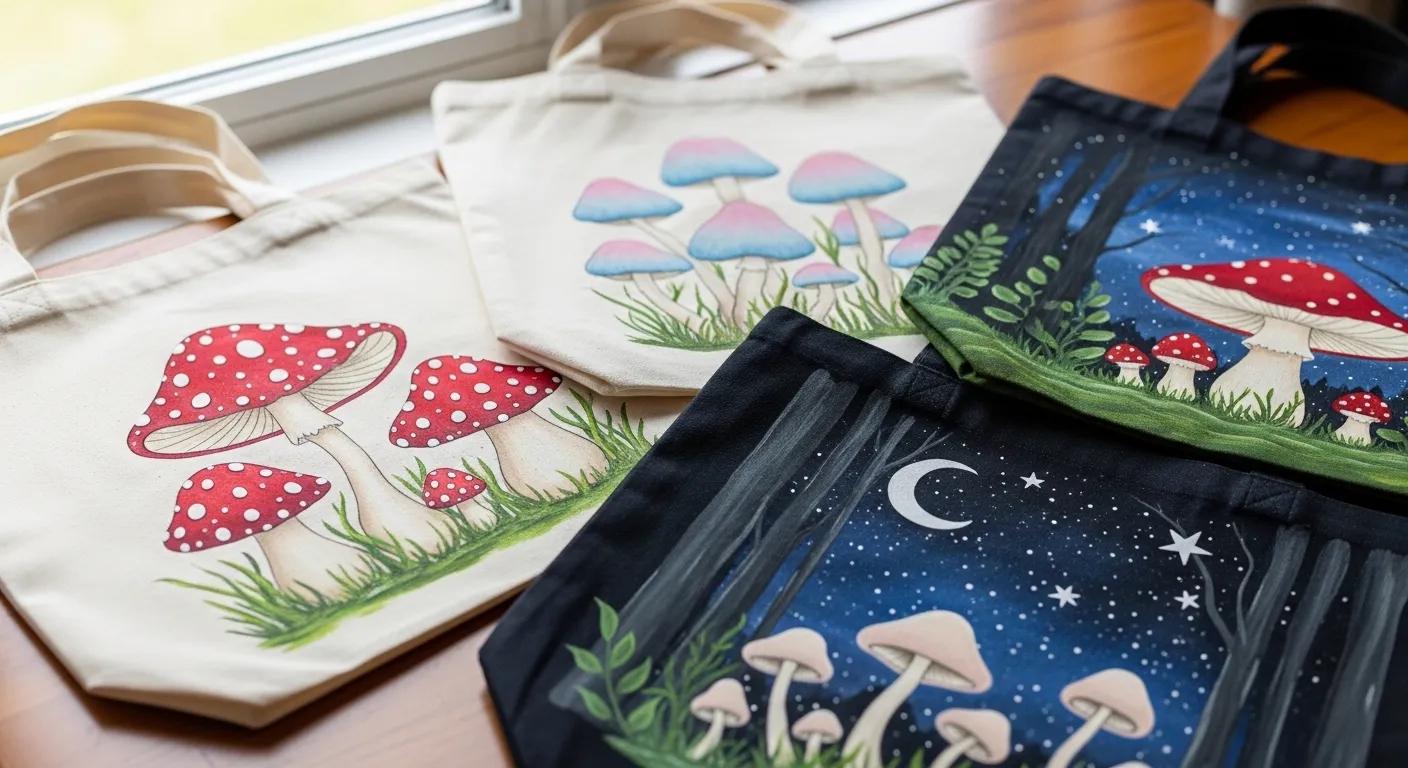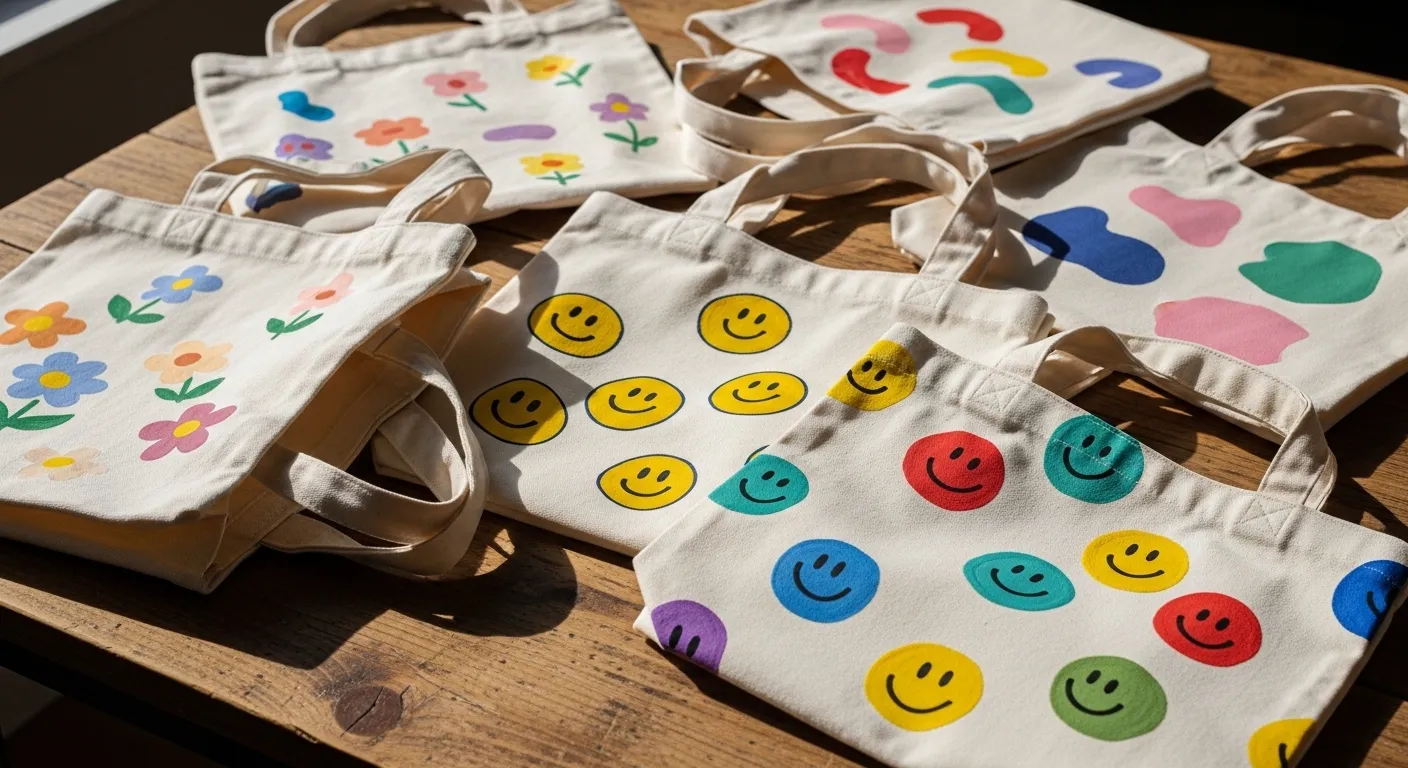


Painted tote bags are a simple way to add personality to your everyday style without spending much. With just a plain canvas bag and a few basic paints, you can create something that feels personal and wearable. This list brings together cute, aesthetic ideas that are easy to try at home. Each one focuses on simple techniques, budget-friendly materials, and designs that actually look good with daily outfits.
1. Minimalist Line Art Faces

Minimalist line art is one of the easiest ways to get a modern look. You only need black fabric paint and a thin brush. Start with a light pencil sketch if you feel unsure. Then trace over it with paint.
Keep the lines loose. Perfect symmetry is not needed. That’s part of the charm.
This style works well on neutral tote bags like beige or off-white. It pairs easily with casual outfits.
If you’re on a budget, use a toothpick instead of a fine brush. It gives you better control for thin lines.
Try drawing different expressions or abstract faces. Even a single continuous line design can look great.
Let the paint dry fully before using the bag. You can iron the back side to help set the paint.
It’s simple. It looks clean. And it never goes out of style.
2. Soft Pastel Clouds

Pastel clouds give a dreamy, calm look. Start with a light base color like baby blue or soft pink. Then dab white paint using a sponge to create cloud shapes.
Use gentle tapping motions. Avoid sharp edges.
You don’t need many supplies. A sponge, basic paints, and a tote bag are enough.
Layering different pastel shades adds depth. Blend lightly while the paint is still wet.
This design looks great with soft outfits and everyday wear.
If you want extra detail, add tiny stars or sparkles using a fine brush.
For a cheaper option, mix white paint with small amounts of color instead of buying multiple shades.
Let it dry flat to avoid smudging.
It’s a relaxing project and perfect for beginners.
3. Cute Daisy Pattern

Daisy patterns are cheerful and easy to paint. Start by making small white petals in a circle. Then add a yellow dot in the center.
Repeat across the bag for a full pattern.
You don’t need perfect flowers. Small variations make it look more natural.
Use the back of a brush or a cotton swab for the petals. It saves time and keeps shapes consistent.
This design works well on darker totes too. The white flowers stand out nicely.
If you want to keep costs low, stick to just two colors.
You can space the daisies evenly or cluster them in corners.
Seal the paint properly so it lasts after washing.
It’s simple, cute, and works for all ages.
4. Abstract Color Blocks

Abstract color blocks are great if you don’t want detailed painting. Just pick 2–4 colors and paint rough shapes.
Use painter’s tape if you want cleaner edges. Or go freehand for a relaxed look.
Earthy tones like brown, olive, and muted orange look very stylish.
This design hides mistakes well. Uneven edges actually add character.
You can use leftover wall paint samples to save money.
Apply thin layers and let each one dry before adding another.
This tote pairs well with simple outfits.
It feels modern without being complicated.
5. Tiny Heart Scatter Design

Tiny hearts scattered across the bag create a soft, playful vibe. Use a small brush or even a toothpick.
Make hearts in different sizes for a natural look.
You can stick to one color or mix shades like red and pink.
This design doesn’t take much time. It’s perfect for quick DIY sessions.
If you want symmetry, lightly mark spots with a pencil first.
It works on both light and dark tote bags.
Fabric markers can be used instead of paint if you want less mess.
Let it dry fully before folding.
It’s simple and always looks cute.
6. Aesthetic Sunset Gradient

A sunset gradient looks beautiful but is easy to create. Start with three colors like orange, pink, and purple.
Blend them while still wet using a wide brush.
Work quickly so the colors mix smoothly.
You don’t need perfect blending. Slight texture adds charm.
This design looks best on plain light totes.
If you want detail, add a small silhouette like birds or mountains.
Use budget acrylic paints mixed with fabric medium.
Let it dry flat to avoid streaks.
It gives a calm, artistic feel.
7. Simple Leaf Prints

Leaf printing is one of the easiest DIY ideas. Pick real leaves, apply paint, and press them onto the fabric.
Lift gently to reveal the print.
Try different leaf shapes for variety.
Green shades work best, but you can experiment.
This method saves time and looks detailed without effort.
Wash and dry leaves before using.
Use a sponge to apply paint evenly.
It’s a great way to create natural patterns at home.
8. Checkerboard Pattern

Checkerboard designs are trendy and simple. Use tape to mark squares.
Fill alternating blocks with paint.
Black and beige create a classic look.
Remove tape carefully after drying slightly.
You can make small or large squares depending on your style.
This design works well with casual outfits.
It takes a bit of patience but looks very neat.
9. Cartoon Fruit Designs

Cartoon fruits add a fun touch. Start with simple shapes like circles and ovals.
Add small faces for extra charm.
Use bright colors like red, yellow, and green.
Keep outlines simple.
You don’t need advanced skills.
It’s a great project if you like playful designs.
10. Galaxy Splatter Art

Start with a dark base like navy or black.
Blend in purple and blue.
Then splatter white paint using a brush.
Cover your workspace to avoid mess.
The splatter creates a star effect.
It looks detailed but is easy to do.
11. Typography Initial Design

Paint your initial in a bold style.
Use a stencil if needed.
Keep it simple with one color.
Add small accents around it if you like.
This makes the bag feel personal.
12. Vintage Floral Corners

Paint small flowers only in the corners.
Use muted tones like dusty pink and sage.
Keep the center empty.
This gives a balanced look.
13. Smiley Face Repeats

Draw simple circles and add eyes and a smile.
Repeat across the bag.
Keep spacing uneven for a relaxed feel.
It’s quick and cheerful.
14. Moon Phases Design

Paint a row of moon phases.
Use a sponge for round shapes.
A dark base makes it stand out.
It looks calm and aesthetic.
15. Wavy Line Patterns

Draw flowing lines across the bag.
Use different colors.
Keep lines loose and natural.
This design is very forgiving.
16. Tiny Star Scatter

Use a small brush to paint stars.
Scatter them randomly.
Mix white and gold for variety.
It looks subtle and pretty.
17. Yin Yang Symbol

Draw a circle and divide it.
Fill with black and white.
Add dots inside each side.
It’s simple and balanced.
18. Rainbow Arch Design

Paint curved lines in rainbow colors.
Use muted shades for a soft look.
Keep spacing even.
It’s easy and eye-catching.
19. Coffee Cup Doodles

Draw tiny cups and mugs.
Add steam lines for detail.
Use brown and cream tones.
Great for everyday style.
20. Polka Dot Pattern

Use a round object to stamp dots.
Keep spacing consistent.
Choose 1–2 colors.
It’s neat and simple.
21. Mountain Silhouette

Paint triangle shapes for mountains.
Add shading with darker tones.
Keep details minimal.
It gives a calm outdoor feel.
22. Butterfly Accent Design

Paint small butterflies in corners or center.
Use light colors like lavender and blue.
Keep wings simple.
Add thin outlines.
It looks soft and artistic.
Conclusion
Painted tote bags are a fun way to create something you’ll actually use every day. You don’t need expensive supplies or advanced skills. Simple tools and a bit of time can turn a plain bag into something personal. Try one idea or mix a few together. Keep experimenting with colors and patterns until you find what feels right.