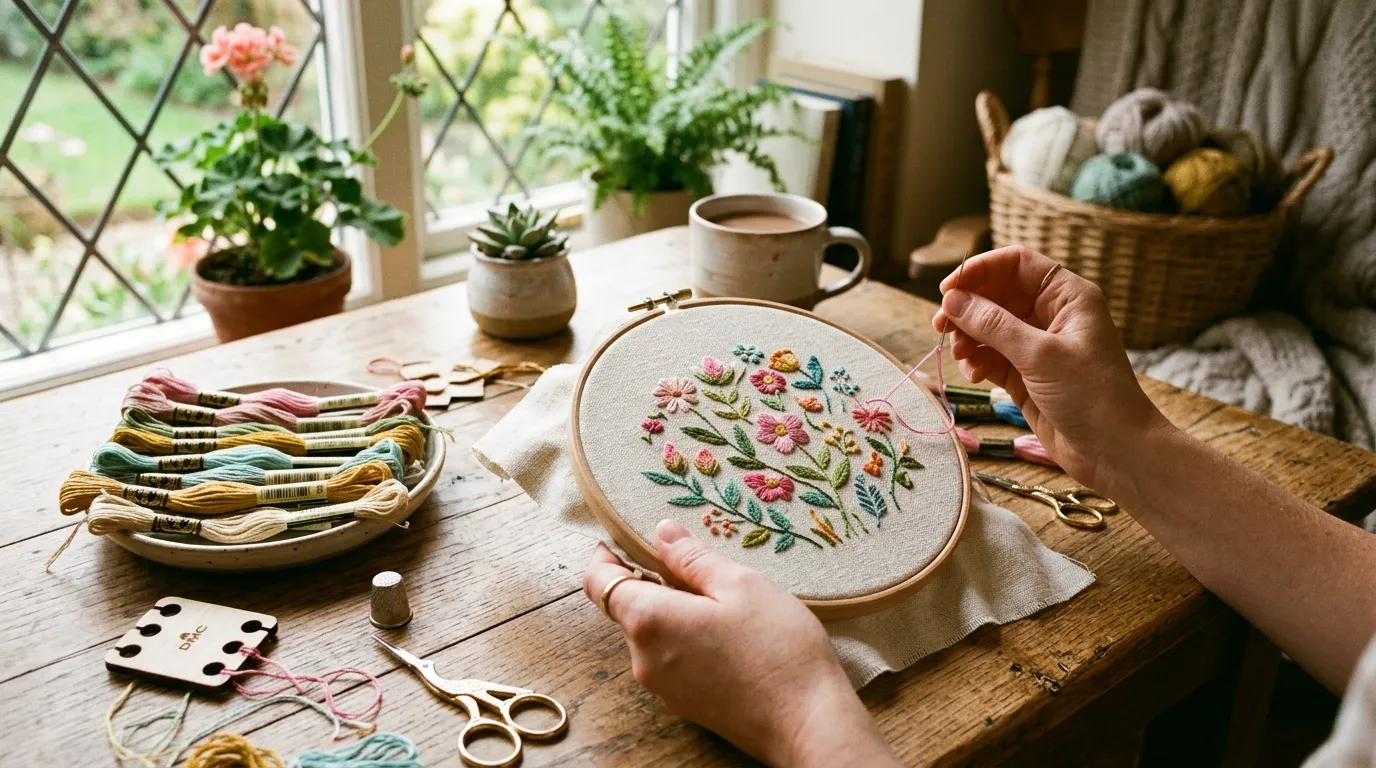

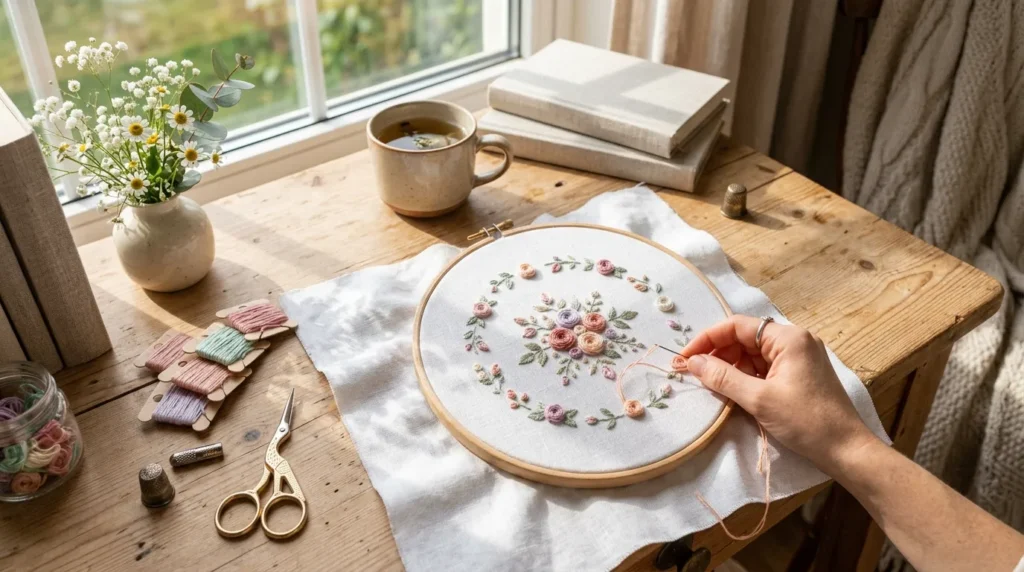
Hand embroidery has a calming, almost magical quality—turning simple fabric into a soft garden of stitched blooms. If you’ve ever admired delicate floral hoops, cottagecore-style pillows, or embroidered tote bags, you might be surprised at how beginner-friendly it really is to create them yourself. With just a few basic stitches and a little patience, you can bring gentle, handmade flowers to life.
Imagine sitting by a window, needle in hand, slowly building petals that look like they were picked from a dream garden.
Let’s walk through everything you need to know to start stitching your own soft and beautiful floral embroidery designs.
Tools and Materials You’ll Need
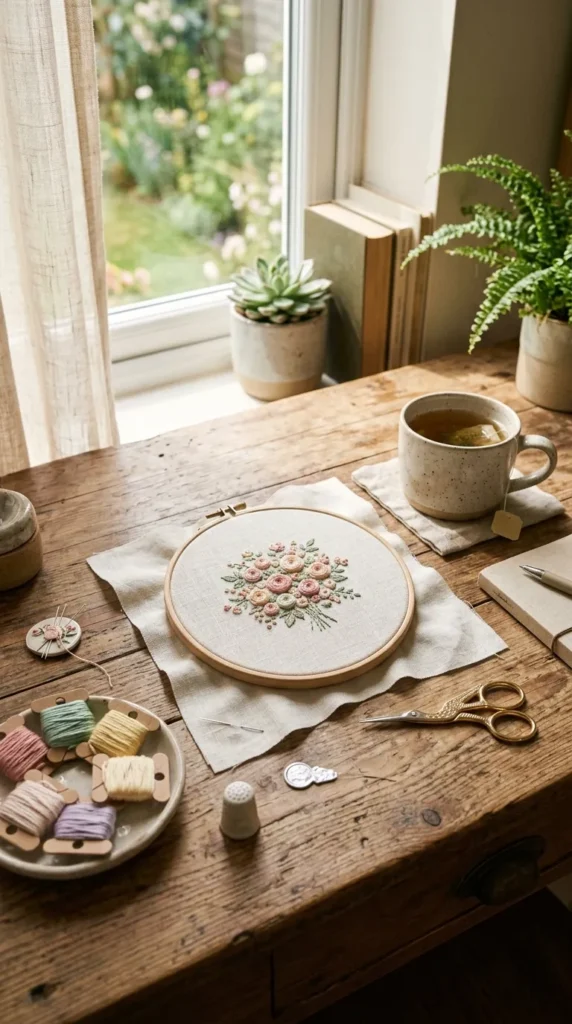
Before you start stitching, gather your basic embroidery supplies. The good news? You don’t need anything fancy to begin.
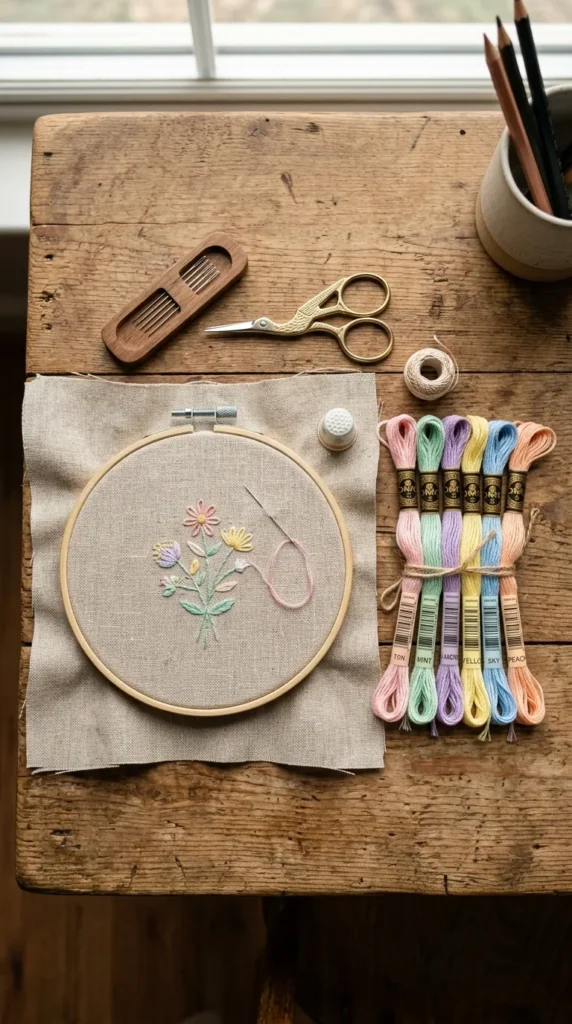
- Embroidery hoop (wooden or plastic)
- Cotton or linen fabric (light colors work best)
- Embroidery needles (sharp with a large eye)
- Embroidery floss in floral tones (pink, green, yellow, lavender)
- Small scissors
- Water-soluble fabric marker or pencil
Optional but helpful:
- Pattern printouts or floral sketches
- Thread organizer for easy color selection
Choosing soft, natural tones makes your flowers look more realistic and calming—think muted pinks, dusty greens, and creamy whites.
Basic Stitches for Floral Embroidery
You don’t need dozens of techniques to create beautiful flowers. Just a few simple stitches can form petals, stems, and leaves.
Here are the essentials:
- Back Stitch: Perfect for stems and outlines
- Satin Stitch: Smooth filling for petals and leaves
- French Knot: Tiny textured dots for flower centers
- Lazy Daisy Stitch: Ideal for simple petals and floral shapes
Once you combine these, even beginner-level designs start to look elegant and detailed. The secret is not perfection—it’s softness and flow.
Try practicing each stitch on scrap fabric before starting your design.
Step-by-Step: Embroidering a Simple Flower
Let’s create a simple floral design you can easily follow.
1. Transfer Your Design
Lightly draw small flower shapes on your fabric using a washable pen. Keep it simple—daisies, tulips, or tiny wildflowers work best.
2. Start with the Stem
Use a back stitch or stem stitch to create thin, natural-looking stems. Keep your hand relaxed so the lines stay slightly organic.
3. Add Flower Petals
Use satin stitch or lazy daisy stitch to build petals. Work slowly and keep stitches even but not overly tight.
4. Create the Center
Add a French knot or cluster of knots in a contrasting color like yellow or orange.
5. Fill in Leaves
Use green thread and satin stitch to gently shape leaves around your flowers.
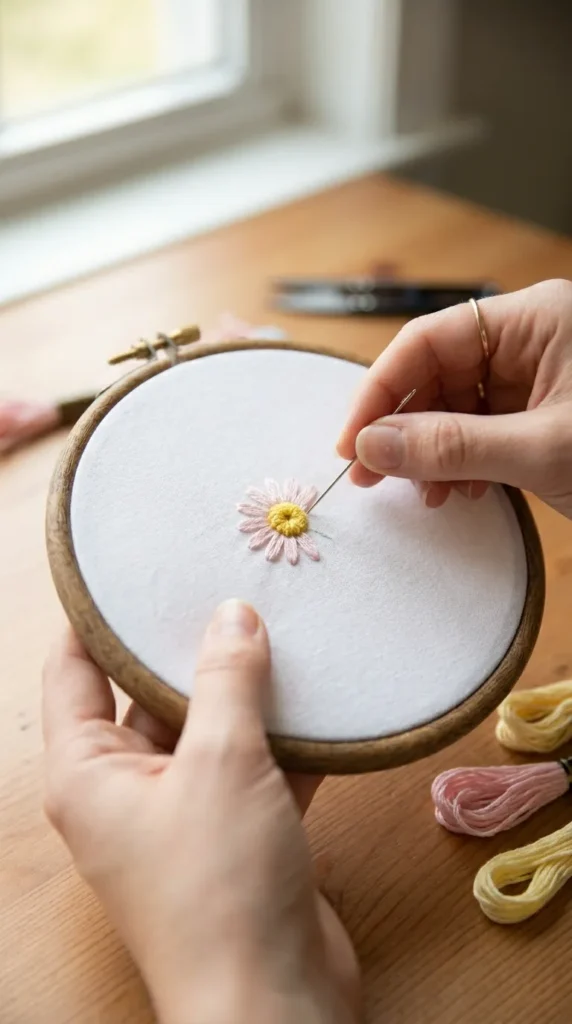
Take your time—hand embroidery is meant to feel relaxing, not rushed.
Tips for Soft and Beautiful Floral Designs
If you want your embroidery to look naturally elegant and soft, these tips will help:
- Use blended colors: Mix two shades of thread for a gradient effect
- Keep stitches loose: Tight stitches can make designs look stiff
- Follow natural flow: Let petals curve slightly instead of perfect symmetry
- Layer lightly: Add petals in layers for a fuller, more realistic look
- Stick to a soft palette: Pastels and muted tones create a calming aesthetic
A helpful mindset: think of your embroidery as painting with thread.
Finishing and Displaying Your Embroidery
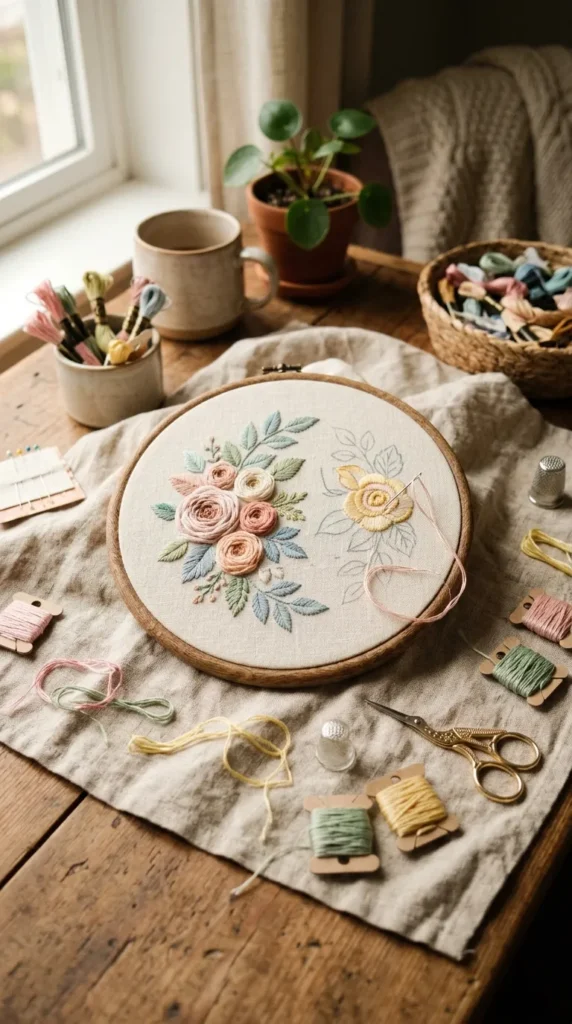
Once your floral design is complete, it’s time to finish and show it off beautifully.
Secure the Back
Tie off threads neatly and trim excess fabric if needed. You can glue or stitch the back fabric for a clean finish.
Frame It or Use It
Your embroidery can become:
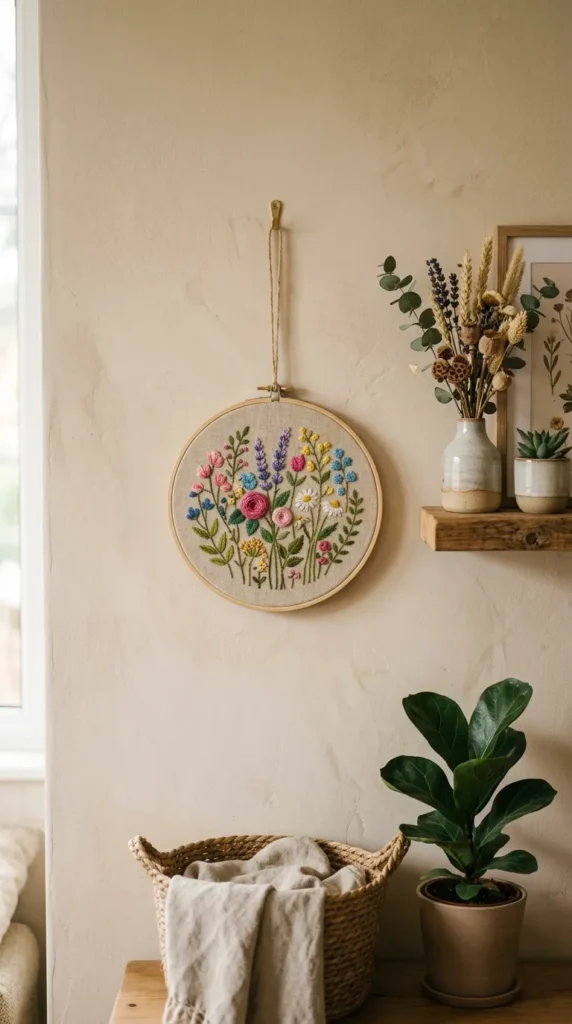
- Wall art in a hoop frame
- Decorative pillow cover
- Tote bag design
- Gift patch or fabric badge
Keep It Fresh
Avoid washing roughly or exposing it to strong sunlight for long periods to preserve thread colors.
Final Thoughts
Hand embroidery flowers are more than just a craft—they’re a slow, calming way to create beauty with your own hands. Each stitch adds personality, softness, and charm to your fabric, turning simple materials into something truly special.
Start small, experiment with colors, and enjoy the process instead of rushing the result. Over time, your stitches will become more confident, and your floral designs will feel more natural and expressive.
Save this guide for your next creative session and let your fabric bloom one stitch at a time.