



Tired of looking at dull, outdated floors but not ready for a full renovation? Stenciling your floors is one of those surprisingly affordable DIY upgrades that can completely transform a room in a weekend. With a little patience and the right prep, you can turn plain floors into something that looks custom and high-end—without the big price tag.
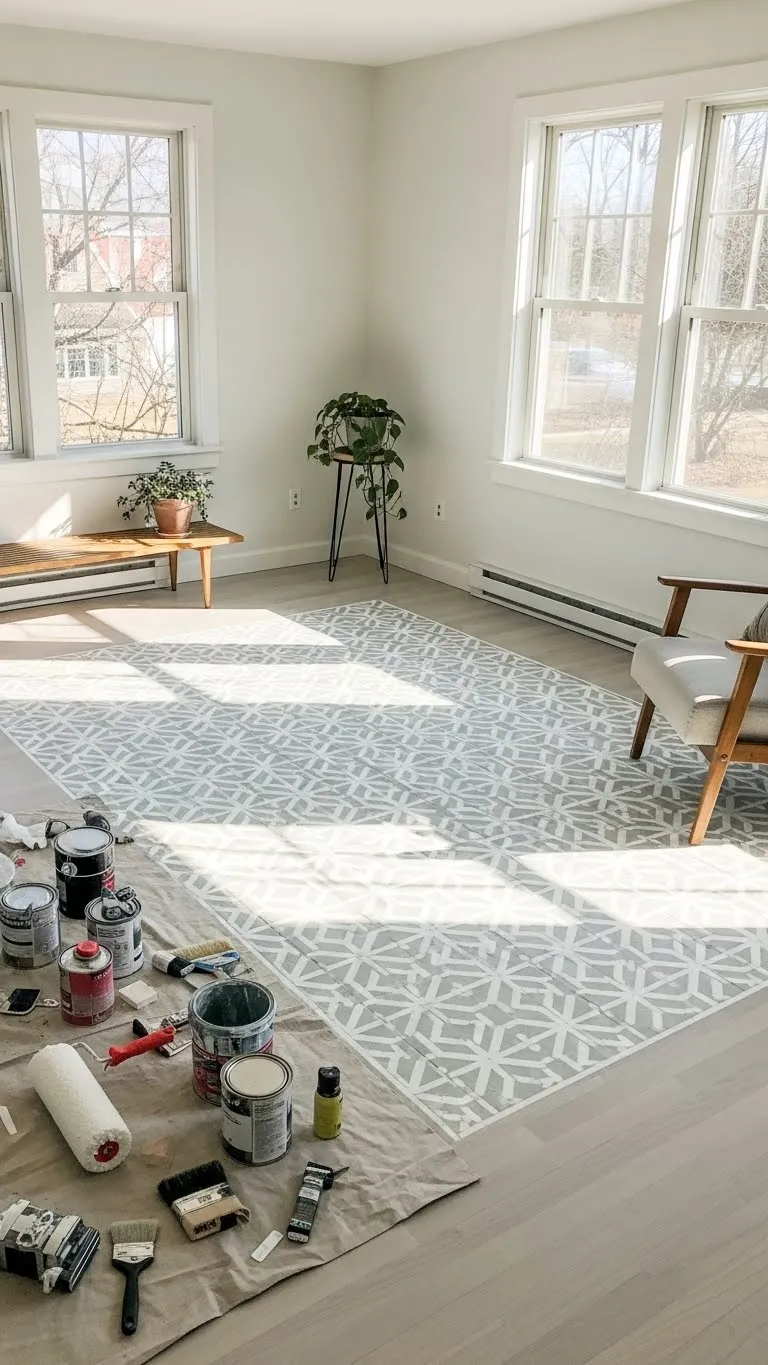
The best part? You don’t need advanced skills. This guide walks you through everything step by step, in plain language, so you can feel confident before you start.
Why Stenciling Floors Is a Smart Budget Upgrade
Floor stenciling works because it blends creativity with practicality. Instead of ripping out old flooring, you’re working with what you already have.
Here’s why so many DIYers love it:
- Costs a fraction of new flooring
- Works on wood, concrete, vinyl, and tile
- Endless pattern and color options
- Easy to touch up later
- Adds personality fast
If you want visual impact without long-term commitment, this is one of the best DIY projects you can try.
What You’ll Need Before You Start
Good prep makes all the difference. Gather everything first so you’re not rushing mid-project.
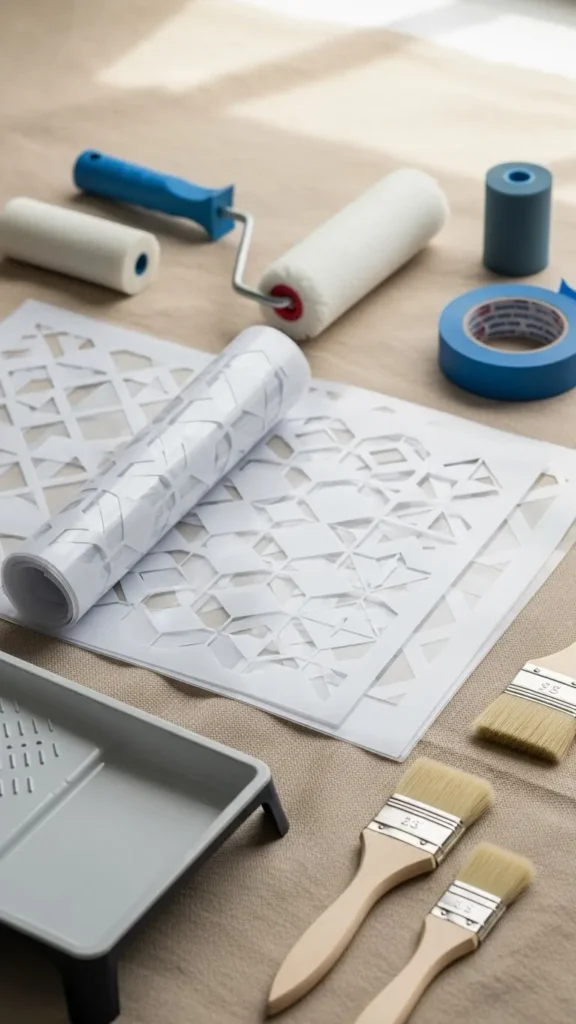
Basic supplies:
- Floor cleaner and mop
- Sandpaper or sanding block
- Painter’s tape
- Floor paint (base color + stencil color)
- Foam rollers and small stencil brush
- Reusable floor stencil
- Sealant (water-based is easiest)
Tip:
Choose high-quality paint. It lasts longer and gives cleaner stencil edges.
Step 1: Prep the Floor Like a Pro
This step is not optional. A well-prepped floor means better paint adhesion and fewer touch-ups later.
Start by:
- Cleaning thoroughly to remove dust and residue
- Lightly sanding glossy surfaces
- Wiping everything down and letting it dry
If your floor has damage:
- Fill cracks or chips
- Sand smooth once dry
A smooth surface helps the stencil sit flat, which keeps your pattern crisp.
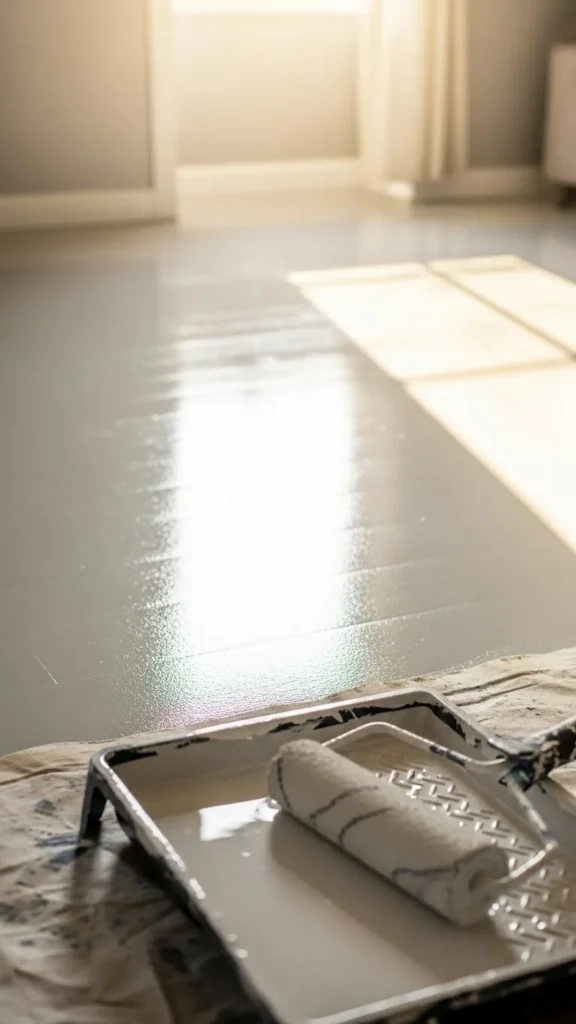
Step 2: Paint the Base Coat
The base coat is the background for your stencil design, so choose wisely.
Popular base colors:
- Warm white for bright spaces
- Soft gray for modern rooms
- Deep charcoal for bold contrast
Apply paint evenly using a roller.
Let it dry fully—usually overnight.
Quick win:
Two thin coats are better than one thick coat. You’ll get smoother results.
Step 3: Position and Secure Your Stencil
This is where the magic starts.
- Begin in the center of the room or a focal point
- Tape down the stencil so it doesn’t shift
- Double-check alignment before painting
Work slowly and don’t rush the setup. A few extra minutes here can save hours of fixing mistakes later.
Step 4: Apply the Stencil Paint Carefully
Less paint is more.
- Dip your stencil brush lightly
- Dab excess paint off on a paper towel
- Use an up-and-down motion, not brushing
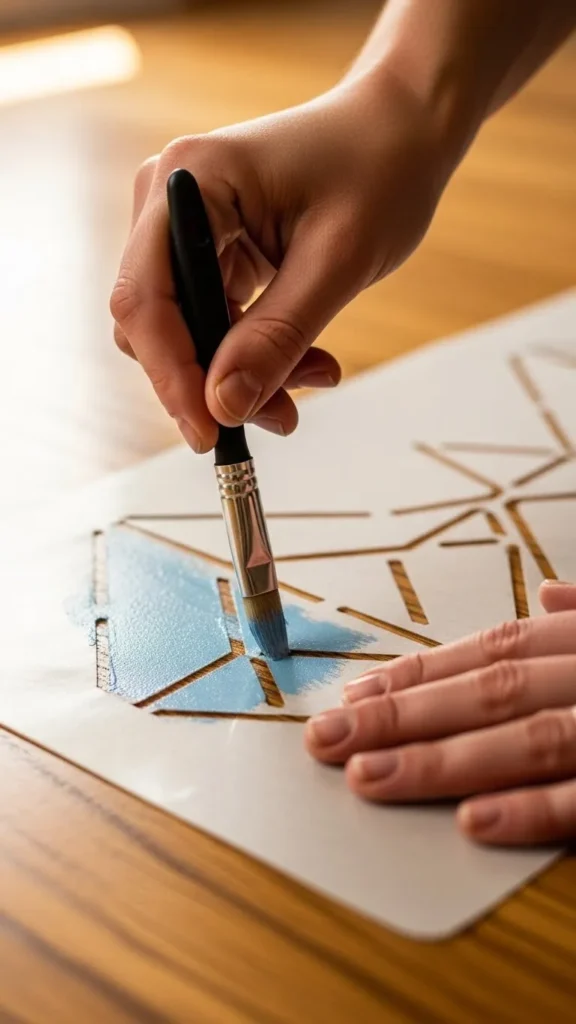
After each section:
- Gently lift the stencil
- Reposition and repeat
Helpful tip:
Clean the stencil every few repeats to prevent paint buildup.
Step 5: Seal and Protect Your Design
Once everything is completely dry, sealing is key.
Choose a sealant based on the room:
- Satin or matte for bedrooms and offices
- Semi-gloss for kitchens and entryways
Apply with a clean roller in thin layers.
Let it cure according to instructions before placing furniture back.
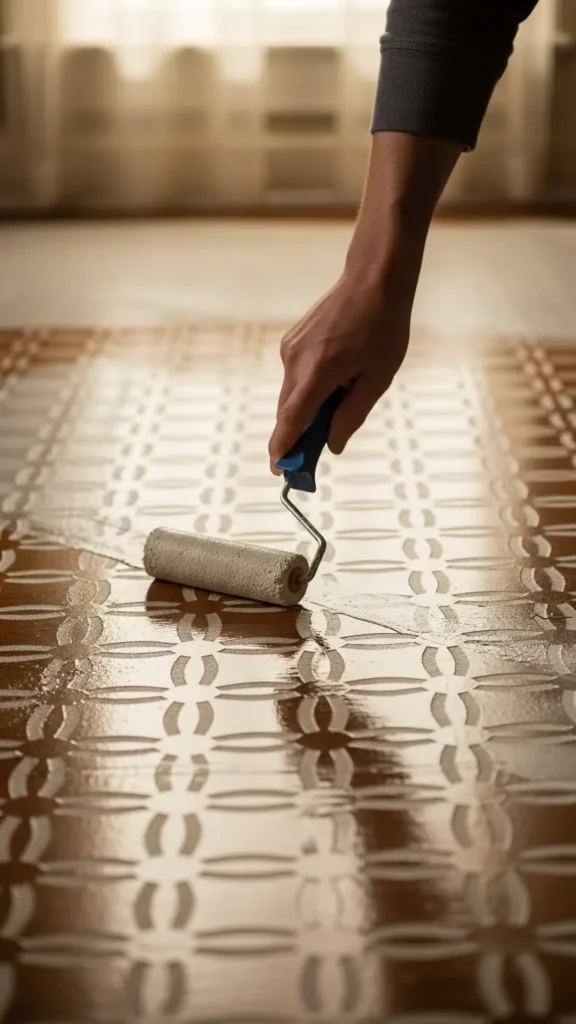
This step locks in your work and makes cleaning easier.
Common Mistakes (and How to Avoid Them)
Even simple projects can go wrong without a little planning.
Watch out for:
- Too much paint on the brush
- Skipping floor prep
- Rushing drying time
- Misaligned stencil rows
If something goes wrong, don’t panic. Small errors are easy to touch up once everything dries.
Styling Tips to Make It Look High-End
Once finished, style the room to highlight your new floor.
Try:
- Neutral rugs that let the pattern shine
- Simple furniture with clean lines
- Soft lighting to enhance texture
The goal is balance. Let the floor be the star without overwhelming the space.
Final Takeaway
Stenciling floors is one of those budget-friendly upgrades that punches way above its weight. With patience, simple tools, and a little creativity, you can completely change how a room feels—without a major renovation.
If you’ve been waiting for a sign to try a DIY project, this is it.
Save this guide for later and start planning your floor makeover today!