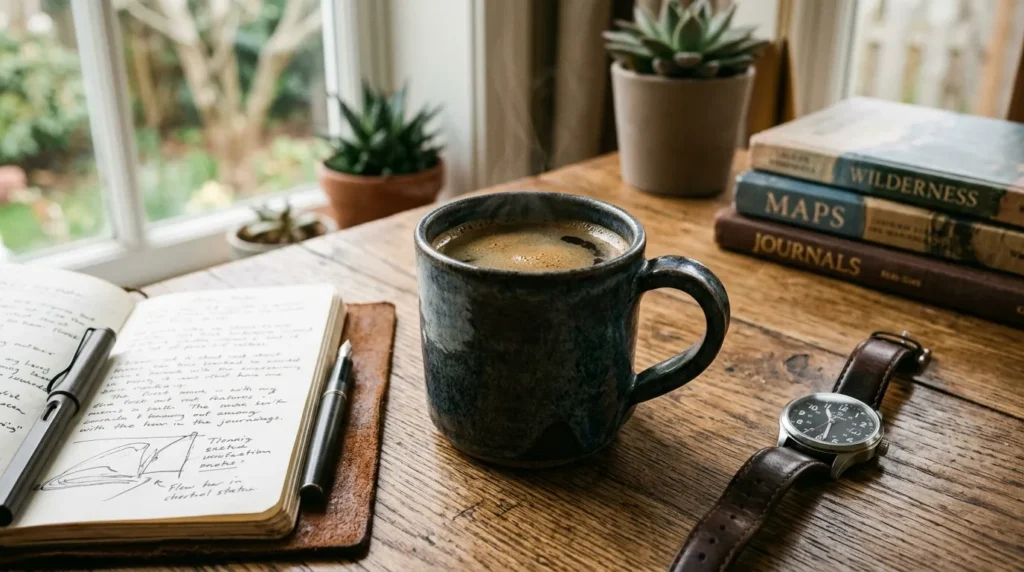
Let’s be honest—most gift mugs end up forgotten at the back of a cabinet. But a DIY mug? That’s different. When it’s made with intention, personality, and a touch of creativity, it becomes something he’ll reach for every single day—whether it’s for morning coffee, evening tea, or even just sitting on his desk as a reminder of you.
The secret isn’t just decorating a mug. It’s making something that feels like him.
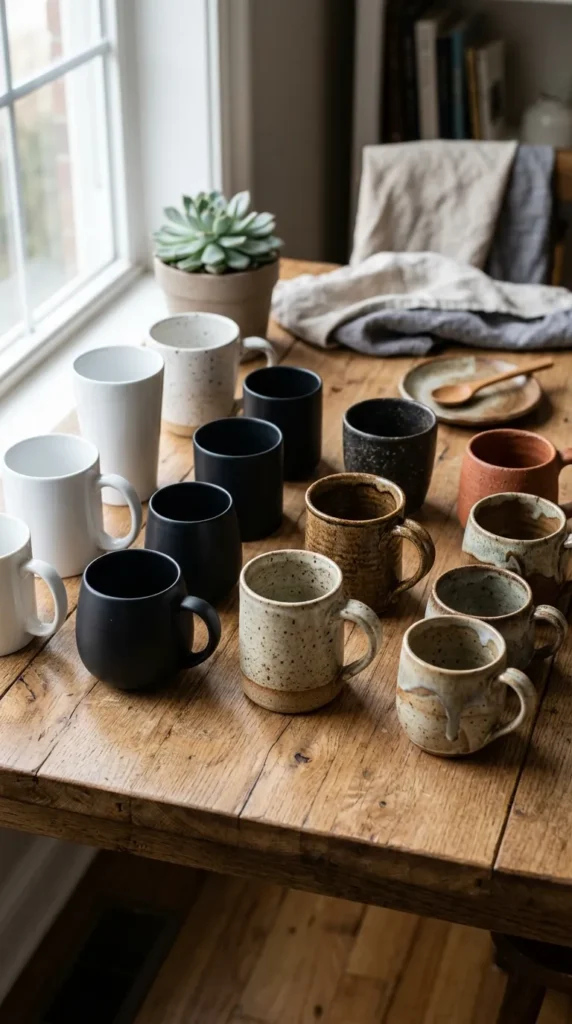
Choose a Mug That Matches His Style
Before you start designing, pick the right base. This step makes all the difference.
Think about his personality:
- Minimalist? Go for a plain white or matte black mug
- Funny guy? Choose a bold-colored mug
- Classic taste? A ceramic mug with a slightly rustic finish works great
Look for:
- A smooth surface (best for drawing or painting)
- A comfortable handle
- Good quality ceramic (so it lasts)
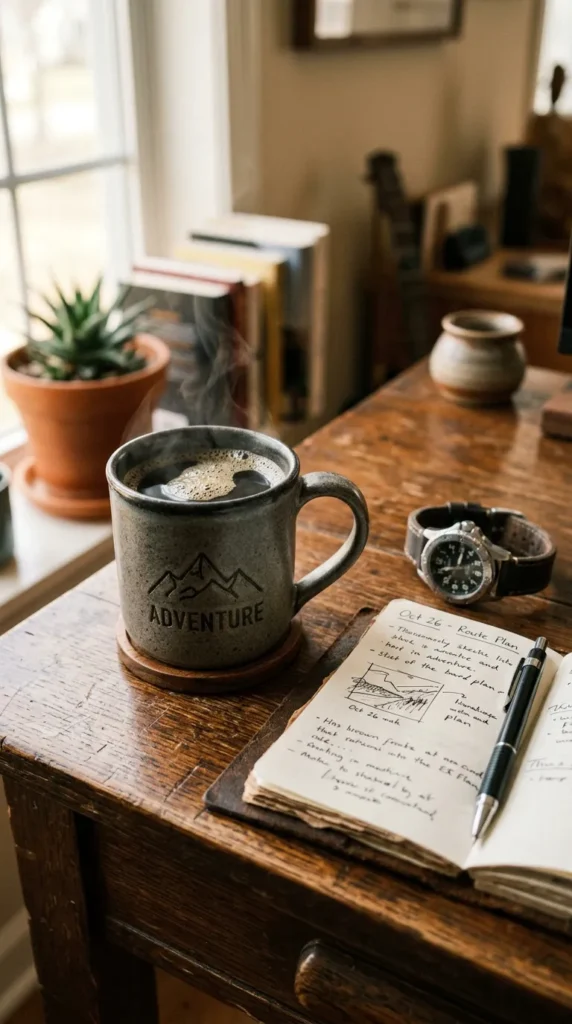
Decide on a Design He’ll Actually Love
This is where most DIY gifts go wrong—they focus more on “cute” than “him.” Instead, make it personal and practical.
Here are some ideas:
- Inside jokes only the two of you understand
- A simple quote he says often
- His favorite hobby (gaming, cars, gym, etc.)
- A minimalist design like initials or a small symbol
- A subtle “I love you” hidden inside the rim
Keep it clean and intentional—less clutter usually looks better.
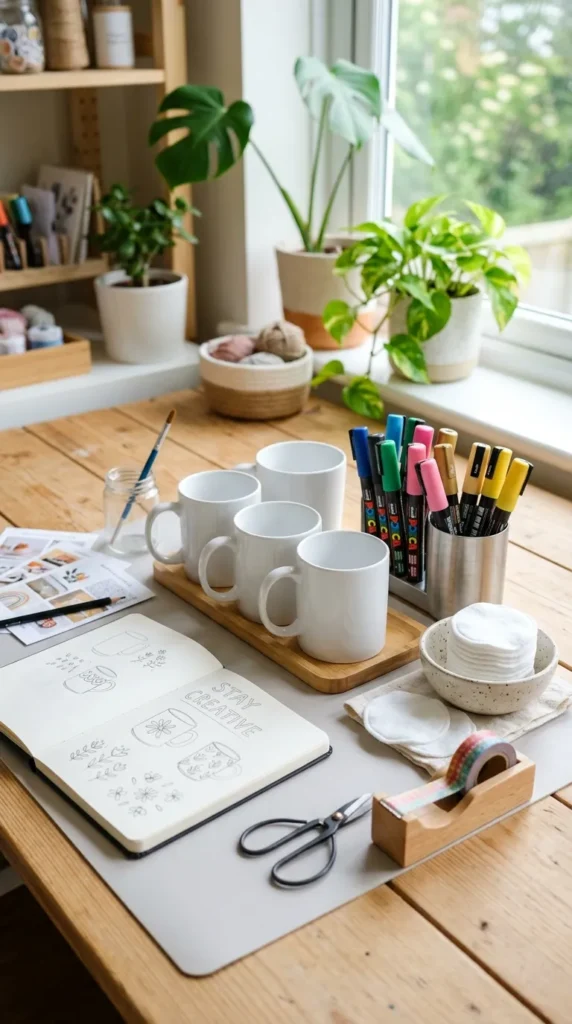
Gather Your Materials
You don’t need anything fancy. Just a few simple supplies:
- Ceramic mug
- Oil-based paint markers or porcelain pens
- Rubbing alcohol (to clean the surface)
- Cotton pads or cloth
- Oven (for setting the design, if required)
Optional extras:
- Stencils (if you’re not confident freehanding)
- Painter’s tape for clean lines
Step-by-Step: How to Customize the Mug
1. Clean the Mug Properly
Wipe the surface with rubbing alcohol. This removes oils and helps the design stick better.
2. Sketch Your Idea First
Use a pencil lightly or visualize your layout before committing. Placement matters!
3. Start Drawing
Use slow, steady strokes with your paint markers. Don’t rush—clean lines make a big difference.
4. Let It Dry
Give your design at least 24 hours to dry before baking (if your markers require heat setting).
5. Bake to Set the Design
Place the mug in a cold oven, then heat to around 160–180°C (320–350°F) for 30 minutes. Let it cool inside the oven.
This step helps your design last through regular use.

Make It More Than Just a Mug
Want to level it up? Turn it into a full gift experience.
Fill the mug with:
- His favorite coffee or tea sachets
- Chocolates or snacks
- A handwritten note folded inside
- Small meaningful items (like a keychain or photo)
Wrap it in a simple box or tie a ribbon around the handle for a polished look.
Tips to Make It Look Professional
Even if you’re not artistic, these tricks will help:
- Stick to simple designs (lines, dots, small icons)
- Use neutral or masculine colors (black, white, navy, earthy tones)
- Avoid overcrowding the mug
- Test your pen on paper first
- Keep spacing balanced
Sometimes, a tiny detail—like his initials or a small heart inside the rim—feels more special than a big design.

Common Mistakes to Avoid
Save yourself frustration by skipping these:
- Not cleaning the mug before drawing
- Using regular markers instead of oil-based ones
- Overcomplicating the design
- Skipping the drying or baking step
- Making it more about aesthetics than meaning
Remember, this gift works because it feels personal—not perfect.
Why He’ll Actually Use This Gift
A DIY mug hits differently. It’s:
- Practical (he’ll use it daily)
- Personal (made just for him)
- Subtle (not overly decorative or flashy)
Every time he picks it up, it reminds him of you—and that’s what makes it special.
Final Thoughts
Creating a DIY mug gift isn’t about being a professional artist. It’s about paying attention to the little things he loves and turning them into something he can use every day.
So keep it simple. Keep it meaningful. And most importantly—make it his.
Save this idea for later and try it the next time you want to give a gift that actually gets used.


