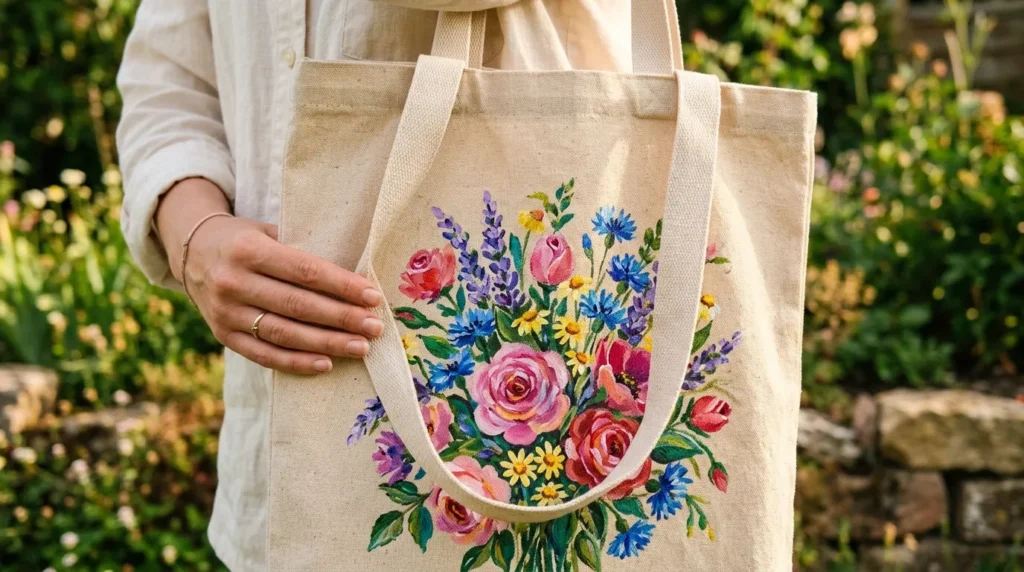
A beautifully painted tote bag can instantly turn a simple everyday item into a stylish, personal statement piece. But there’s nothing more disappointing than watching your artwork fade, crack, or wash away after just a few uses. The good news? With the right sealing techniques, you can make your painted tote bag durable, washable, and long-lasting.
Whether you’re customizing a tote for yourself, gifting it, or even selling handmade designs, sealing your paint properly is the secret step that makes all the difference.
Why Sealing Painted Tote Bags Matters
Before jumping into the methods, it’s important to understand why sealing is essential. Fabric paint may look dry on the surface, but without protection, it can still be vulnerable to friction, water, and repeated folding.
Sealing helps:
- Lock in color and prevent fading
- Protect against cracking and peeling
- Make the tote more resistant to washing
- Increase the lifespan of your design
Think of sealing as a protective shield that keeps your creativity intact for the long run.
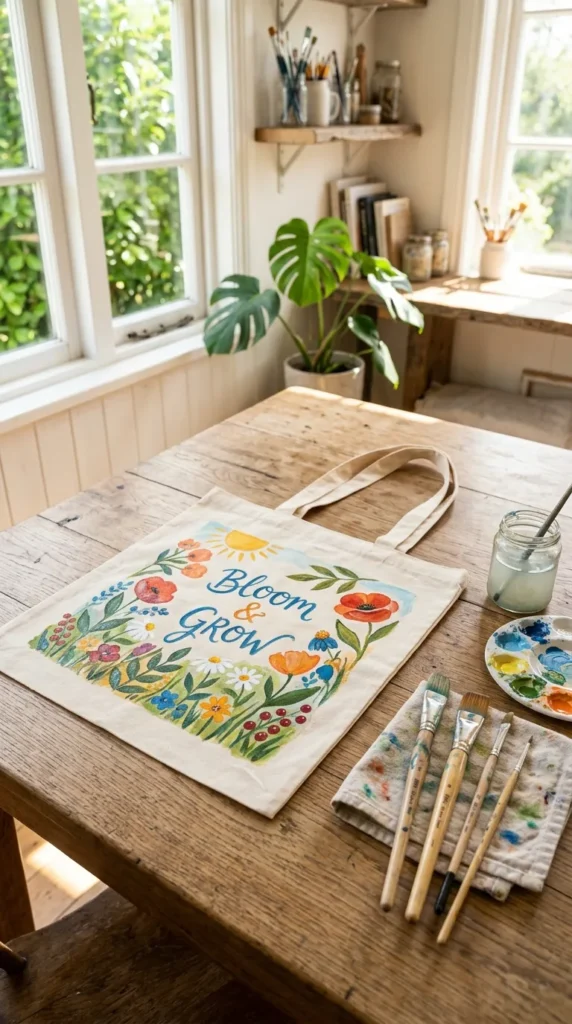
Step 1: Let the Paint Fully Dry and Cure
Patience is key here. Even if your paint feels dry to the touch, it may still need time to cure properly inside the fabric fibers.
To prepare your tote:
- Let it dry for at least 24–72 hours (depending on paint type)
- Keep it in a dust-free, flat area
- Avoid folding or stacking it during this time
If you rush this step, sealing can trap moisture and ruin your design later.
Step 2: Choose the Right Fabric Sealer
There are several options for sealing paint on fabric, and choosing the right one depends on your desired finish and usage.
Common options include:
- Fabric medium sealers: Mixed with paint for flexibility
- Spray fabric sealers: Easy, even coating for finished designs
- Heat-setting (iron method): Helps bond paint into fibers
- Clear acrylic fabric protectors: Adds a protective layer
For beginners, spray sealers are often the easiest and most consistent option.
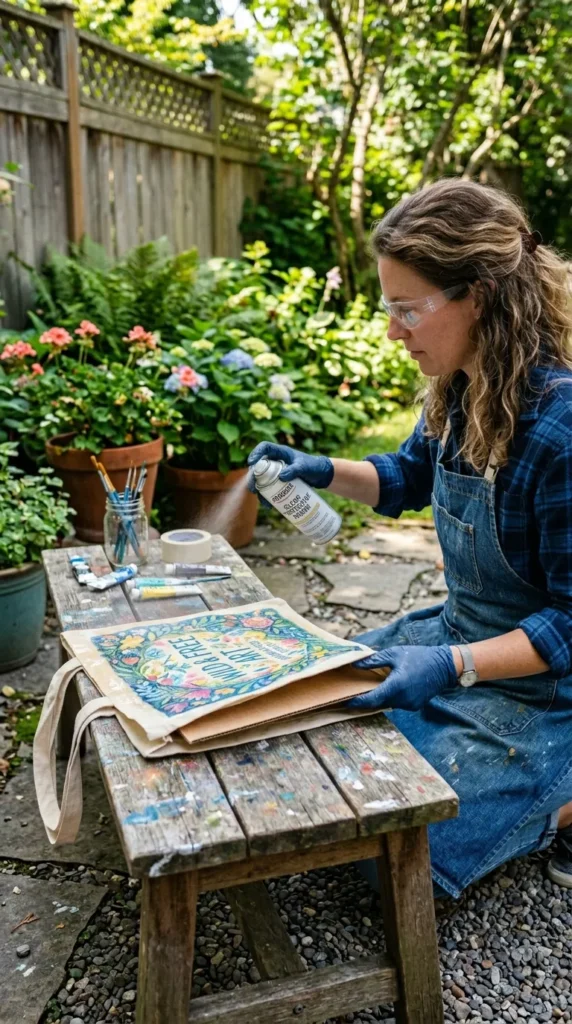
Step 3: Apply a Protective Seal Evenly
Once your tote is fully dry, it’s time to apply the sealant. This step should be done carefully to avoid smudging or uneven coverage.
How to apply:
- Place cardboard inside the tote to keep it flat
- Hold spray sealant 6–10 inches away
- Apply light, even coats instead of one heavy layer
- Let each layer dry before adding another
Two thin coats are usually better than one thick coat.
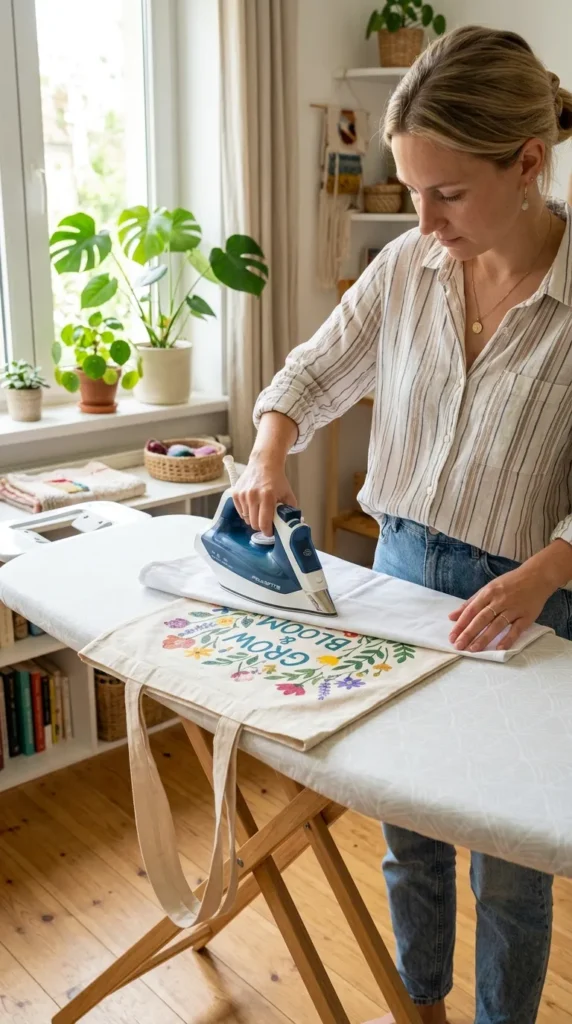
Step 4: Heat-Set the Design for Extra Durability
Heat-setting is a powerful step that helps bond paint deeper into the fabric fibers, making your design more resistant to washing and wear.
You can do this using an iron:
- Turn the tote inside out or cover it with a thin cloth
- Use medium heat (no steam)
- Press gently for 3–5 minutes over painted areas
- Move the iron slowly without dragging too hard
Always check your paint instructions first to ensure it’s heat-safe.
Step 5: Care Tips to Keep Your Tote Looking Fresh
Even after sealing, proper care will extend the life of your design even more. Treat your tote gently and it will stay beautiful for a long time.
Helpful care tips:
- Hand wash with cold water instead of machine washing
- Use mild detergent only
- Avoid scrubbing directly on painted areas
- Air dry instead of using a dryer
- Store flat or gently folded
Small habits make a big difference in keeping your artwork intact.
Bonus Tip: Test Before Final Use
If you’re unsure about your sealing method, always test a small hidden area first. This helps you check how the fabric reacts before applying it to the full design.
It’s a simple step that can save your entire artwork from unexpected damage.
Final Thoughts
Sealing your painted tote bag isn’t just an optional step—it’s what transforms your artwork from temporary decoration into a long-lasting piece you can actually use and enjoy. With proper drying, the right sealant, careful application, and gentle care, your design can stay vibrant for months or even years.
Whether you’re creating for fun, fashion, or gifting, this simple process ensures your creativity doesn’t fade away with time.
Save this guide for your next DIY tote project and keep your designs looking fresh and professional!


