There’s something incredibly satisfying about turning a plain canvas tote bag into a wearable piece of art. With just a few supplies and a bit of creativity, you can design something that feels personal, trendy, and totally unique. Whether you’re going for minimalist line art, bold florals, or aesthetic abstract patterns, this DIY project is both fun and surprisingly easy to master.
Imagine carrying a tote bag that you designed—something no one else has, something that reflects your style perfectly.
Let’s walk through how to create a durable, stylish painted tote bag that actually lasts through everyday use.
Choosing the Right Materials for a Long-Lasting Design
Before you start painting, the foundation matters. The right materials ensure your artwork doesn’t fade, crack, or peel after a few uses.
Here’s what you’ll need:
- Plain canvas tote bag (thick cotton works best)
- Fabric paints or acrylic paints mixed with fabric medium
- Fine and medium paintbrushes
- Painter’s tape (for clean edges or geometric designs)
- Cardboard or thick paper (to place inside the bag)
- Pencil for sketching your design
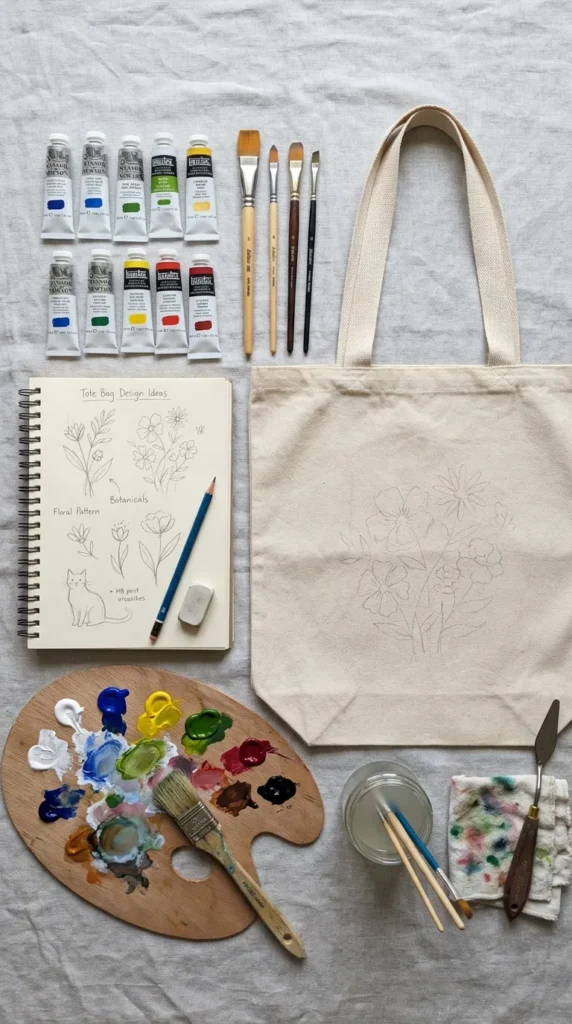
Tip: Always place cardboard inside your tote bag before painting. It prevents paint from bleeding through to the other side.
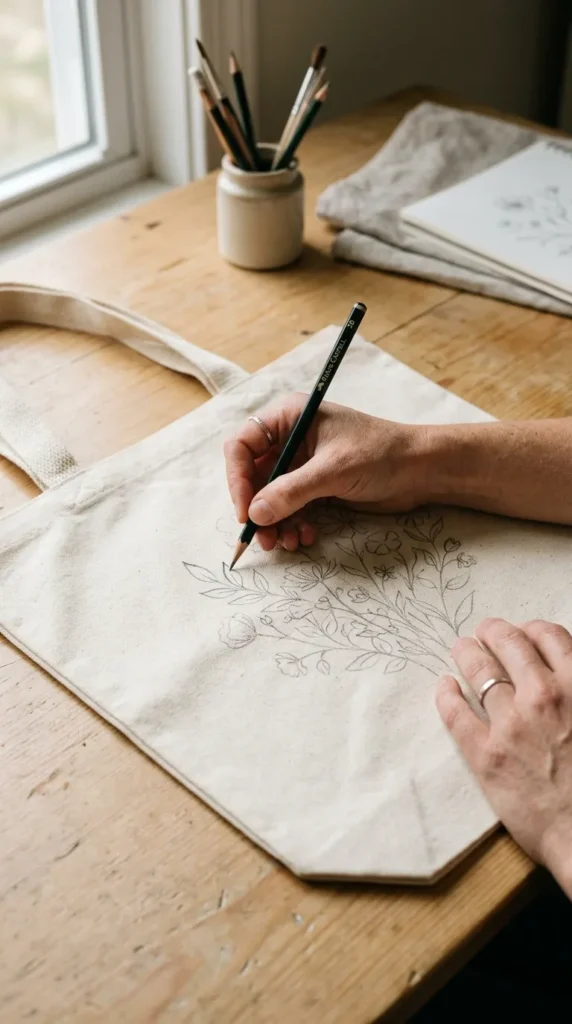
Preparing Your Tote Bag for Painting
Preparation is the secret to a professional-looking result. Even the best design can look messy if the surface isn’t ready.
Start by:
- Washing and drying your tote bag to remove any factory coating
- Ironing it to smooth out wrinkles
- Placing cardboard inside to create a firm painting surface
Then lightly sketch your design using a pencil. Don’t press too hard—just enough to guide your painting later.
If you’re going for clean lines or shapes, use painter’s tape to map out sections before adding color.
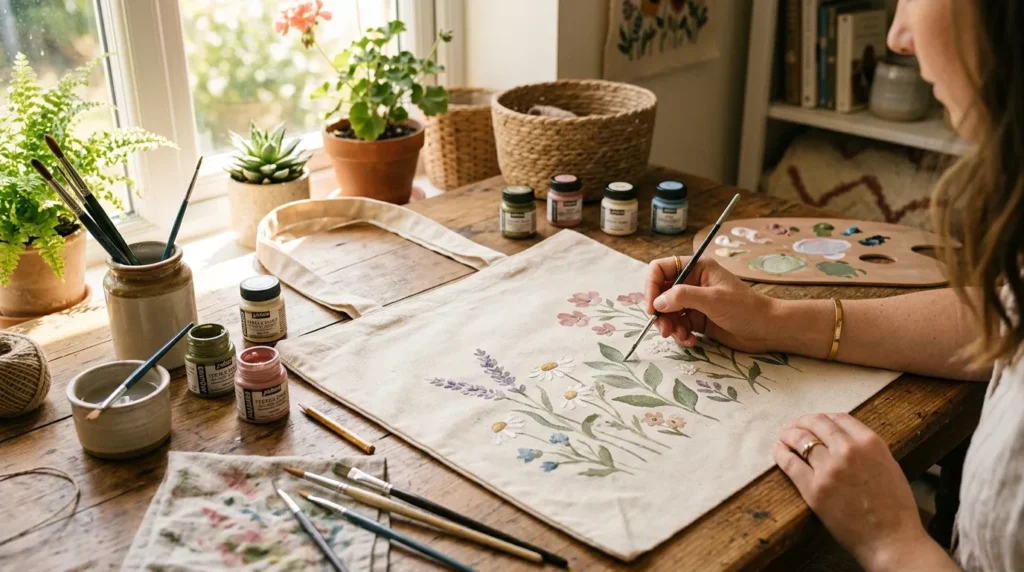
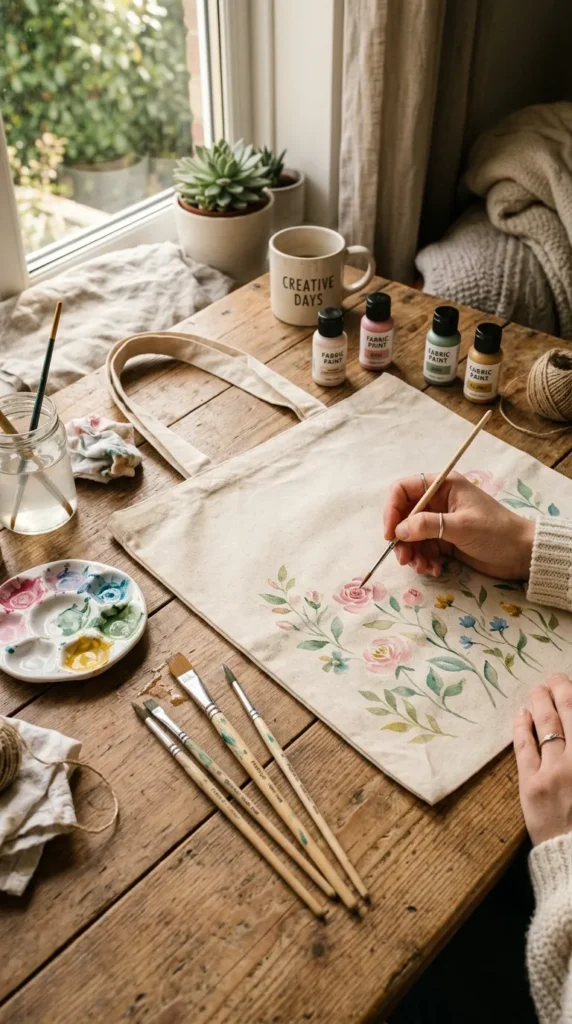
Painting Your Design Step-by-Step
Now comes the fun part—bringing your design to life.
Start with the base layers:
- Use larger brushes for background shapes or color blocks
- Apply thin layers of paint first to avoid stiffness
- Let each layer dry before adding details
Then move to finer details:
- Use smaller brushes for outlines and intricate designs
- Add shading or highlights for depth
- Mix colors gently for soft gradient effects
Don’t rush this step. Canvas absorbs paint differently than paper, so patience gives you a cleaner finish.
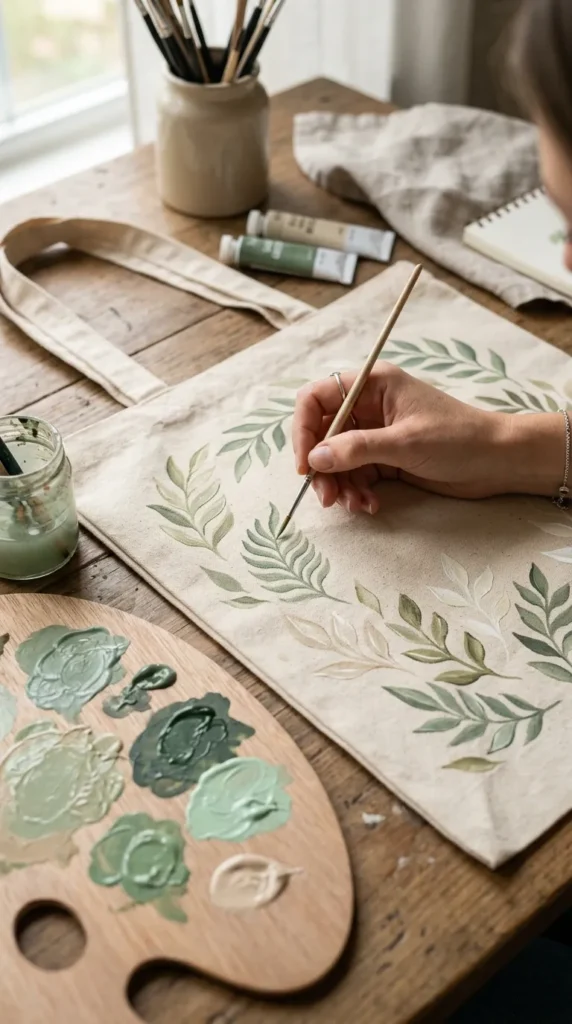
Tip: If you make a mistake, don’t panic—just let it dry and paint over it.
Drying and Sealing for Durability
If you want your tote bag to last, sealing is essential. Without it, paint may crack or fade over time with washing and daily use.
Here’s what to do:
- Let the bag dry for at least 24 hours
- Heat-set the paint using an iron (place a cloth between iron and design)
- Apply a fabric sealant spray for extra protection
This step locks in your design and helps it survive everyday wear and tear.
Tip: Avoid washing your tote bag for at least 72 hours after sealing.
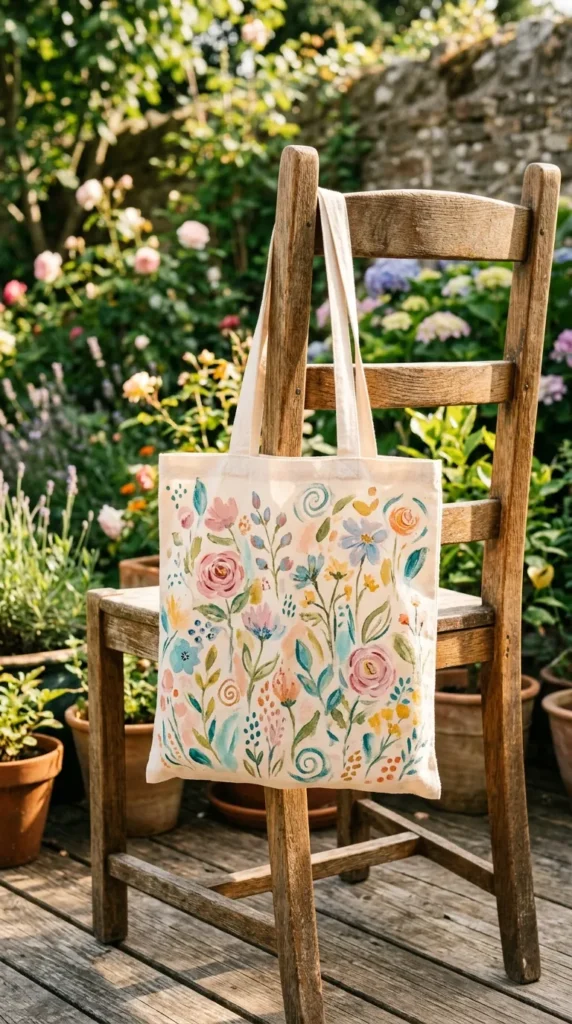
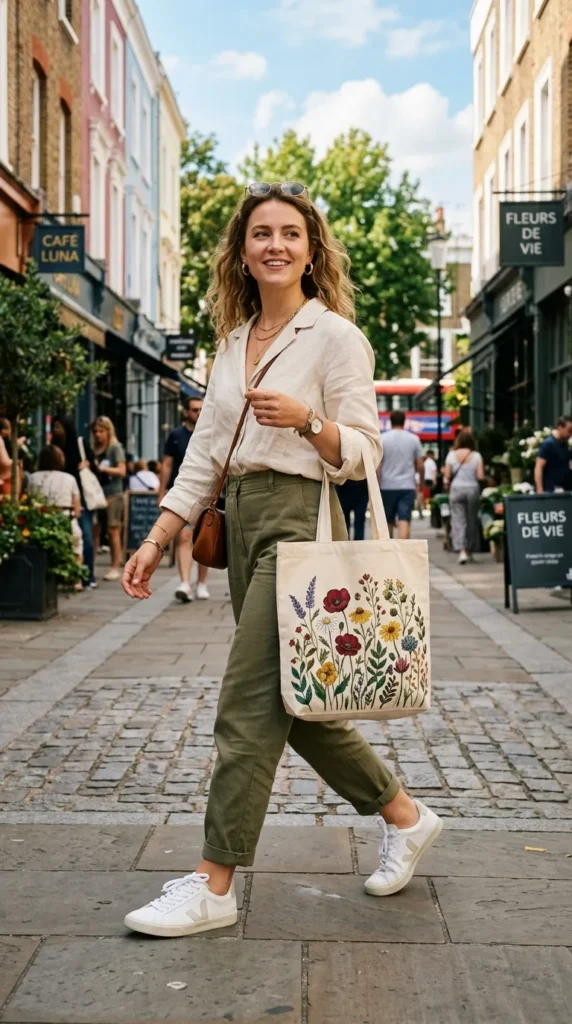
Styling Your Painted Tote Bag
Now that your tote bag is ready, it’s time to show it off.
You can style it in so many ways:
- Pair it with casual jeans and a white shirt for a clean aesthetic look
- Use it as a grocery or bookstore bag for a cute everyday vibe
- Gift it to someone special as a personalized handmade present
You can also experiment with seasonal designs—spring florals, summer abstract waves, or cozy autumn tones.
Final Thoughts
Painting a canvas tote bag is more than just a DIY project—it’s a creative expression of your personality. With a few simple tools and a bit of imagination, you can turn something ordinary into something truly eye-catching and meaningful.
The best part? No two designs will ever be the same.
So grab a brush, pick your colors, and start creating something you’ll love carrying every day.
Save this idea for your next DIY craft day and try your own custom tote bag design!


